This recipe was moved to our new blog: SufficientAcres.com.
Click here or on the picture to take you to the recipe!
 This recipe was adapted from: That Skinny Chick Can Bake!


This recipe was moved to our new blog: SufficientAcres.com.
Click here or on the picture to take you to the recipe!
This recipe was adapted from: That Skinny Chick Can Bake!
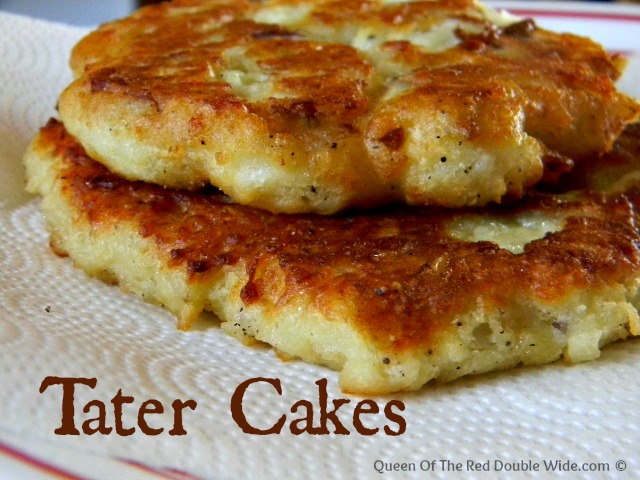
This all started on a Monday night when I was cooking a chicken for dinner. The perfect side for a home grown, roasted chicken is mashed potatoes….or “mashies” as my girls like to call them. I started out with a 5 pound bag of potatoes and started peeling and chopping. While I was busy with that, the girls were struggling with some math home work and Digger was in the shop with Uncle Tom and a couple others. As I was peeling and chopping and explaining how to figure out how many hours it would take a train to go 2,435 miles at 40 miles an hour…..Jade drove in the driveway. At that moment I realized there are five men outside and it’s almost dinner time…… What if Digger brings ALL of them in to eat with us?? I decided 5 pounds of potatoes wasn’t going to cut it, so I grabbed another 5 pound bag. (intending to use 5 or 6 more taters) Somewhere between the next three story problems, the puppy peeing on the floor, and instructing Little Chef to make a salad….my brain left and my hands kept peeling and chopping. Before I knew it I had 10 pounds of potatoes in the pot nicely peeled and ready to boil. So, I boiled them…then mashed and mashed and mashed…..that was a LOT of mashies! Shortly after that, all the extra people that where hanging out in the shop went home. Yep, ten pounds of mashed potatoes and five people. That’s how I discovered the wonderful world of Tater Cakes. It’s the perfect way to use up 7 pounds of mashed potatoes! It still took us three days to finish them off, but no one complained a bit. 🙂
These are so fun to make and so versatile. There are many extras you can add in and on them and they are great for breakfast, lunch, dinner, a snack, brunch, second breakfast, supper, second lunch, second dinner…..(yes, Hobbits and I have lots in common) My point is, tater cakes taste great anytime of the day, or night.
Umm,… just so you know, I don’t have hairy toes. In case you were picturing me eating 10 times a day with hairy toes. Just stop picturing the hairy toe part. Okay, now that I have clarified that, we can move on to the recipe.
Start with your left over mashies and add flour, eggs, salt, pepper, and finely chopped onion.
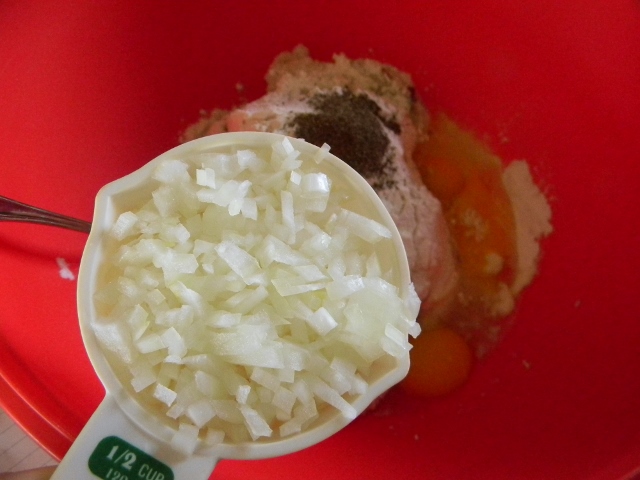
This is where you can add in any “extras” like cheese, bacon, peppers, whatever sounds good.
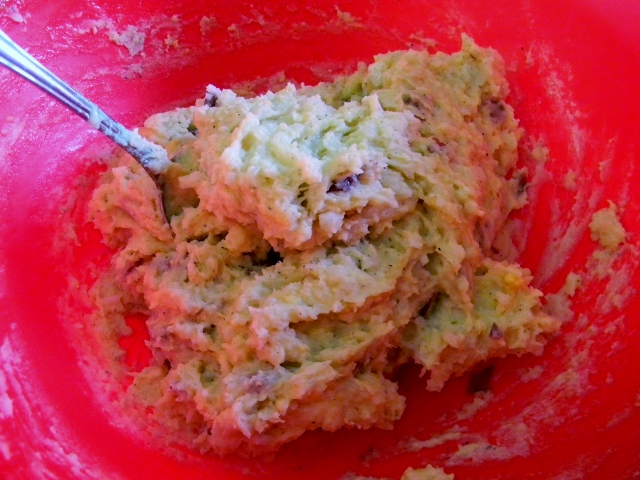
The consistency will totally depend on the mashed potatoes you added. If it is to sticky add more flour and if it’s to dry add another egg.
Take about half a cup of your mixture and form it into a patty and fry it in a bit of olive oil or butter until golden brown. I make one and give it a taste to see if it needs more salt or pepper. My homemade seasoning salt works great on these.
These could be served with ketchup or gravy or ranch dip or sour cream or just plain!

Oh yummmmm, I’m going to accidently on purpose make way to many mashies from now on. 🙂

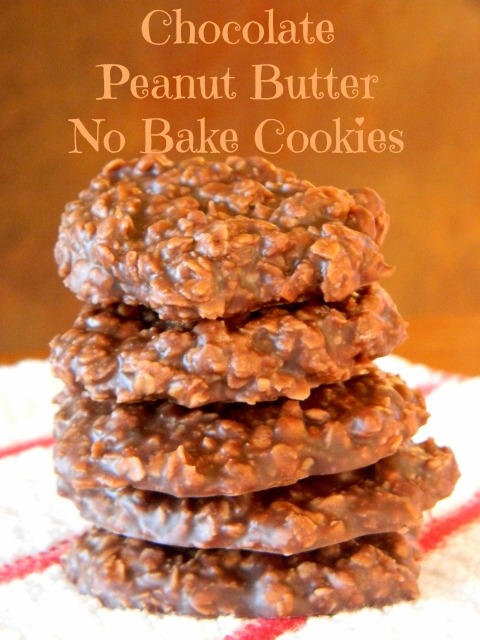
The other day Mary asked me what my favorite cookie is. Without much thought at all, I answered “Chocolate No Bake Cookies”. Then I wondered why the heck I don’t make these more often. Then I remembered how I can’t stop eating them and it’s probably good I don’t make them very often. Then I got the ingredients out and whipped up a batch. 🙂
Start by heating up butter, milk, cocoa powder, and sugar in a saucepan on medium heat. (stirring constantly) Bring it to a boil and keep stirring for 3 minutes. Remove from the heat, add vanilla & peanut butter and stir until all the peanut butter has melted and is completely incorporated. Then pour into a big bowl with the oatmeal.

Stir together.

Then plop a spoon full at a time onto wax paper and let them cool. It will take 20 to 30 minutes.
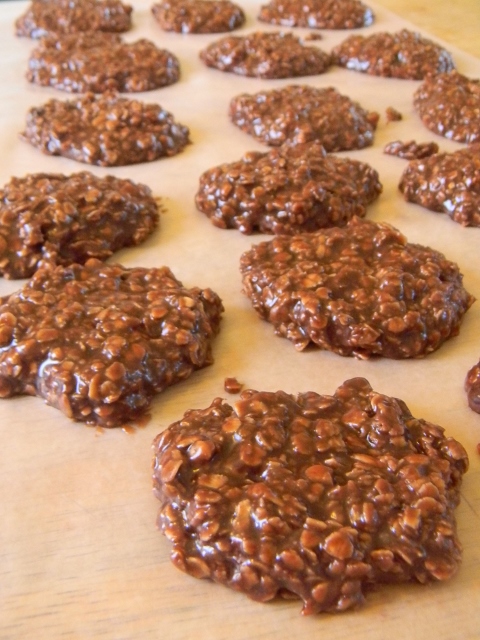
These are sooo stinken easy to make!! It’s the perfect cookie to make with your kids. That’s probably why most people have fond childhood memories of these delicious, easy cookies. 🙂
Tip: Doing a little prep work before you start making these cookies is a good idea. I lay out my waxed paper and measure out the peanut butter and oatmeal ahead of time. Once you take your chocolate mixture off the heat you want to hurry and finish before your mixture gets to cool. If it cools to much you will end up with chocolate granola instead of cookies. Chocolate granola is tasty but a little frustrating when you were looking forward to cookies. 🙂

This post was shared at: The HomeAcre Hop – The Weekend Potluck – Simple Saturdays Blog Hop –


I LOVE homemade dinner rolls. I usually only make them around the holidays, but this Christmas I made them and have been on a roll ever since. Haha…anyway…I’ve made these rolls several times recently and they are sooooo good. Soft, light, and buttery.
This recipe will make 24 rolls, so if you can’t eat that many in a couple days they also freeze well too.
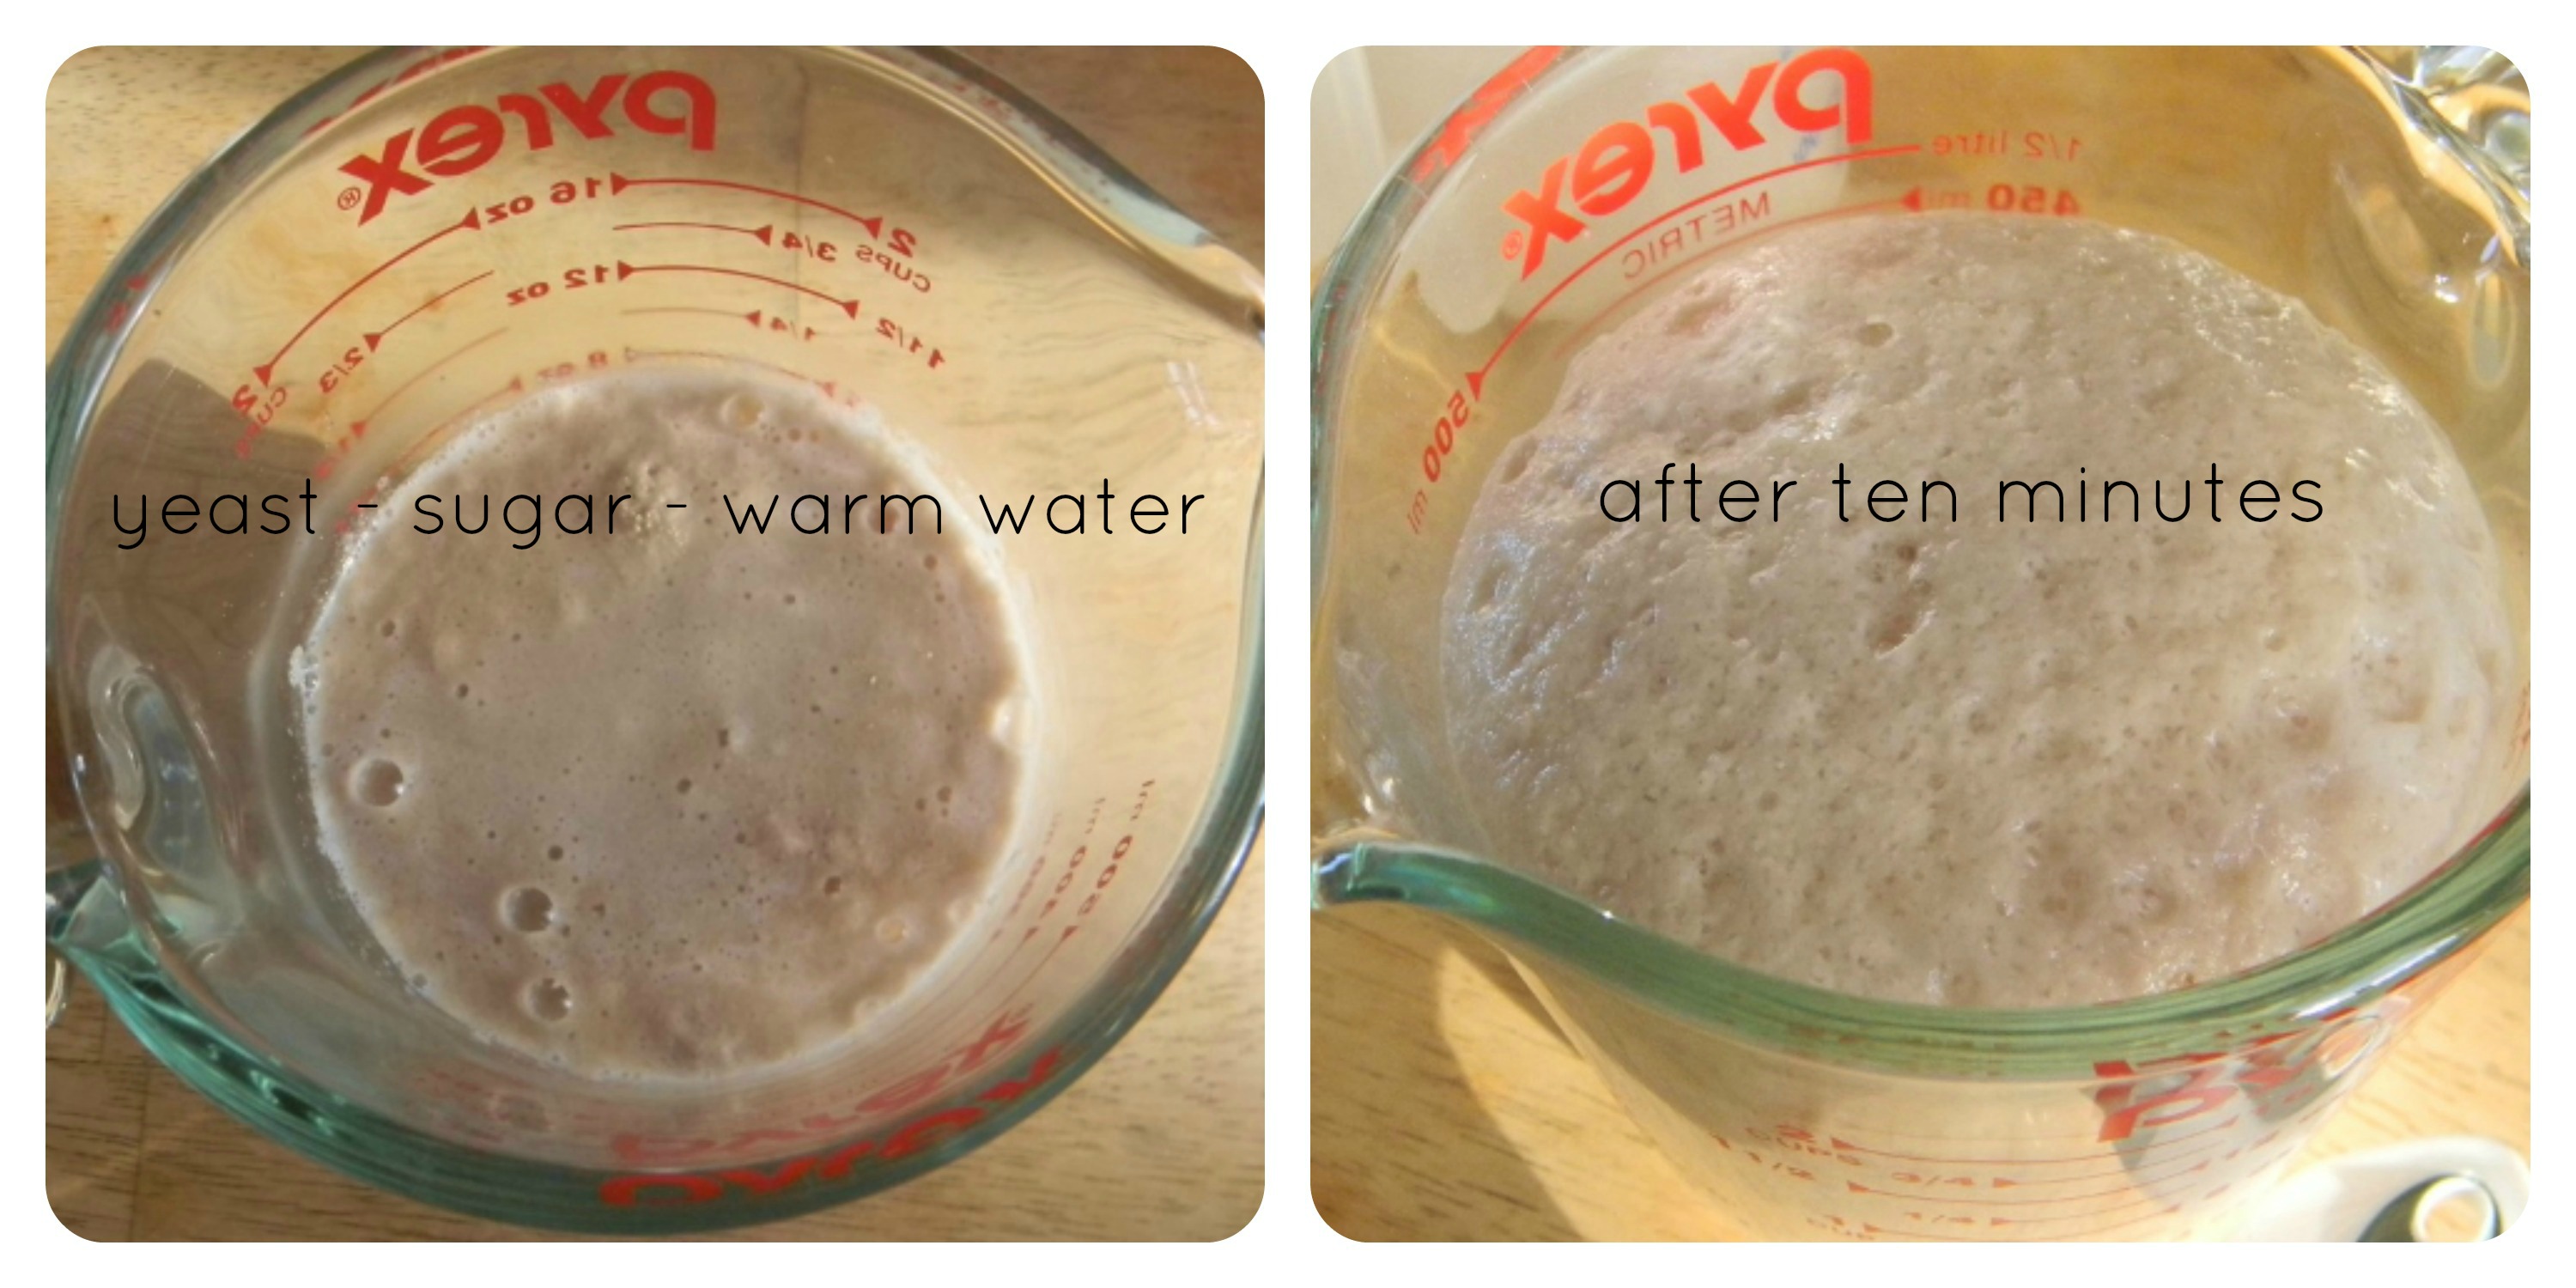
Step 1: Dissolve 1 tablespoon of yeast in 1 cup of warm tap water (105 to 110 degrees) with 2 tablespoons of sugar. Let it sit for about 10 min. It should get bubbly, that means your yeast is working.
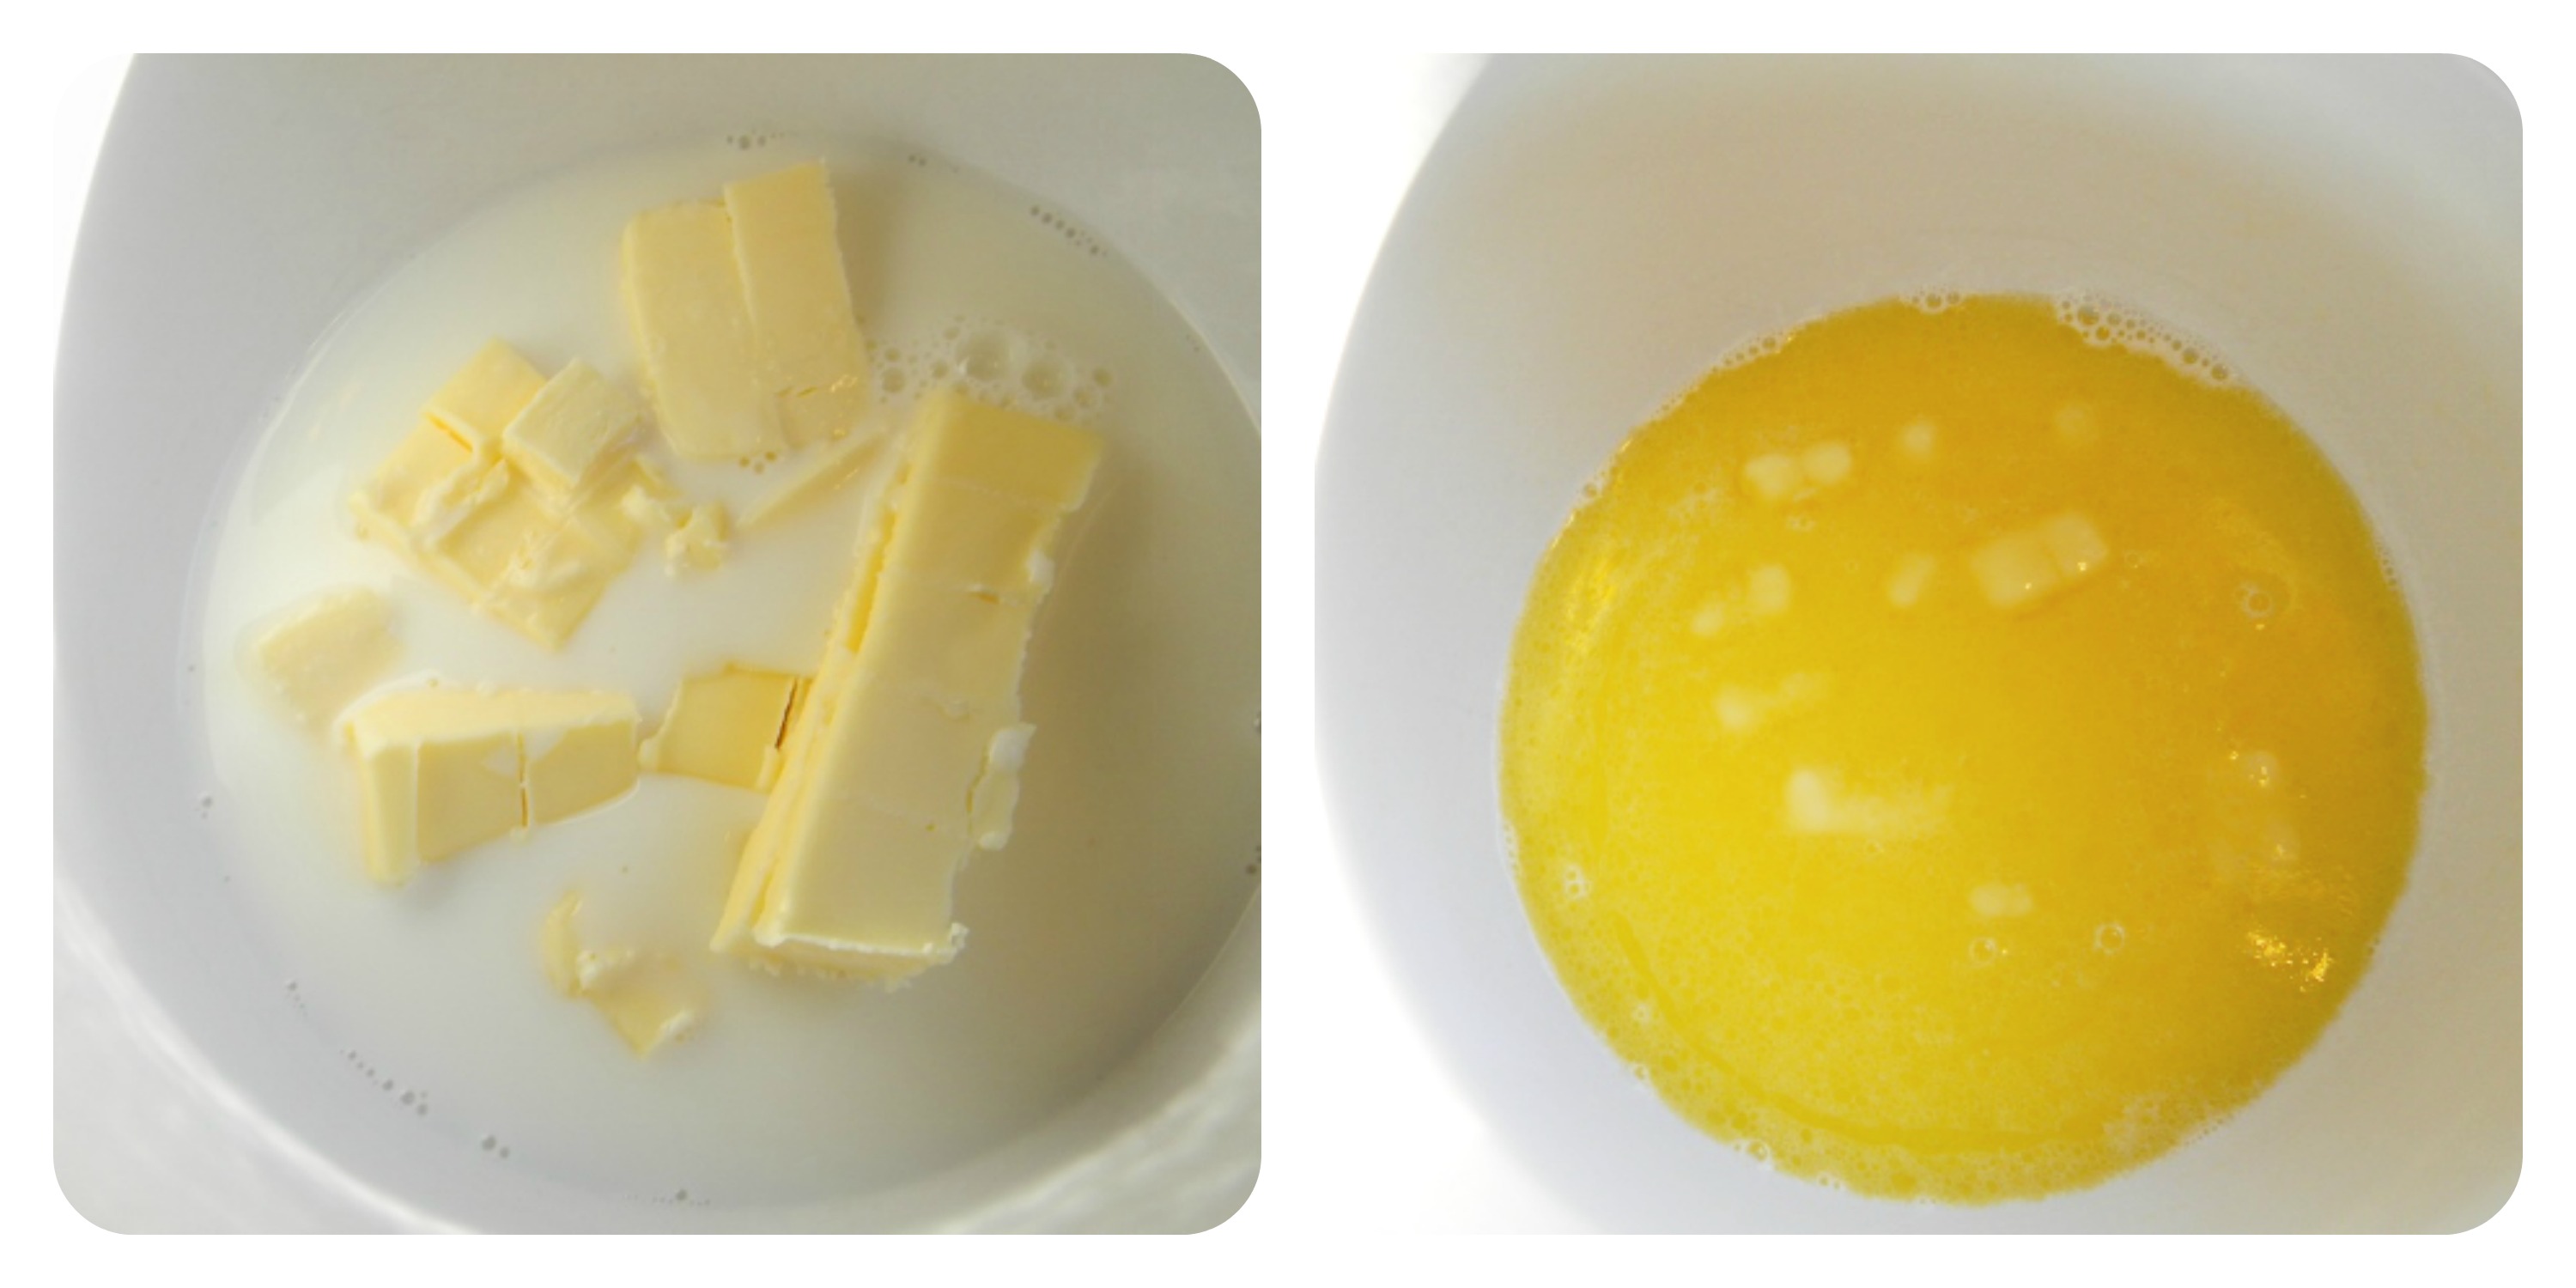
Step 2: In a microwave safe bowl put 1/4 cup of butter (cut into small pieces) 1/4 cup of sugar and 3/4 cup of milk and microwave for 1 to 2 minutes. The butter should be mostly melted.
Step 3: Place the melted butter, sugar and milk mixture in a mixing blow. Add salt, 1 cup of whole wheat flour, the egg and stir well.
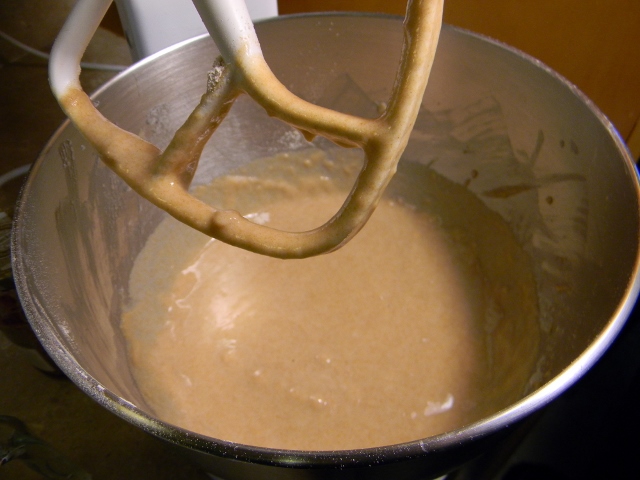
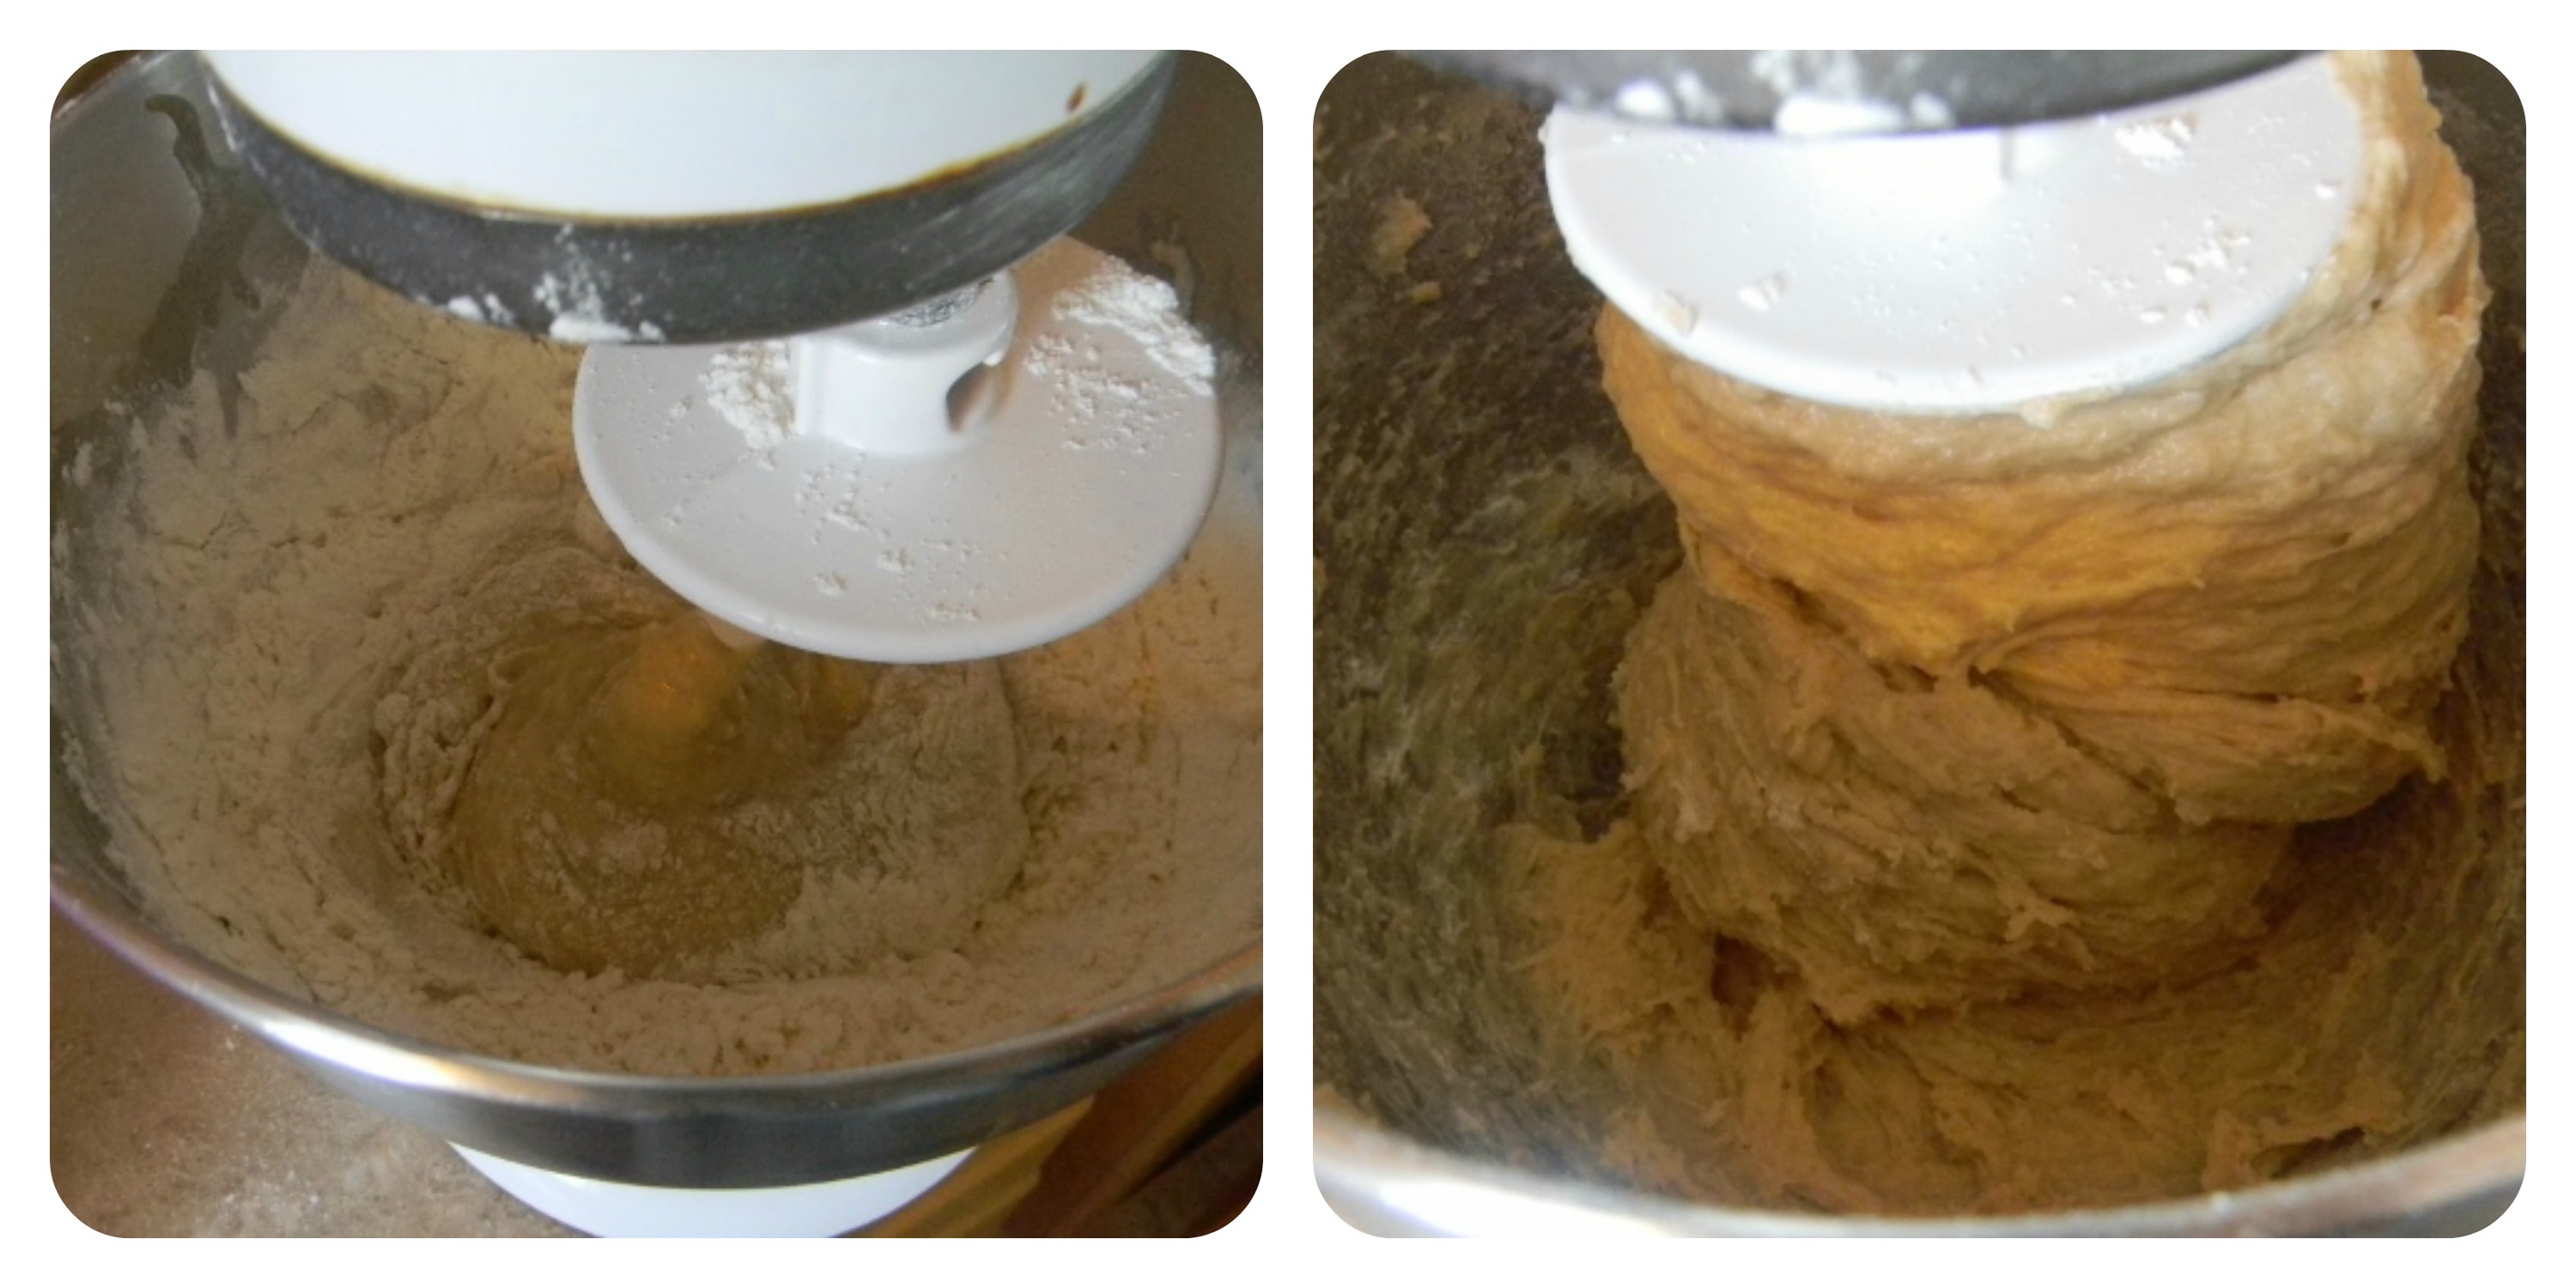
Step 4: Add the yeast to the mixing bowl and stir well. Keep stirring and add a couple more cups of flour. This is were I change the paddle to the dough hook on my mixer. Keep mixing while you add the last two cups of flour. Let the dough hook knead the dough until it comes together and pulls away from the sides of the bowl.
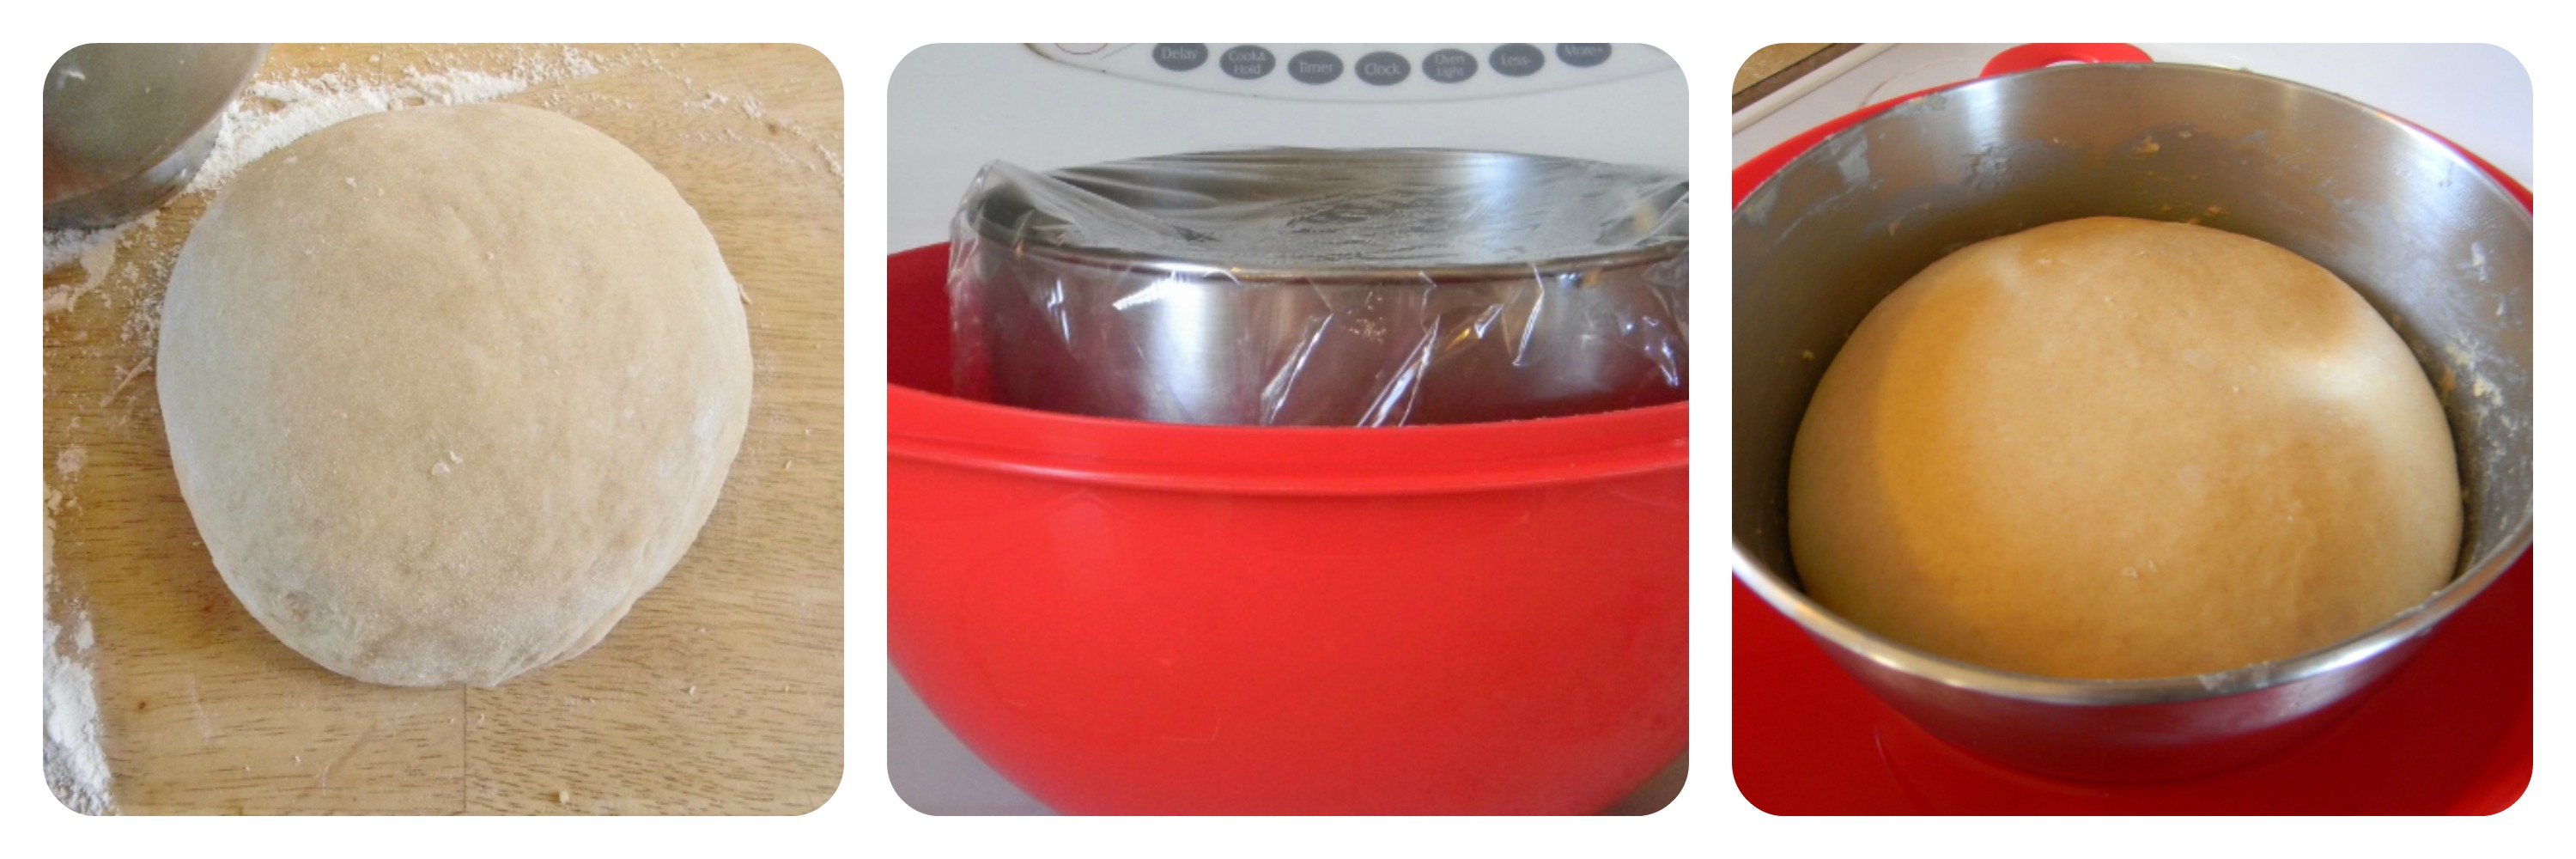
Step 5: Scrape the dough off the dough hook and plop the dough out on a floured surface. Knead it just a few times to bring it all together and form a nice ball. Place the dough back in the mixing bowl. Cover the bowl with plastic wrap and leave it in a warm place to rise. I put mine in a warm bowl of water to speed up the rising. It took about a half hour. If I don’t put it in the water it takes about an hour.
Step 6: Punch the dough down and put it on a well floured surface, knead it a few times to push out all the air bubbles. Then divide the dough in half. Take the first half and roll it out into a circle.
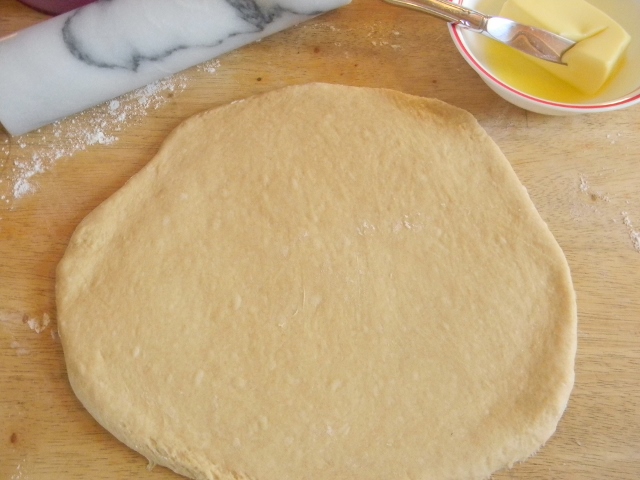
Spread butter (about 2 tablespoons) over your dough circle then use a pizza cutter to cut the dough into four equal pieces, then cut those pieces into 3 slices each. You will then have 12 triangles.
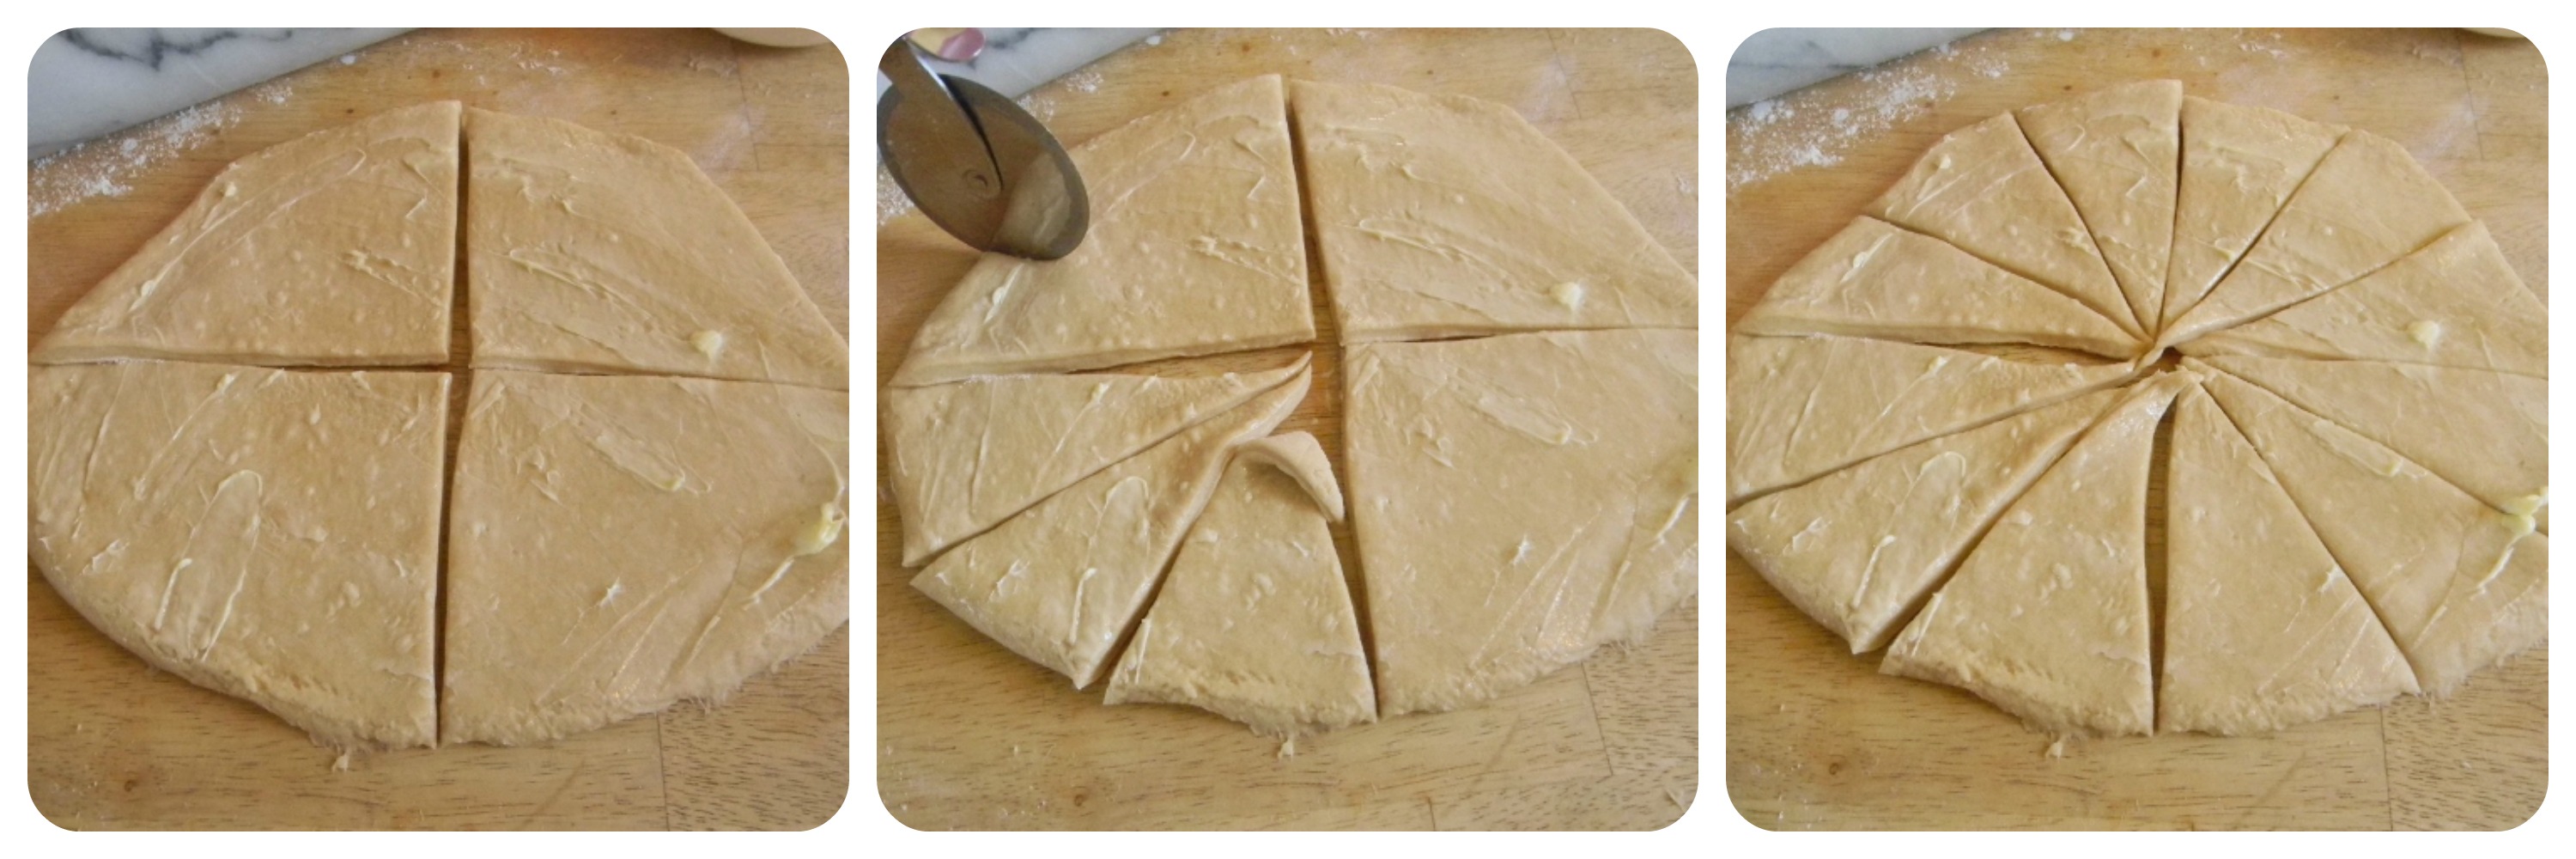
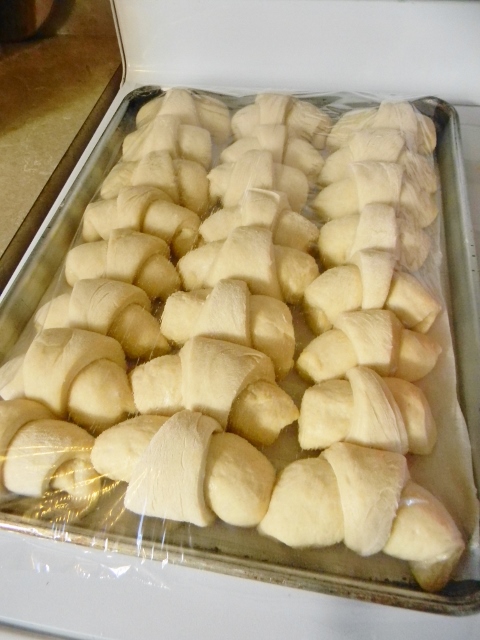
Take each triangle and roll them up starting with the wide end. Place them on a greased jelly roll pan. Repeat the process with the other half of the dough. You will end up with 24 crescent shaped rolls.

Step 7: Cover the pan of rolls with plastic wrap and set in a warm place to rise (about 1 hour).
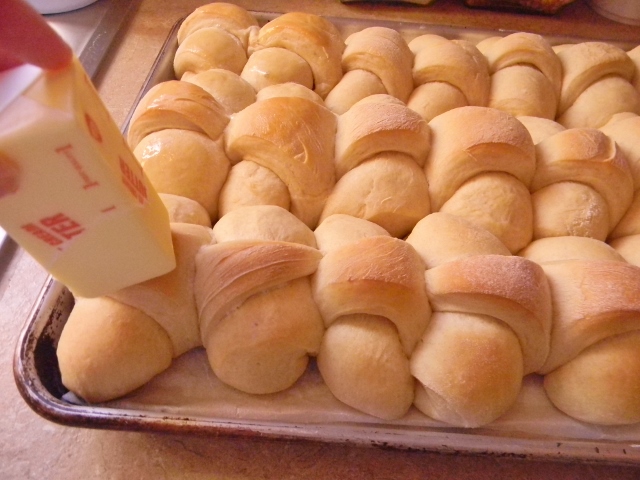
Step 8: Bake in a 350 degree oven for 10 to 15 minutes. When they are golden brown take them out of the oven and run a stick of butter over the top……yummm.
This recipe was adapted from: How Does She.com
This post was shared at: The HomeAcre Hop – Thrifty Thursday – Clever Chicks Blog Hop – The Weekend Potluck – Simple Saturdays Blog Hop –

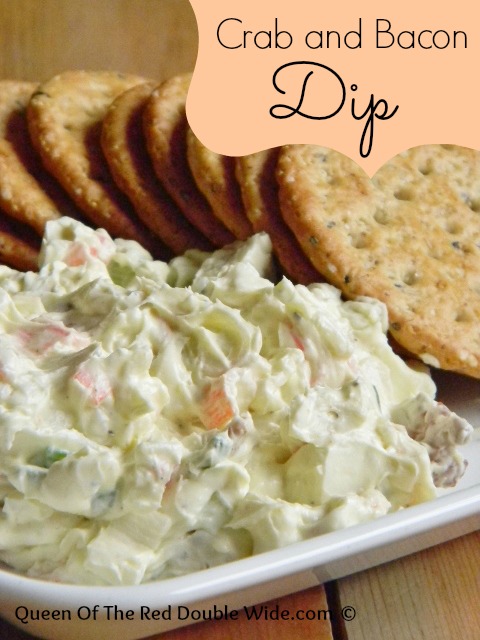
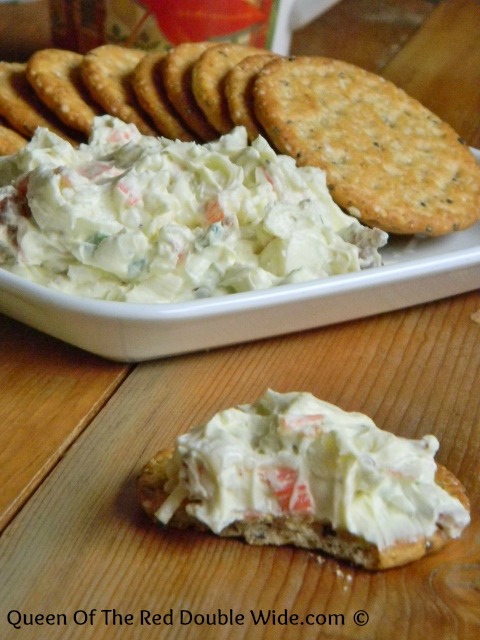
It’s party season, and parties mean TONS of finger food! This is one of my all time favorite dips! It’s great for parties and has become a New Years tradition at our house. The best part is it’s super easy to throw together and you can make it ahead of time and refrigerate until the party starts. It doesn’t get much better than bacon, crab, and cream cheese…….yummmm!
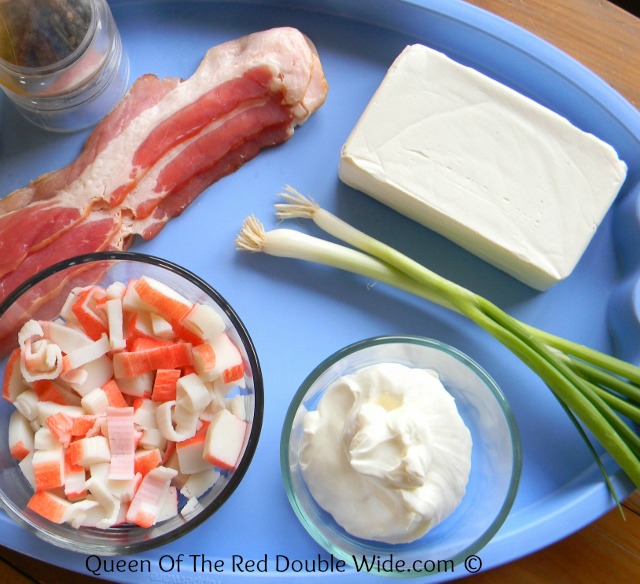
Start by cooking the bacon, slicing the onions and chopping up the crab. While the bacon is cooling beat the softened cream cheese and sour cream in a blender until light and fluffy. Stir in the pepper and horseradish. Then fold in the bacon bits, crab and onions with a spatula. I’m sure you could use real crab, but I’m to cheap frugal to buy the real stuff and my family enjoys the imitation crab just fine. If you don’t have any horseradish on hand you can substitute mustard but horseradish is the best. (in my opinion) At this point it needs to sit for a bit to let the flavors blend, a hour in the fridge should do the trick or you could even make it the day before. Just before serving give it a little taste and add salt or pepper if needed. I added a little garlic salt to this batch. 🙂
This post was shared at: The Homemaking Party –


Peaches are my very favorite fruit…..I think?? I love all fruits…well pretty much I love all food. Lets just say if I made a list of my favorites, peaches would be right at the top. There’s nothin like sweet, peach juice dripping down your chin on a nice, warm, summer day. 😀 We are lucky enough to live very near some large peach orchards and it’s peach season!! I tried this recipe last year and absolutely LOVED it. I’ve been waiting for fresh peaches just so I could make this cobbler again. 🙂
Here’s how to make Deeeelicious Peach Cobbler: Peel and slice your yummy fresh peaches and put them in a bowl with 1/2 a cup of sugar and the almond extract. Set that bowl aside and pour your melted butter into a 2 quart baking dish. Set that dish aside as well and in another bowl stir together flour, baking powder, salt and remaining sugar. Then add the milk and stir well.

Now pour the batter evenly over the butter, do not stir. Then top it off with the peach mixture. Now bake at 350 degrees for 50 to 55 minutes. So easy!
This is wonderful warm from the oven with some whip cream or vanilla ice cream!
This post was shared at: The HomeAcre Hop – Thrifty Thursday –

This recipe has been moved to our new blog: SufficientAcres.com.
Click here or on the picture to take you to the recipe!


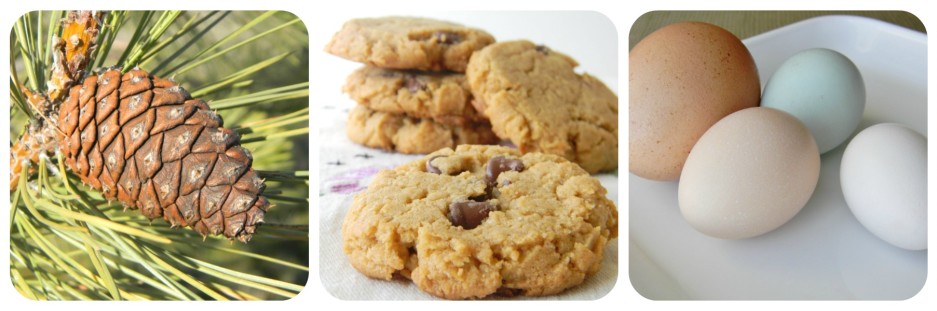
These are beyond a shadow of a doubt the BEST peanut butter cookies I’ve ever had!
I cannot take credit for finding this recipe, it was all my kids. It all started with this:
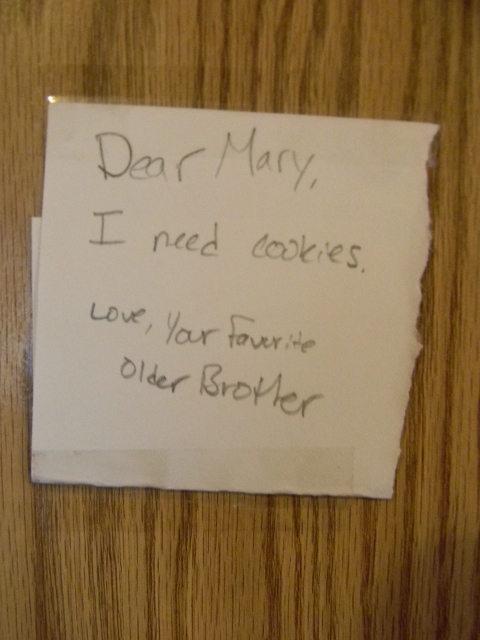
My boys are smart, when they want cookies they know who to ask. The next thing I know, Little Chef is asking if I will show her how to look up cookies on Pinterest. She wanted to find a “new” recipe. I did, and just like her mama, Pinterest sucked her in and she was there forever looking through thousands of pins of delicious looking cookies. I think her brother became worried that cookies were never going to become a reality. I heard him say something about peanut butter and chocolate chips and bless her cookie lovin’ heart she searched for peanut butter chocolate chip cookies and decided on this recipe.
 A little while later I walked through the kitchen and stole a chunk of warm cookie (it was a broken piece and NEEDED to be eaten)……as the sweet, buttery, chocolaty, warm, piece of cookie melted in my mouth. The clouds parted, the sun shone through, the angels sang and my taste buds rejoiced. I think I said something like “Holy cow, those are stinking amazing, I’m NEVER going to be able to stay away from these cookies.” I really didn’t need to worry about that though, they were completely devoured shortly after that by other members of our household.
Here’s the recipe so you can hear the angels too!
Tip: These are amazing cookies anytime but if you want to see the clouds part and hear the angels sing you have to try them when they are still warm. 🙂 The only small draw back to these cookies is that they are pretty delicate, I would not recommend these for baking and shipping in the mail…..they would be awfully tasty crumbs though!
This recipe was adapted from Mel’s Kitchen Cafe
This post was shared at : Weekend Potluck – Clever Chicks Blog Hop – HomeAcre Hop – From The Farm Blog Hop –

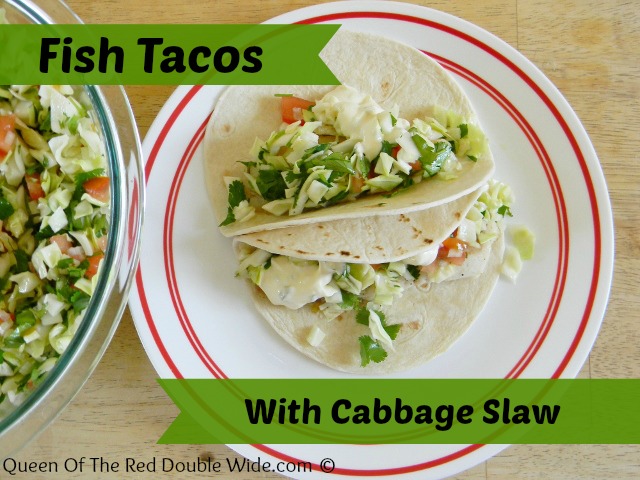
This is a great spring and summer dish, I love the light, fresh cabbage slaw. It goes great on any taco, burrito, etc. or it tastes just amazing all by its little self. 😀
Start off by making this easy homemade tartar sauce and set aside.
 Next chop up the cabbage, tomatoes, green onions, and fresh cilantro. I didn’t have green onions so I used a white onion, it was good but green onions are better. 🙂
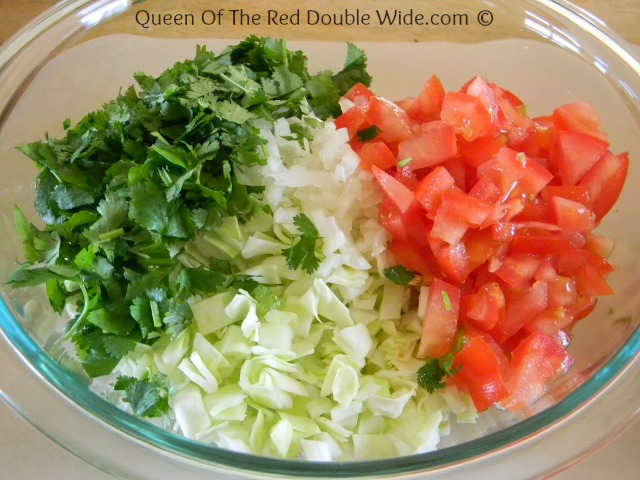 Add lemon juice, olive oil, salt, pepper, and stir.
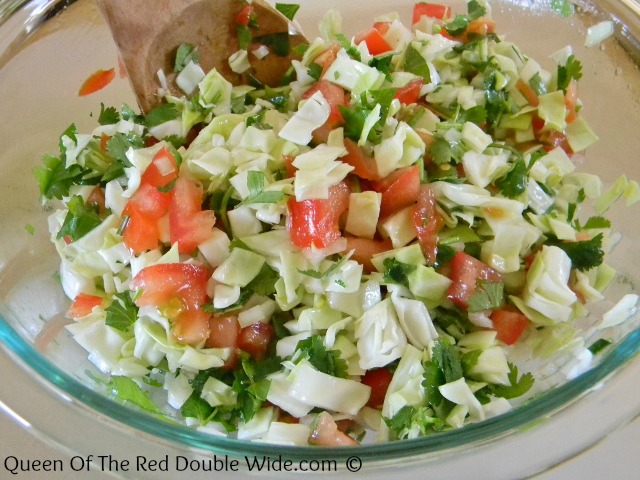 Take a little taste and add salt and/or pepper if needed.
Now cook up the fish of your choice. I salt and pepper tilapia fillets and cook them on medium heat in a little olive oil for about 4 minutes on each side.
 Place a half of a cooked tilapia fillet on a warm soft taco shell (flour or corn). Place half a cup or so of the cabbage slaw on the fish and top it off with the tartar sauce!
 So delicious, so fresh tasting, and so easy. The fresh cilantro makes my heart sing!!


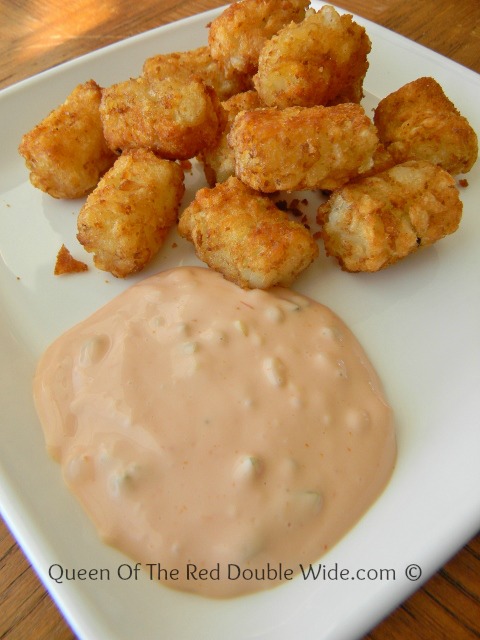
We don’t have fish too often, but when we do I like to have tartar sauce to serve with it. A couple years ago I realized it was rather stupid to keep buying bottles of tartar sauce, use them once and place them in the fridge for next time. “Next time” usually didn’t come until it was to late to salvage the rest of the bottle or it had been long lost in the depths of the refrigerator. So I found this easy homemade tartar sauce recipe and we have been using it ever since.
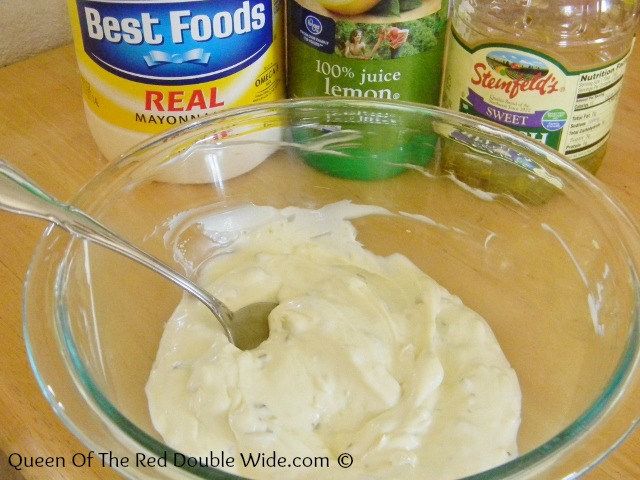 It tastes WAY better than store bought and if we have any leftover I add a little ketchup and it makes a WONDERFUL dipping sauce for fries, tater tots, or pretty much anything you would use ketchup on. We put it on hamburgers the other night…..yummm!
 A great tasting, easy, tartar sauce with no waste!

© 2013-2024 Queen Of The Red Doublewide All Rights Reserved -- Copyright notice by Blog Copyright