
Our family has been a “biscuit from a can” kinda family for 11 years. They are pretty good….well, If you don’t think about what a home made biscuit tastes like, and if you don’t read the ingredients on the can. Yep, I looked…..then, I said “yuck!” Then I started experimenting.
This is what I came up with:
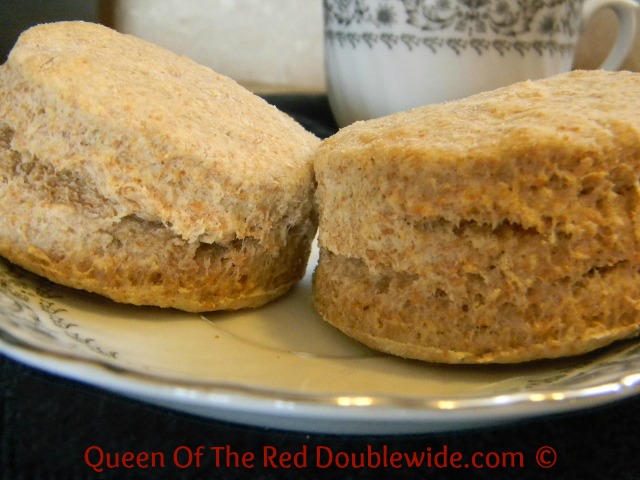 Light, Fluffy, Healthy, Yumminess!!
Start by stirring together the flour, baking powder, cream of tarter, and salt.
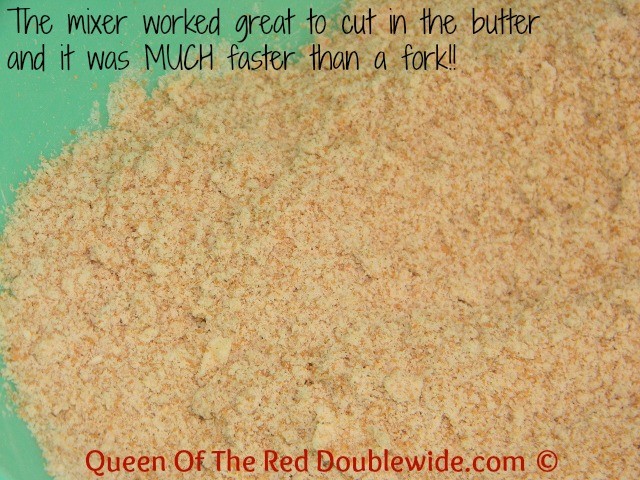
Then cut in the butter until crumbly. Here’s a little tip…instead of standing at the counter (forever) with a fork to cut in the butter. I put mine in my kitchen aid and let it mix for a minute (I cubed the butter first). It worked l great, but be careful not to over mix! Over mixing equals tough biscuits.
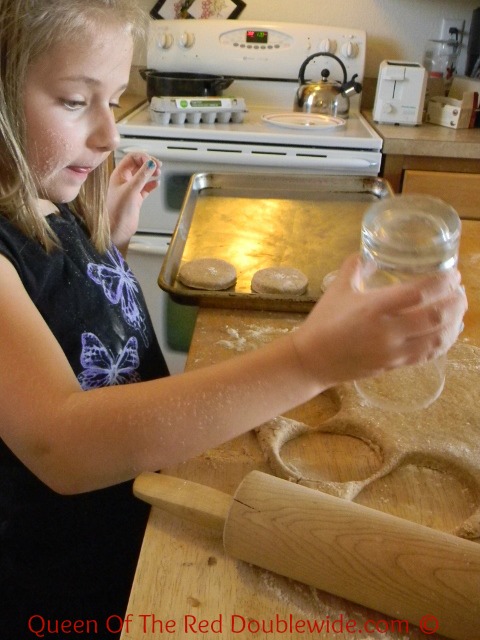
 Combine the egg and milk; stir it into crumb mixture until moist. Turn onto a floured surface and knead about 10 times. Then roll out to 1/2 inch thickness and cut biscuits out with a cup or cookie cutter.
This is the fun part!
 Bake at 450 degrees for 10 to 15 minutes.
This made about 16 biscuits.
No more biscuits from a can for us!!
- 3 cups whole wheat flour
- 4½ teaspoons baking powder
- ¾ teaspoon cream of tarter
- ½ teaspoon sea salt
- ¾ cup cold butter
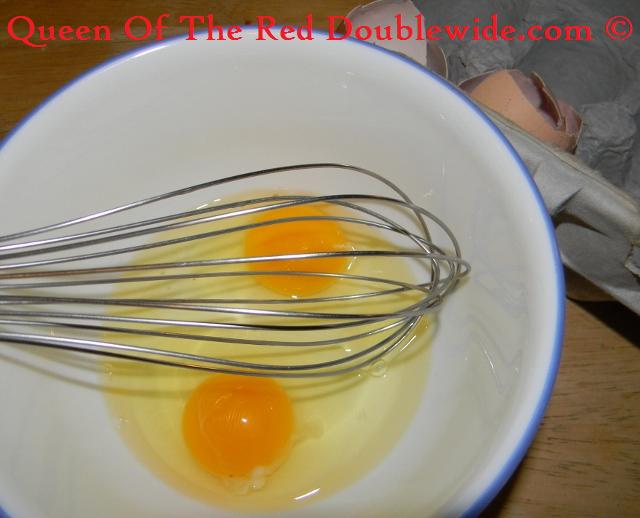
- 1 egg
- 1 cup milk
- Mix together first four ingredients then cut in butter until crumbly.
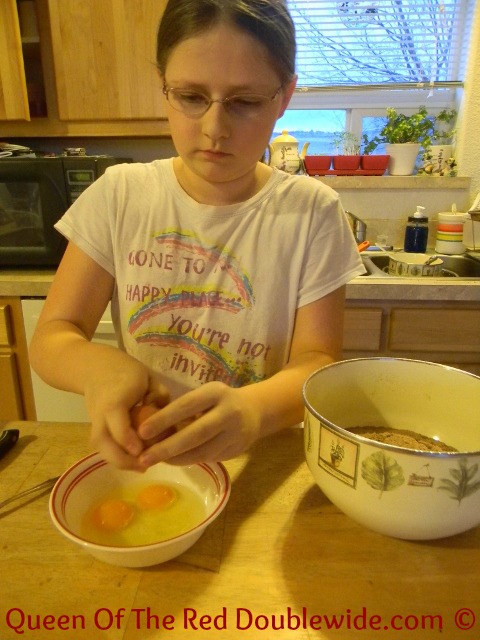
- Combine the egg and milk; stir into crumb mixture until moistened.
- Turn onto a floured surface; knead about 10 times then roll out to ½ inch thickness.
- Cut out biscuits with a cup or a round cookie cutter and place on a baking sheet. Bake at 450 degrees for 10-15 minutes.


")
")
 (1280x960)")
")


")
")

")
")
