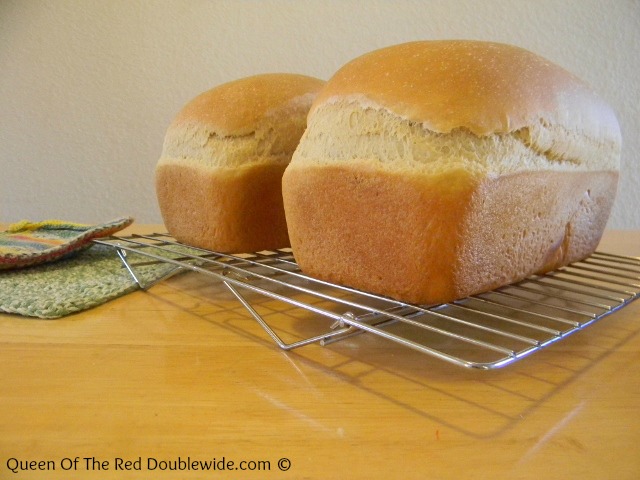
 Baking bread is a very new adventure for me. It was one of those things on my “I need to learn how to do that” list, but I kept putting it off (and off and off). You would think that on a journey toward frugality and self sufficiency that baking your own bread would be one of the first things to learn. It should be, BUT patience is one of those fruits of the spirit that I’m lacking. The whole kneading and rising thing sounded heavy in the patience area. I guess I’m afraid of yeast, or rather WAS afraid of yeast… Well ok, I was afraid of KILLING yeast. It just sounded so violent. Every time I looked at a bread recipe or any recipe that had yeast, I would think….WOW that’s a lot of instructions and that will take all day long, and I will probably kill the yeast ending up with rocks after slaving in the kitchen all day!! I’m a banana bread and biscuit kinda girl. Mix it up and throw it in the oven, (no patience required) that’s how I roll. 😀
So lets just say that making my first loaf of bread was a big step for me, (okay it was a HUGE step for me). I set aside a whole day to make two loaves of bread because I really believed it would take all day. I took a deep breath, put on my “patience hat” (sorry, I used to be a preschool teacher) and got out my yeast and flour!
I’m happy to report that my first two loaves of bread were a success, and it didn’t even take all day!! In fact I can’t believe I put this off for so long. It was way easier and less time consuming than I thought. The baking bread made my house smell heavenly and what a sense of accomplishment to pull two plump, golden brown loaves of bread out of the oven just in time for lunch. 😀
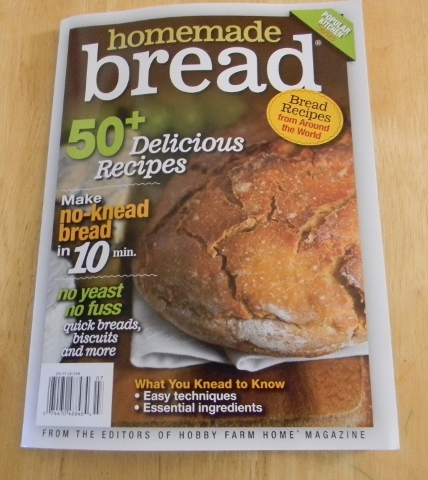 My mother in law gave me this wonderful magazine that’s full of awesome bread recipes with very detailed instructions. I highly recommend it, especially for first time bread makers (you can find it on Amazon). The first recipe in the book is white sandwich bread. It’s a pretty basic recipe and,… well,… my husband eats LOTS of white sandwich bread (I can’t convince him that whole wheat tastes better and is better for him). It’s the recipe I started with, and it turned out so well I thought I would share it with you. I’ve made it several times now and we all like it!
- 1 cup warm water (105-115 Degrees F)
- 11/2 tablespoon yeast
- 13/4 cups milk
- ¼ cup melted butter
- 3 tablespoons sugar (I used sucanat)
- 1 tablespoon sea salt
- 61/2 to 71/4 cups flour
- Follow steps 1-6 below
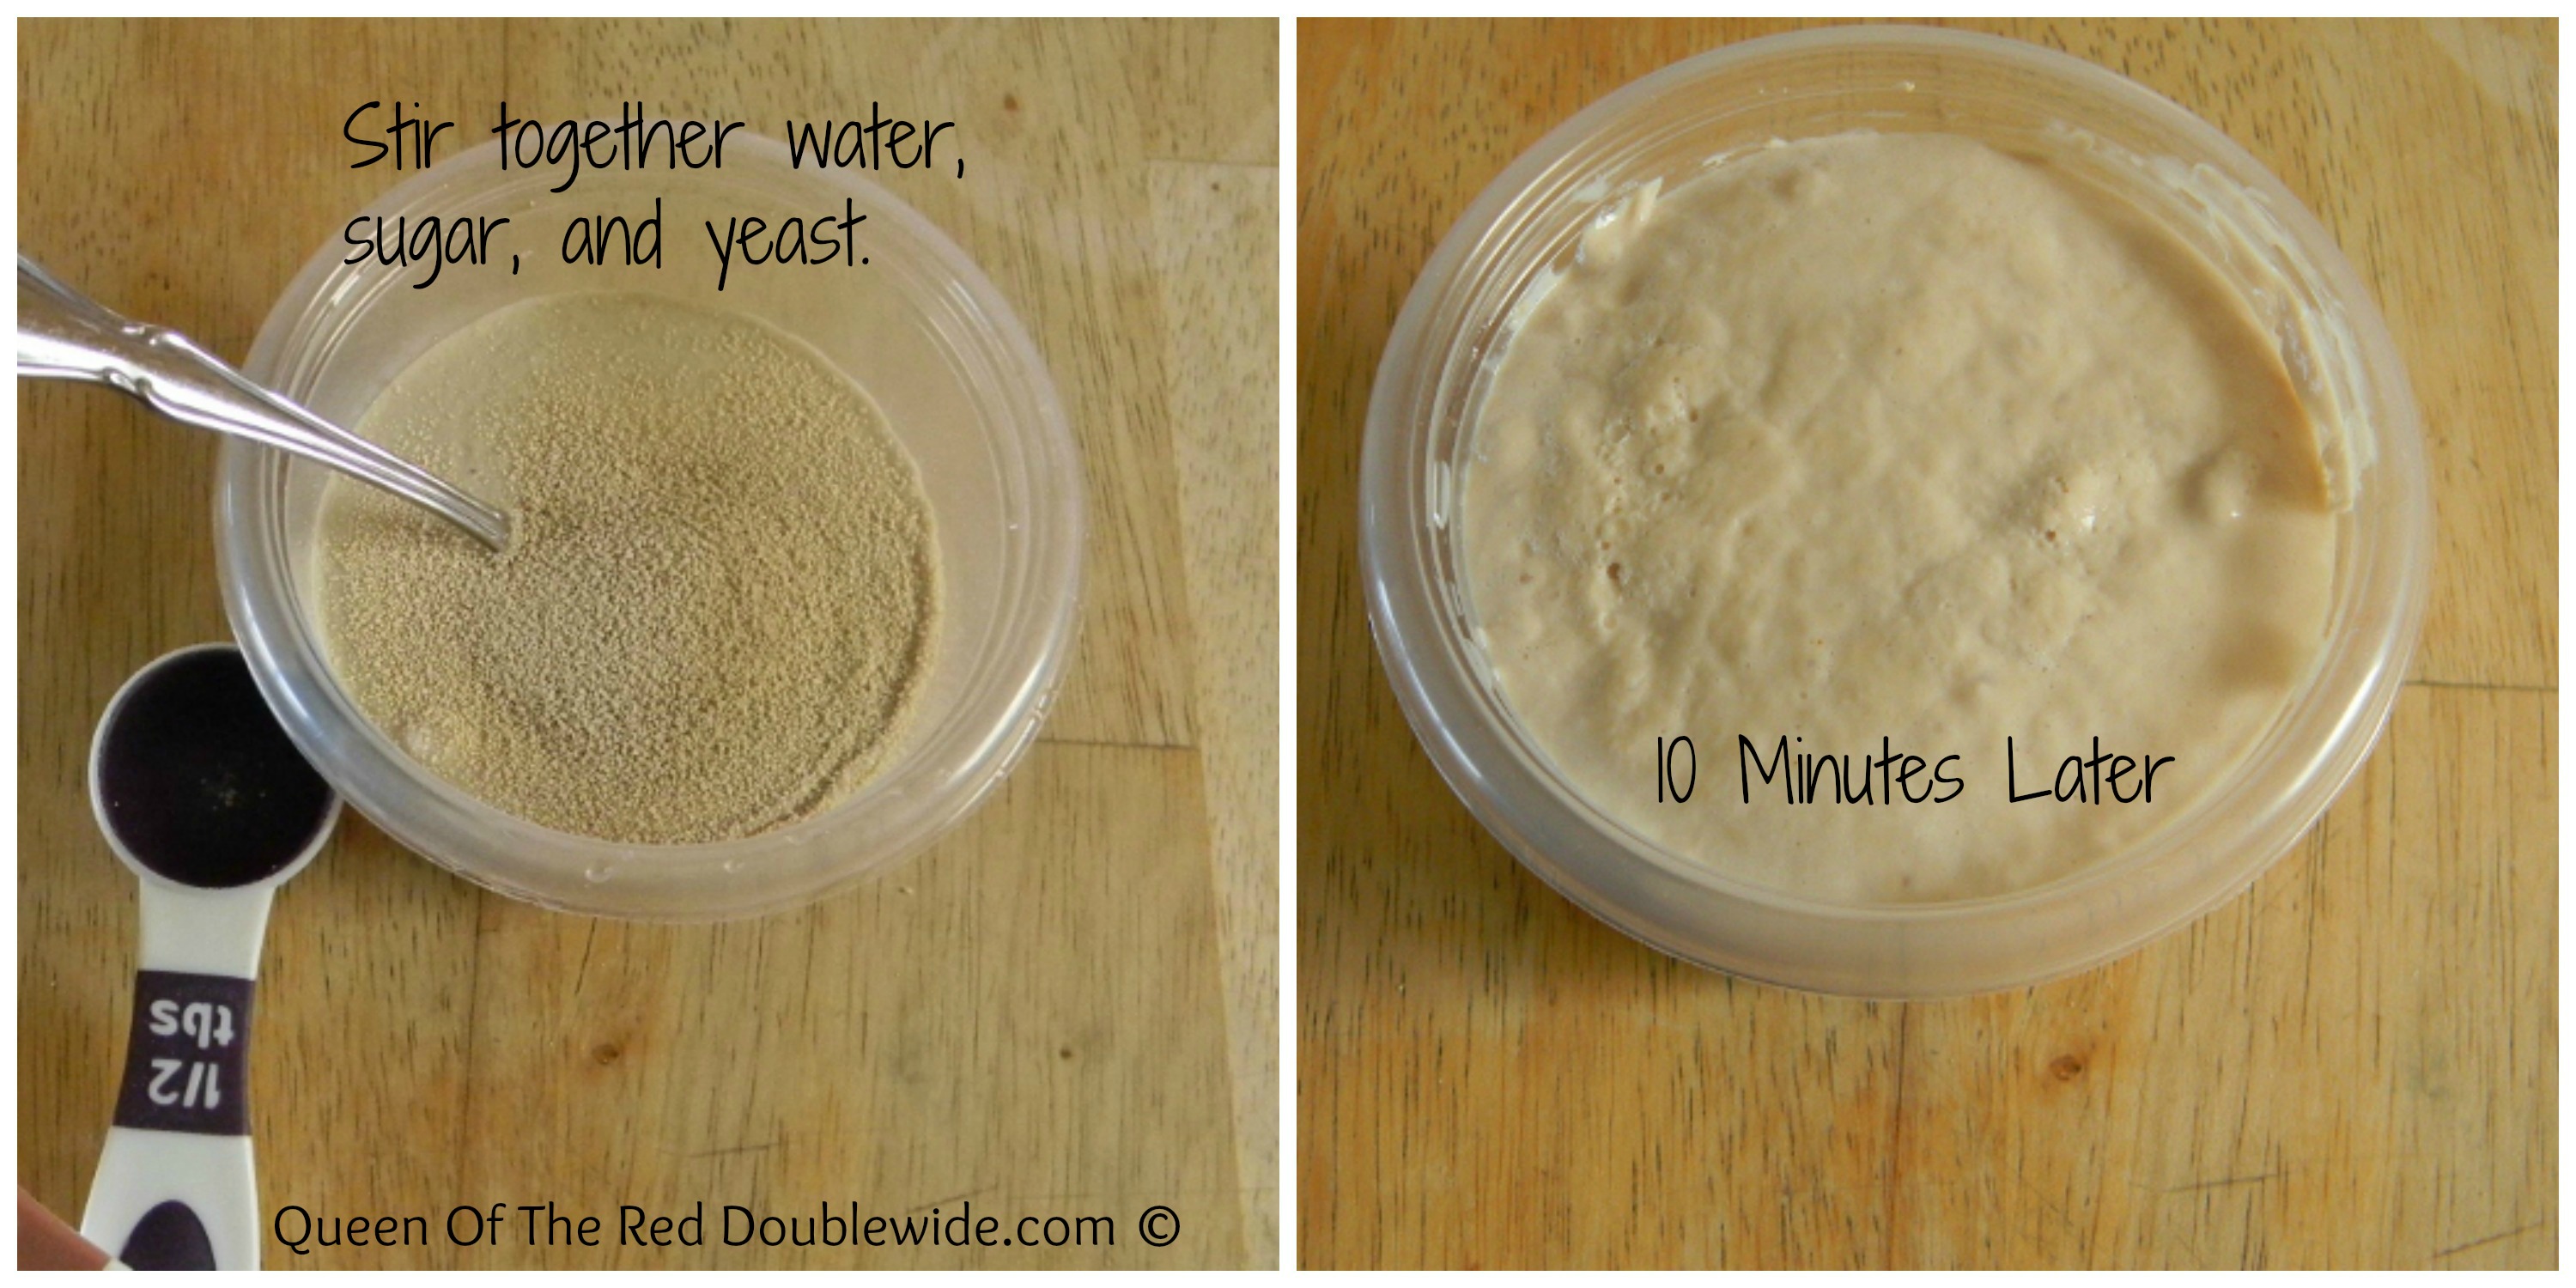
Step 1 – Put 1/2 cup of warm water, yeast and a pinch of sugar to a small bowl. Stir to dissolve the yeast then let the mixture sit for about 10 minutes until foamy.
 Step 2 – In an electric stand mixer or a large bowl, combine the remaining water, milk, butter, sugar and salt. Add the yeast mixture, and stir until combined. Add 2 cups of the flour, and mix well. Continue to stir the mixture for one or two minutes until smooth and creamy. Add additional flour in 1/2 cup increments, stirring well after each addition until the dough holds together and starts to pull away from the sides of the bowl.
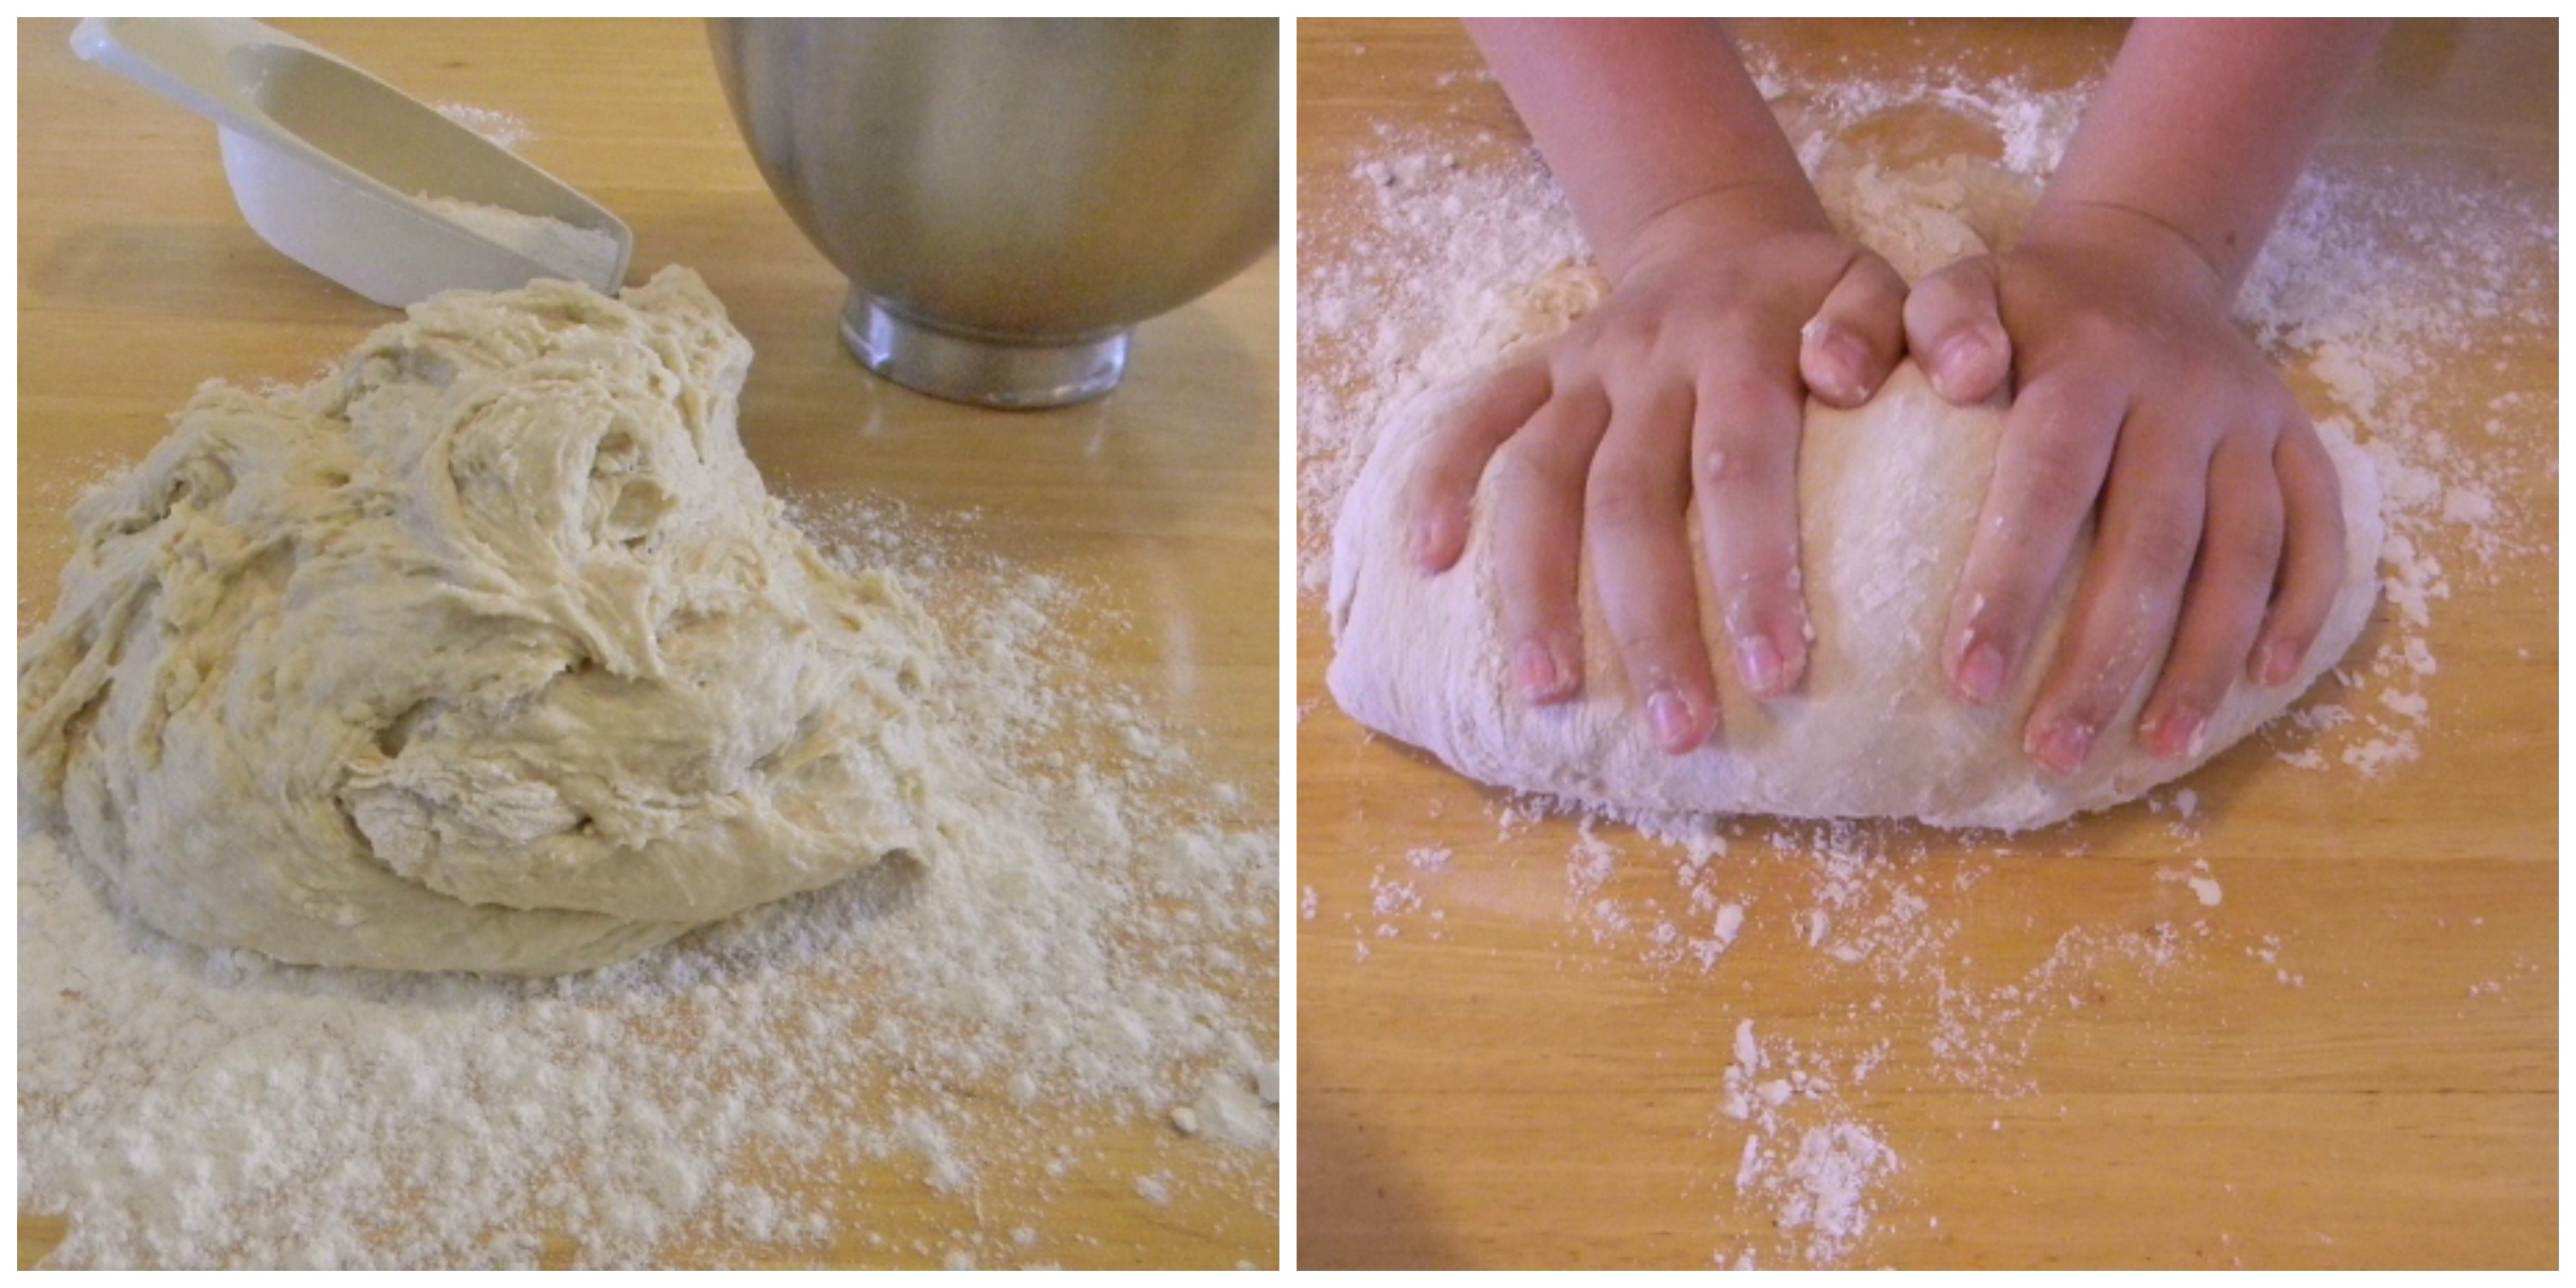
 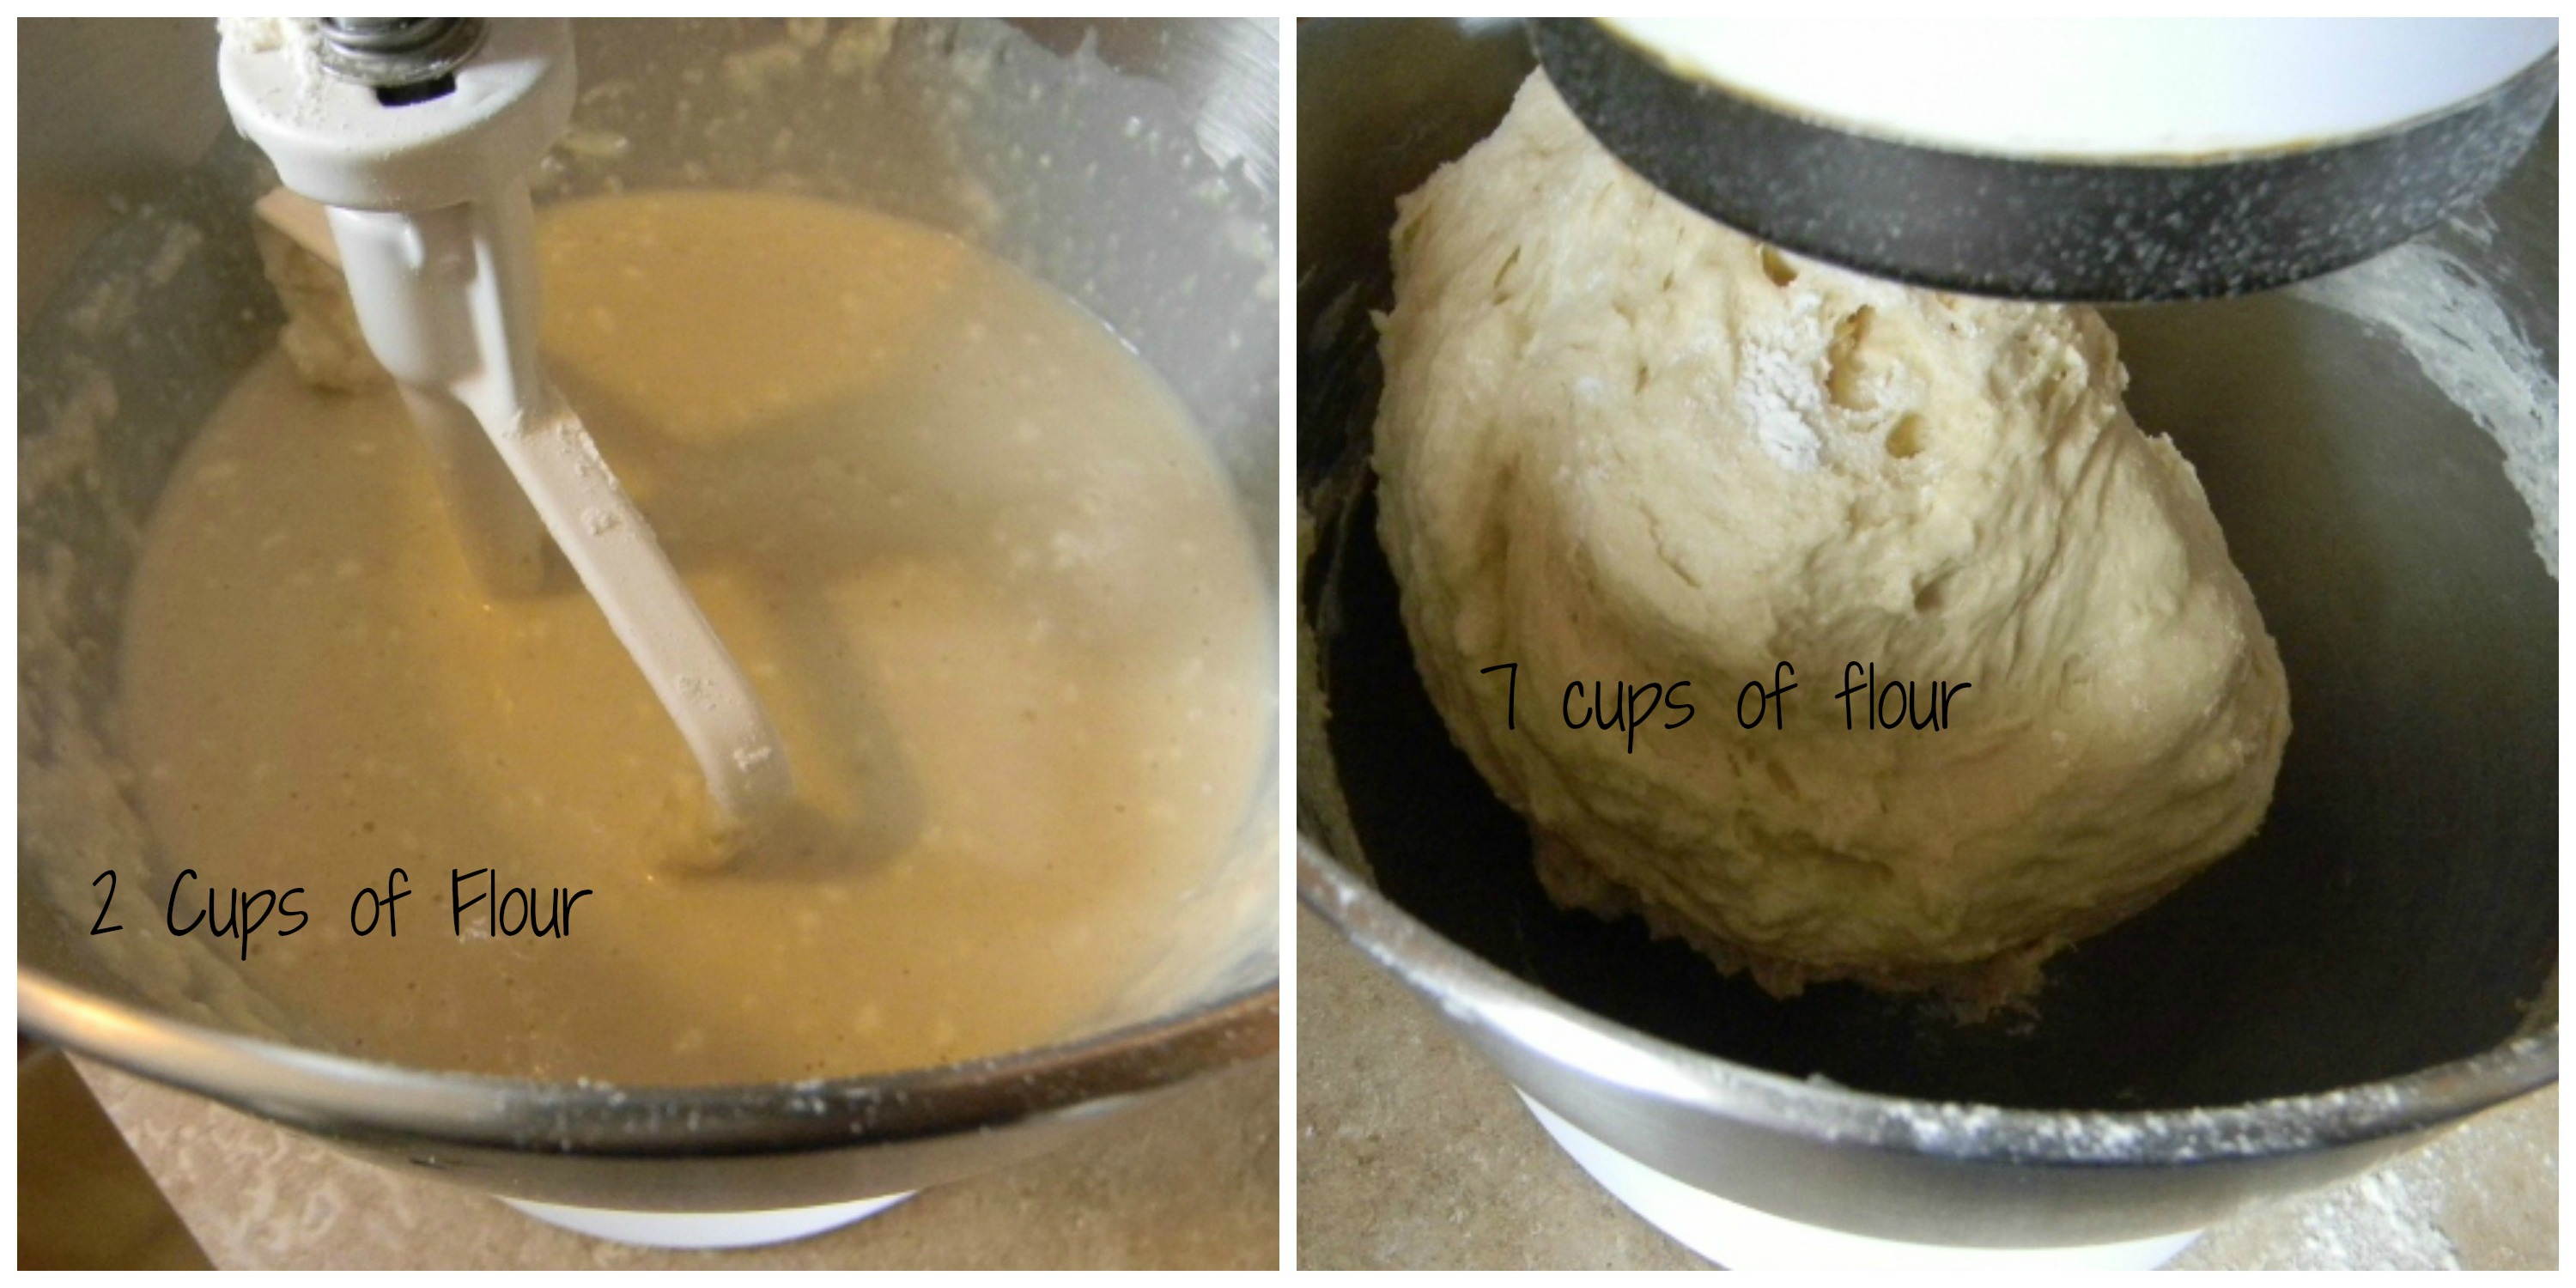 Step 3 – Put the dough on a well floured surface, or if you have a dough hook for your stand up mixer you can use that to knead the dough. I think the best part of making dough is kneading with my hands. Knead in the remaining flour, adding a tablespoon or two at a time, until the smooth dough no longer sticks to your hands. It will take about 5 minutes by hand, less if you use the mixer.
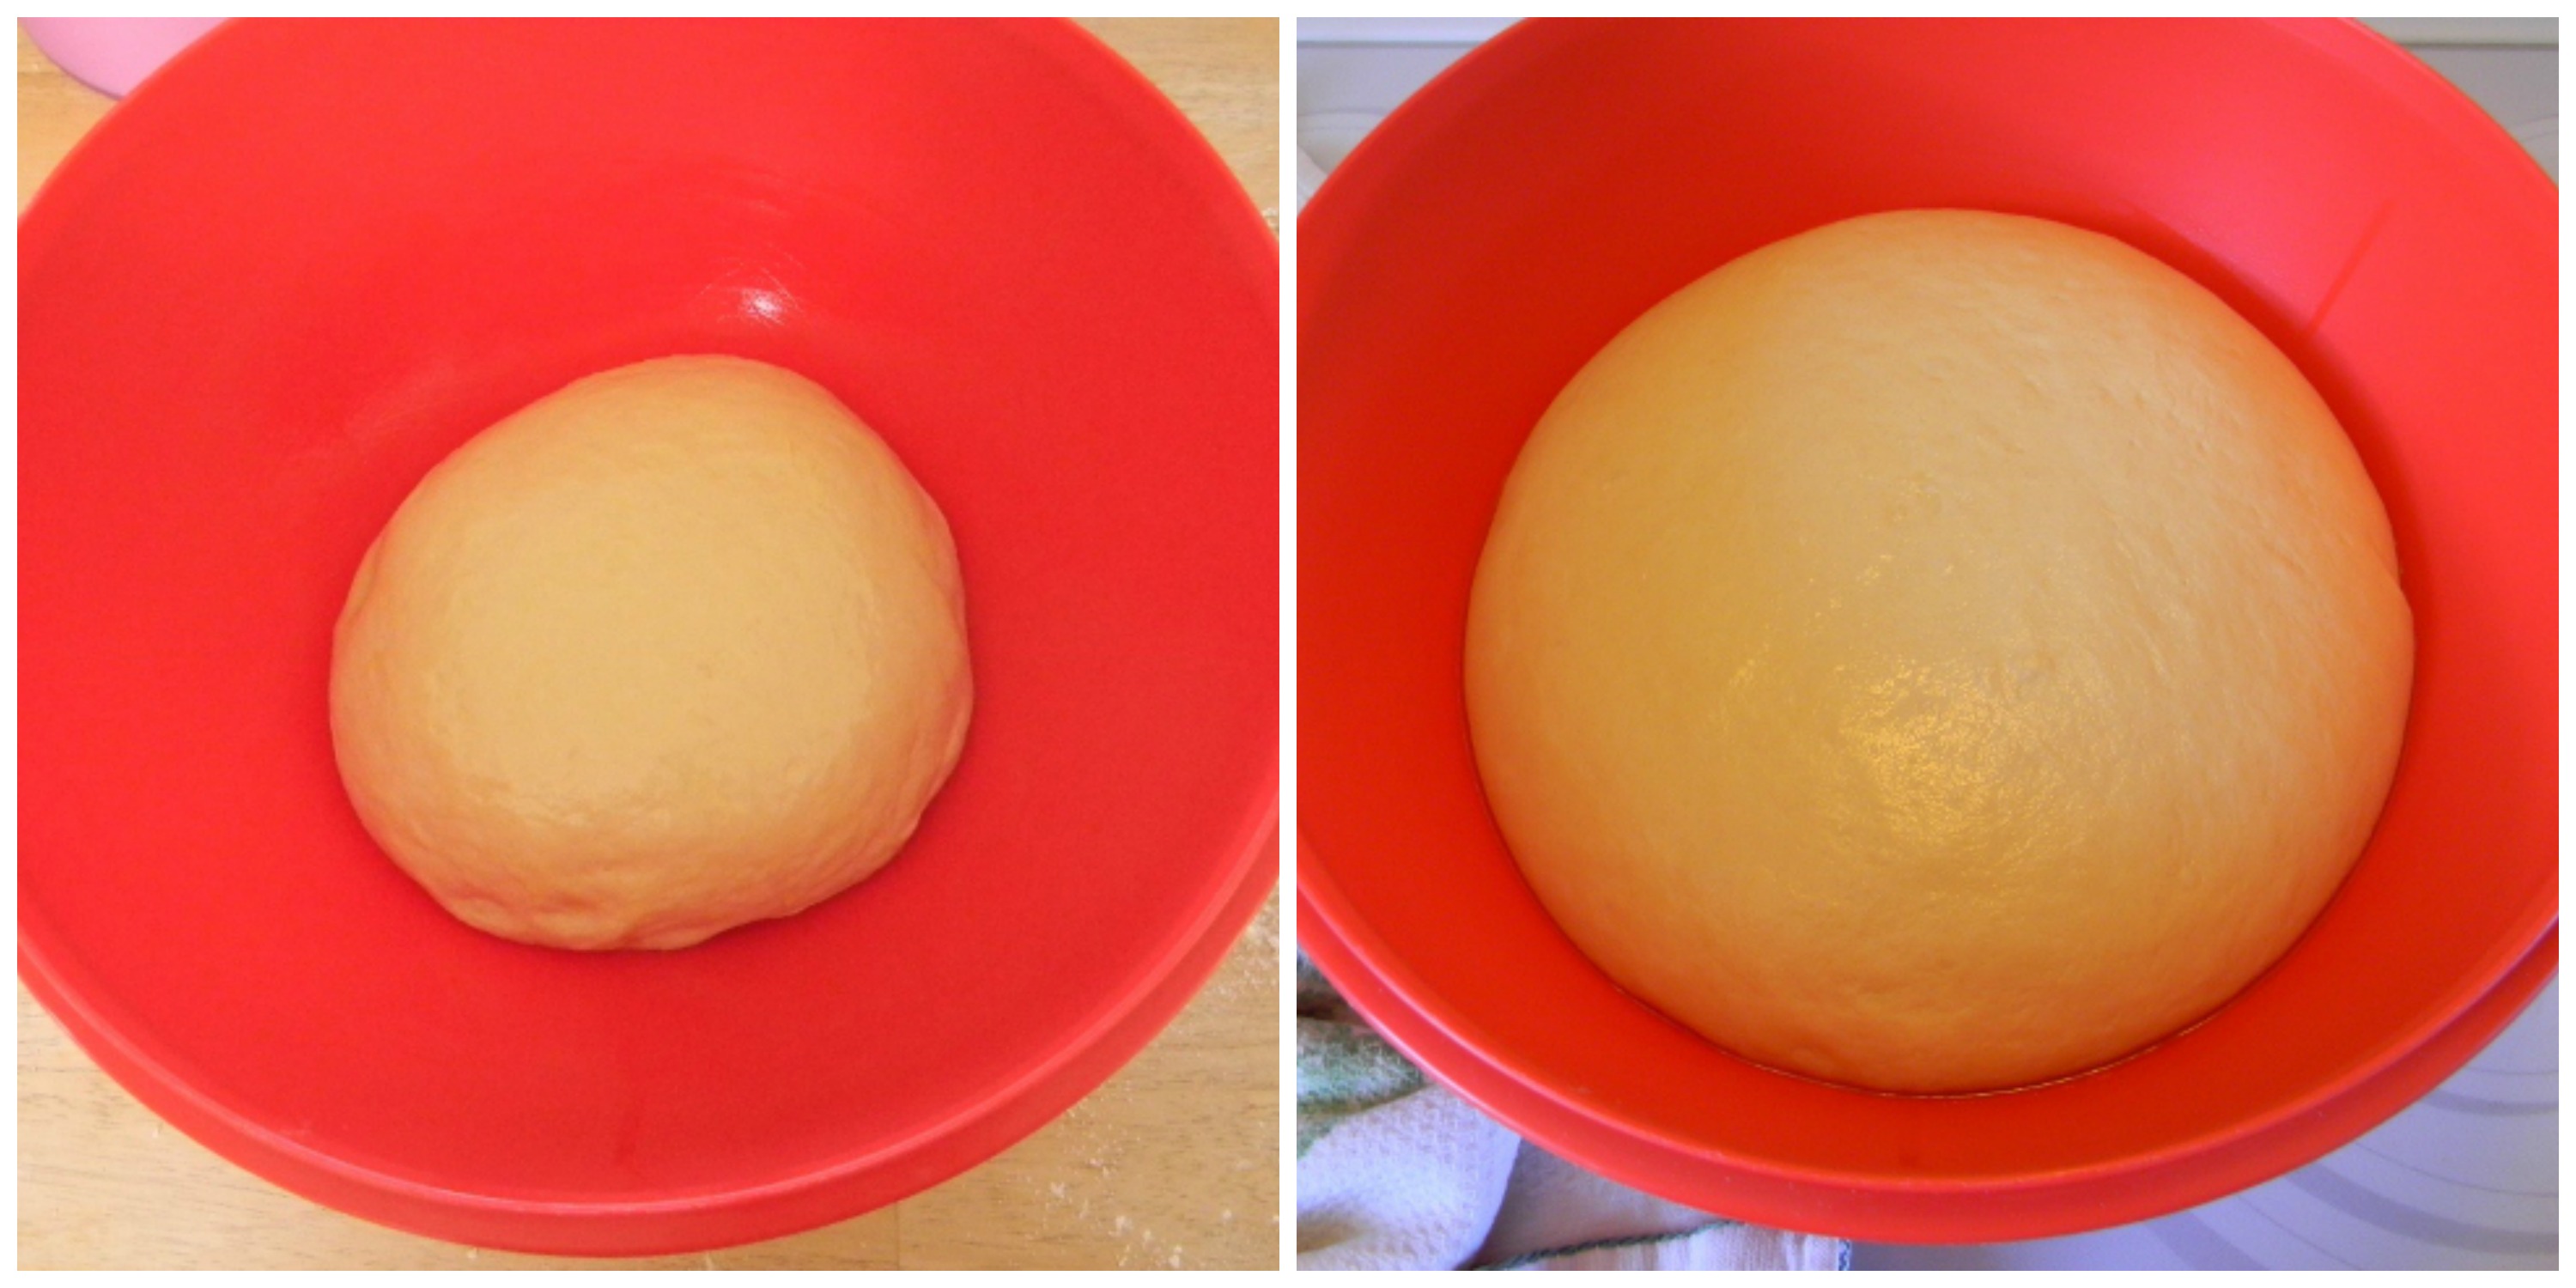
Step 4 – Place the dough into a large greased bowl (I used a little olive oil) turning it over so the dough is coated with oil. Cover the bowl loosely with plastic wrap and let it sit at room temperature until it has doubled in size. It will take about 1 to 1 1/2 hours.
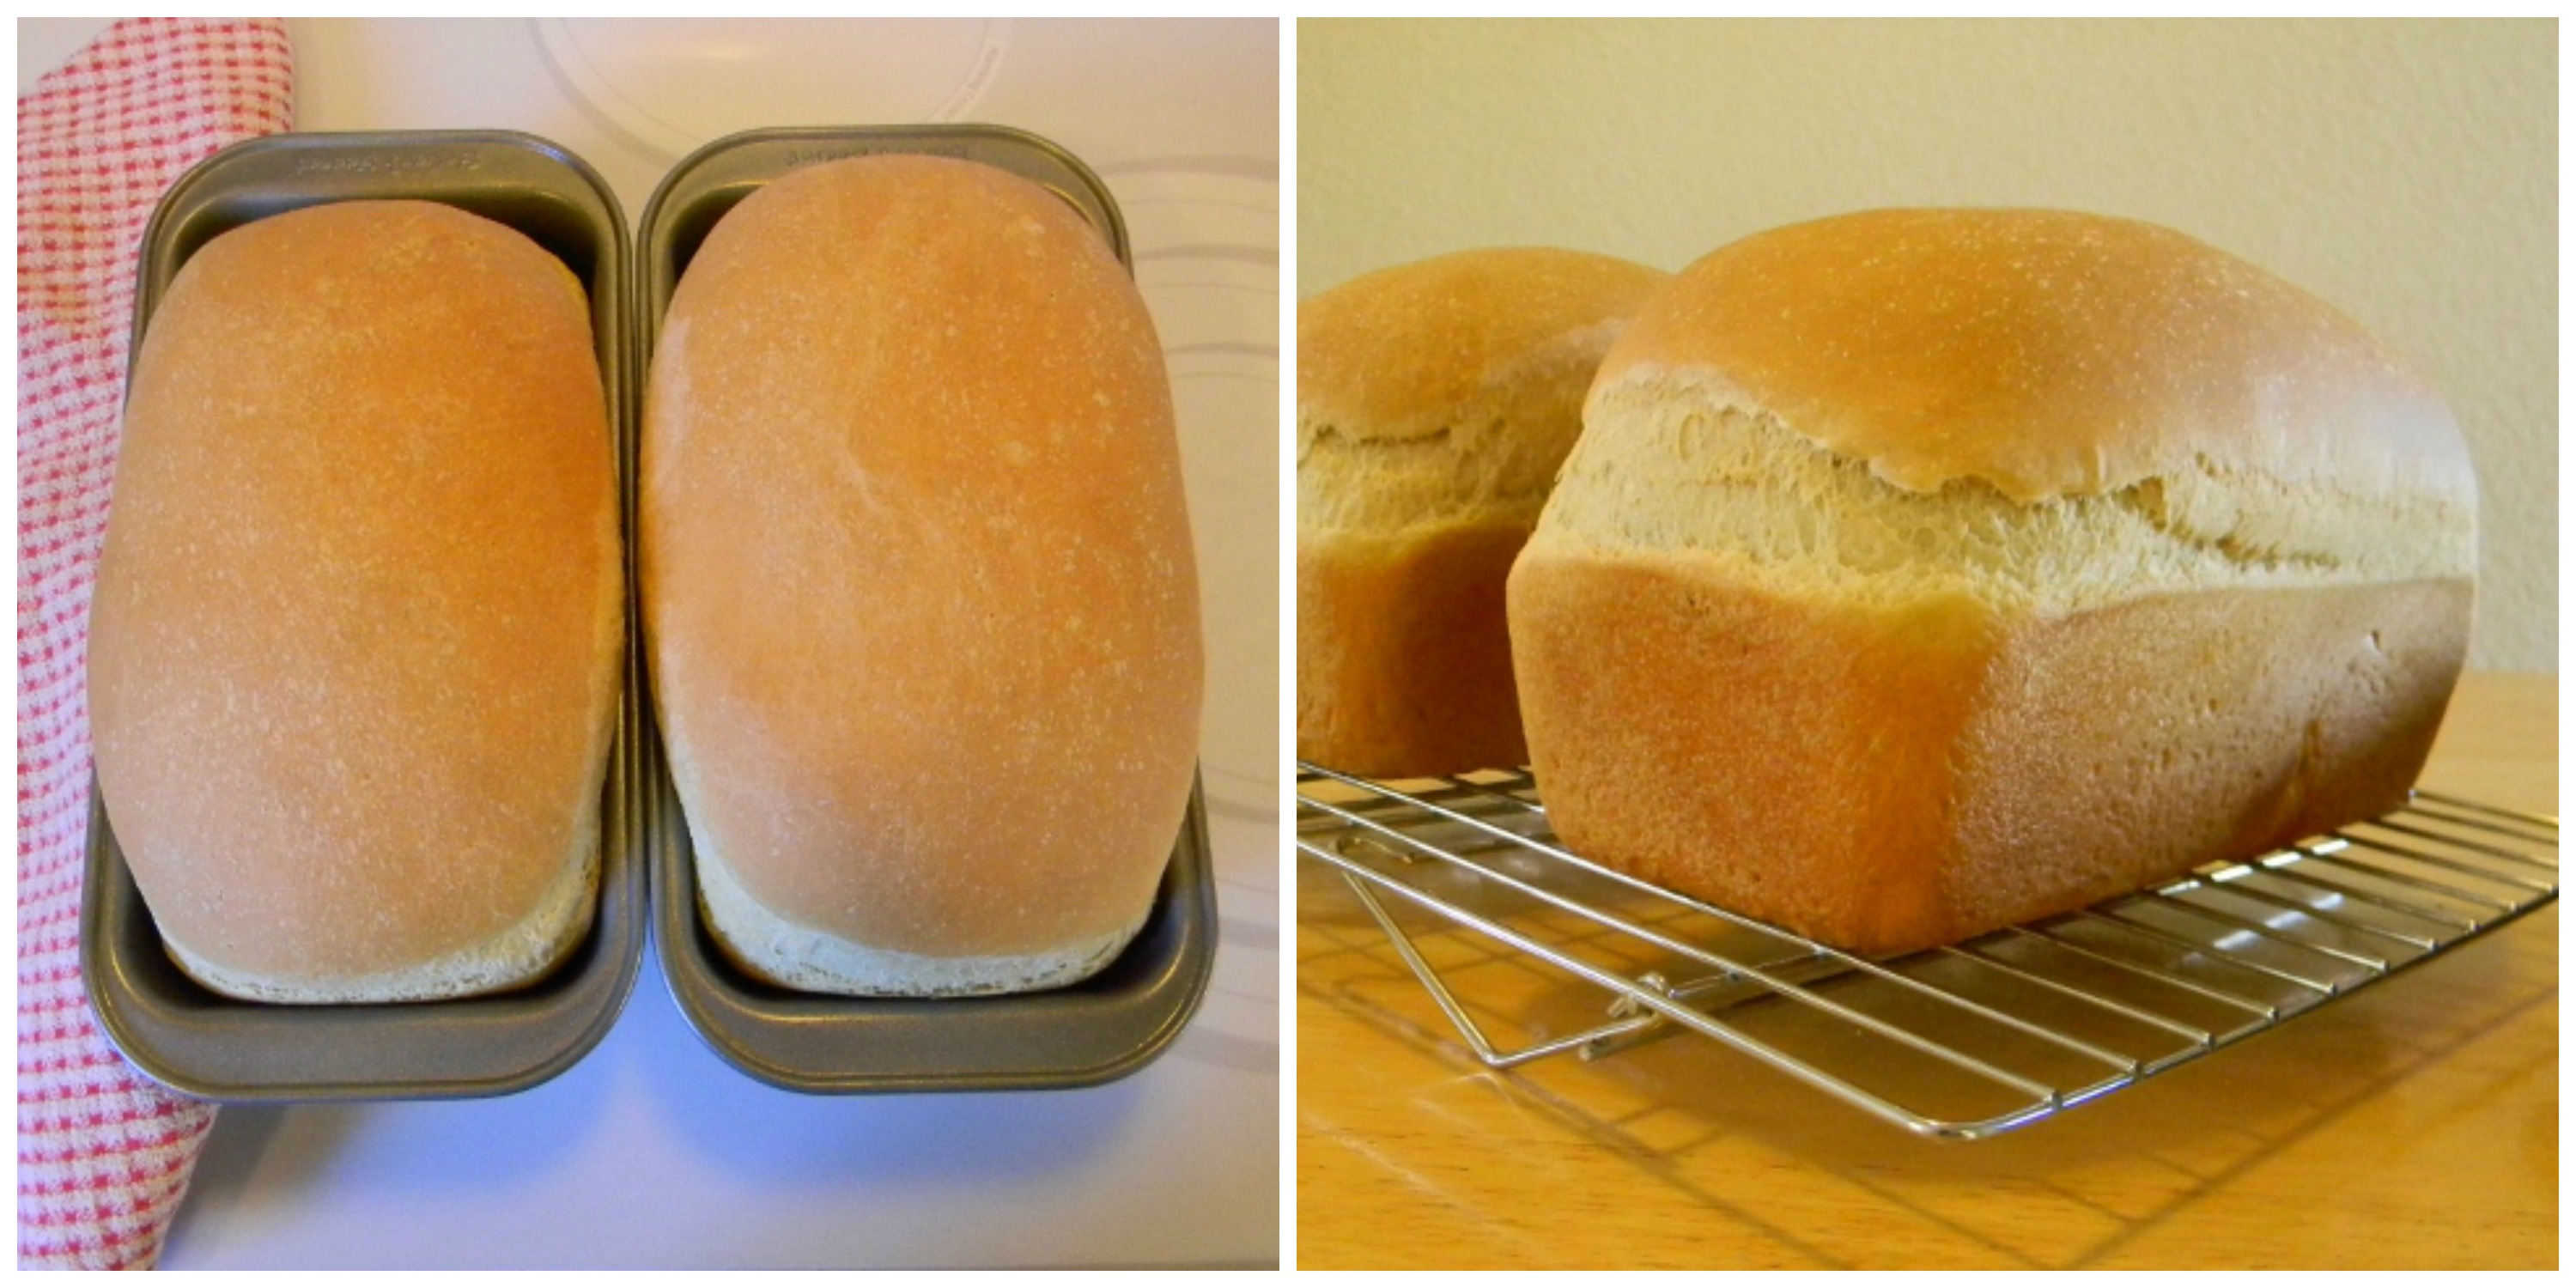
 Step 5 – Grease two 9X5 inch loaf pans. Divide the dough equally and shape each piece to fit in the loaf pans, place in the greased loaf pans and cover loosely with plastic wrap. Allow the loaves to rise at room temperature until doubled again. It will take about 30 minutes this time.
 Step 6 – Preheat the oven to 350 degrees while the loaves rise. Bake for 40 to 45 minutes or until golden brown. The loaves should sound hollow when tapped. Allow loaves to cool completely before slicing.
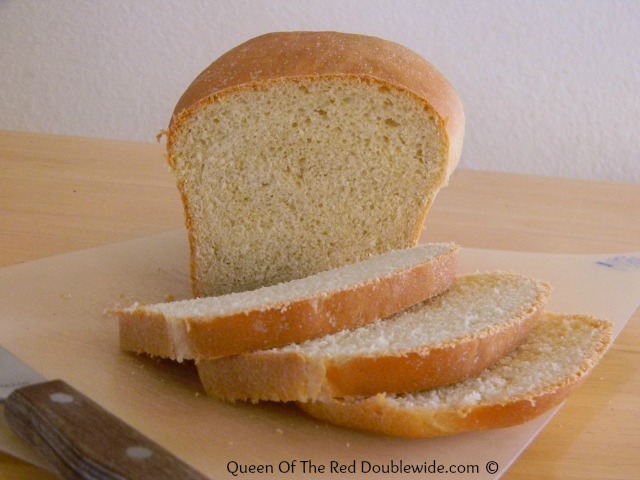
 This bread works great for sandwiches, toast and french toast. It is a little crumbly and it goes bad faster than store bought bread, but it tastes better, it’s less expensive and I know exactly whats in it!
 This is week six of baking our own bread and I have to admit I’m enjoying it very much! I think it’s time to start experimenting….Hamburger and hotdog buns are next on the list. 😀


Hi Grace!
You’re tempting me to try again. I took the plunge about 6 months ago and my loaf came out blicky. I haven’t tried again since.
Now that you’re beyond your initial attempt, about how long would you say it takes you to make 2 loaves from start to finish?
Hi Carol, I should have put the time in my post! I would say it takes me a little over 3 hours from start to finish but actual hands on time is only about 30 minutes. Well worth the time and effort! Thanks for stopping by and good luck with your bread baking. 🙂
HI Grace! Congratulations on making bread! The loaves look awesome! Sometimes the thing we think will be the hardest, ends up being the least difficult! Thanks for encouraging your readers with your success in bread making! Blessings from Bama!
Thanks Bama, Glad you came to visit!
Hi Grace! mmmm…. looks so yummy. WIll have to give it a try! Thanks for sharing! Stopping by from Homemade Mondays’ Linky Party. 🙂
Christine
http://www.myepicureanadventures.com
Thanks for coming by Christine!
I love making bread but I cheat because I have a bread machine. I told my friend is was my crock pot for carbs because it takes seconds to throw everything in it and 3 hours later you have a loaf of bread. My family favorite is the sandwich bread and one of my most popular posts with both bread maker and standard recipe.(http://novafrugalfamily.blogspot.com/2012/01/american-sandwich-bread-from-americas.html). I recently also made a honey wheat from hand that was tasty!! Yeast is a wonderful thing that makes yummy, tasty treats!!
Honey wheat bread sounds wonderful! Thanks for stopping by Alison
I had to click when I saw how the bread looked, yummy! I am a bread lover, myelf! Thank you for sharing, great tips!
Thanks Sara!
Pinning this. I enjoy baking bread-related products. 🙂
P.S. Thanks for your comment on my book review post. 🙂
Thanks Becca!
Your bread looks great! I also make all of our own bread. I have a BOSCH mixer that allows me to mix and knead enough dough for 5 loaves of bread in 5 minutes! It rocks!! Not much beats a loaf of homemade bread. 🙂
I have been dreaming about a bigger mixer since I started making bread! 5 loaves at once…wow!!
The bread looks awesome ! I have to admit I bought two ready-made doughs from our supermarket yesterday – I am definitely only a dump and bake type {for now, anyway!} Thank you for sharing your experience and recipe at our All My Bloggy Friends Party !
Thanks Linda!
You know, I have found so many people that are afraid of baking with yeast too. I know I was because my mom made me think that baking bread was super difficult! Thankfully I figured out differently and now I bake bread whenever I get the chance!
Thank you for sharing your experience with us on our Healthy Tuesdays Blog Hop. I hope you will join us next week too!
Kerry from Country Living On A Hill
It really is so much easier than I thought! Thanks for coming by Kerry.
Gorgeous bread! And I can almost smell it! Thanks so much for sharing on The Creative HomeAcre!
Hope to see you again tomorrow at:
http://www.theselfsufficienthomeacre.com/2013/05/thecreativehomeacrehom17.html
Thanks Lisa!
Yum. Love the step-by-step pics.
Thanks for coming by Jenn!
I would love for you to share and link up at my TGIF Link Party. The party is open every Thursday night and closes Wednesday’s at midnight.
http://apeekintomyparadise.blogspot.com/
Have a wonderful week!
Hugs, Cathy
Thanks for the invite Cathy!
Your bread looks delicious! Definitely a recipe I will be trying. Thanks for sharing. 🙂
Thanks Debbie, glad you stopped by!
Wow, this bread looks so delicious! I haven’t had any luck with sandwich bread so I might have to try this recipe. Looks like a good one to try for a beginner like me 🙂
Visiting from the What I Am Eating blog hop!
Thanks Tammy! It’s a good recipe to start with. 🙂
Thanks for sharing on The HomeAcre Hop! Hope to see you again tomorrow!
http://www.theselfsufficienthomeacre.com/2013/05/the-homeacre-hop-21.html
Grace,
You’ve unknowingly challenged me to see if I can make this bread but make it gluten-free. Yours looks too amazing to not try my hand.
I’ve enjoyed browsing your blog. Please check out Substance of Living, we’d love to have you!
Cheers,
Marie
A new fan visiting today from Totally Tasty Tuesdays.
What a delicious perfect sandwich bread! So glad to have found the recipe and your site! Your posts are warming, your recipes inviting.
This recipe worked so well for me. The bread is truly a very nice textured bread for sandwiches and is really nice toasted! This is definitely my Go To recipe now for white bread. After it came out of the oven and was cooling on a rack, I lightly brushed the top with melted butter and loosely covered it with foil – which I read on another recipe that this helps keep the crust a little chewy and soft/more pliable. Seems to work. My sometimes picky hubby agrees, too. Thank you, Grace. : )
What a great tip with the butter and foil! I’m going to try it, after a couple days homemade bread gets a little dry and crumbly. Thanks for the nice comments Chey!!
Congrats on making your first loaves of bread. I too thought bread making would be harder than it was my first time. I’ve come to really enjoy the whole process though. And homemade bread tastes so good!
http://www.joyelick.com/2013/06/a-farm-girls-bread-and-butter.html
Melody Joy,
“Farm girl: it’s a verb, because it’s what you do.”
I agree! The process has become very therapeutic for me. 🙂 Thanks for stopping by Melody!
A professional baker once told me to preheat to 425 and splash a couple of tablespoons of crushed ice and water on the floor of the oven at the start. The steam and higher temp gives a better rise. Reduce to 350 after 5 minutes and bake another 30 – 35 minutes. Also, my mom always buttered the tops when the bread came out of the oven.
Great tips! Thanks Paul….glad you stopped by.
Your bread looks scrumptious! I, too, had to deal with resident males who seemed terrified of whole wheat bread. You might try King Arthur White Whole Wheat flour, if it’s available in your area. Very tasty, and as long as they don’t see the label . . .
I also add whey powder and ground flax seed (soaked in about a quarter cup of warm milk or water) to my bread to up the protein content.
I am enjoying your blog very much.