Mary’s Super Moist Chocolate Zucchini Bread (With NO Vegetable Oil)

It’s that time of year again, the zucchini is pouring out of the garden.  I love the abundance of this versatile veggie, and have many recipes to use them up.  Zucchini bread has always been a good way to use it up, but this one is a super duper amazing way to use it!  I’m going to freeze lots and lots of zucchini just so I can make this bread all year long. ;D

marys bread

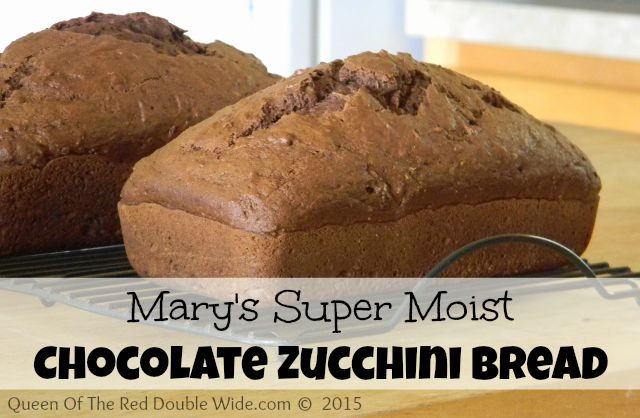
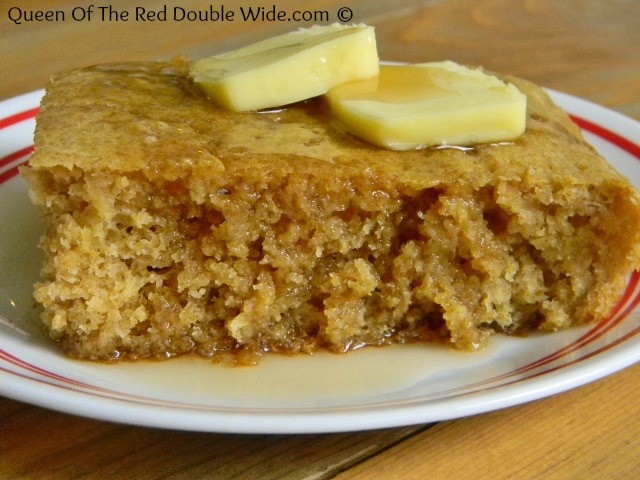
It’s so moist and smooth and sweet and wonderful and it all came about by accident.  Mary is the one that first made this, hence the name: “Mary’s Super Moist Chocolate Zucchini Bread”.  She had a recipe to follow, but we hadn’t been shopping for a while and didn’t have some of the ingredients, so she “improvised”.  We were all pleasantly surprised with the results. 🙂

DSCN5825 (480x640)

This is not only very tasty but healthier than most quick breads too!

Mary's Moist Chocolate Zucchini Bread (With NO Vegetable Oil)
 
This will make 2 loaves.
Author:
Ingredients
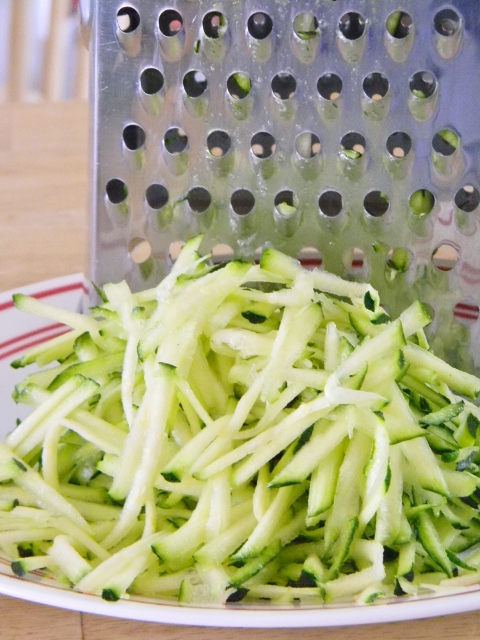
  • 2 cups grated zucchini
  • 3 eggs
  • 1 cup pumpkin puree
  • 2 cups of sugar (I use a bit less)
  • 1 stick melted butter (half a cup)
  • 3 teaspoons ground cinnamon
  • ¼ teaspoon baking powder
  • 1 teaspoon baking soda
  • ½ teaspoon salt
  • 3 and ¼ cups all purpose flour
  • ½ cup cocoa powder
Instructions
  1. Grease two loaf pans and preheat oven to 350 degrees.
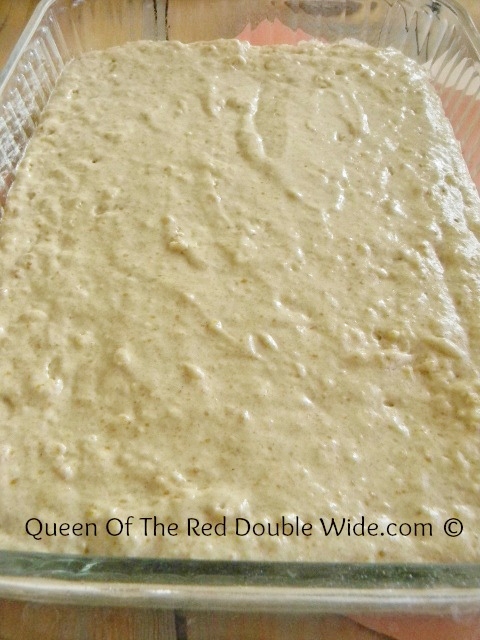
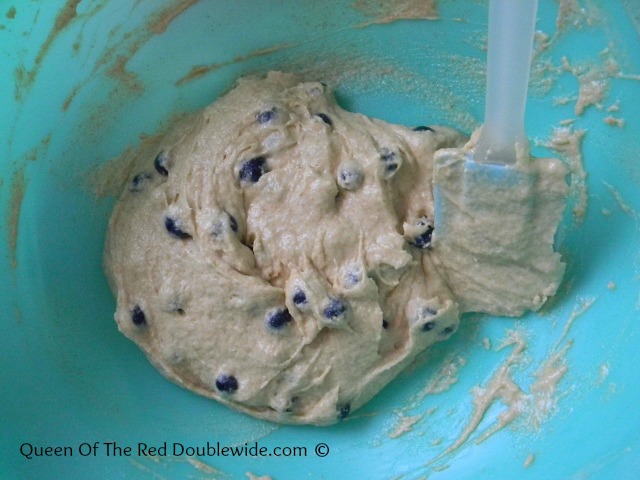
  2. Mix the first 5 ingredients until well combined.
  3. Add the rest of the ingredients and mix well.
  4. Divide the batter between the 2 loaf pans.
  5. Bake at 350 degrees for 45 min then lower the temp to 300 degrees and bake an additional 15 minutes.
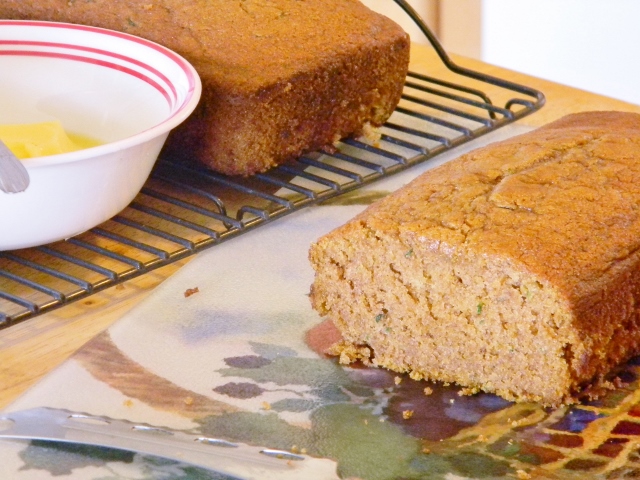
  6. Remove from the loaf pans and cool completely before cutting.

Another great thing about this bread is you have options!  I love options. 🙂

DSCN5863 (480x640)

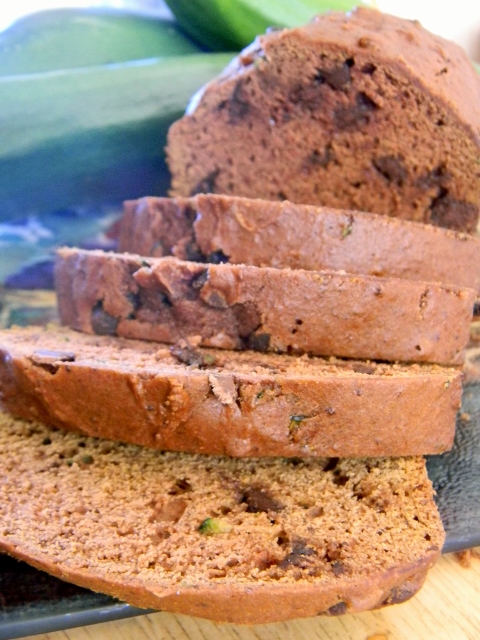
You can add a 3/4 of a cup of chocolate chips and have “Mary’s Super Moist Double Chocolate Zucchini Bread” (this is my girls favorite).

DSCN5888 (640x480)

Or you could leave out the cocoa powder and have “Mary’s Super Moist Zucchini Bread” and it’s still, oh so good!!

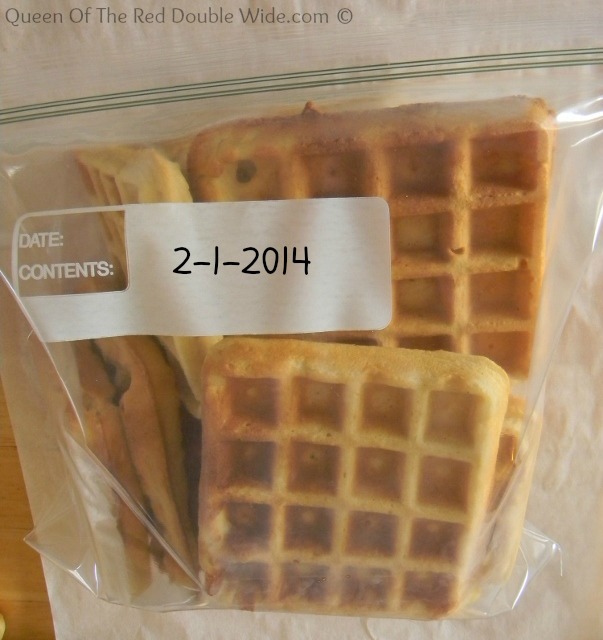
Wait, there’s more!….We made three batches of this last week (6 loaves).  Six loaves for four people is a bit much, so I froze 2 loaves and took them out yesterday for breakfast and took some to our Bible study.  They froze VERY well and I think they might have even tasted better from the freezer!?!? WHAT?

I have noticed that while this bread is delicious still warm from the oven, it’s very crumbly if you don’t let it cool completely first.  Its even easier to cut after being in a zip lock bag over night.  But, it tastes great ANY time. 🙂

Chicken Noodle Soup With Homemade Noodles

I’m excited to share this one with you!  I’ve made chicken noodle soup many, many times but this one is by far my favorite.  I think it’s the homemade noodles and homemade chicken stock…..yummmmm!

Chicken Noodle SoupStart out by chopping up a medium sized onion and a cup of carrots.  Add them to a big pot with olive oil, minced garlic, parsley, basil, and thyme.  You can add celery too, somebody in our house doesn’t like celery so I leave it out.

SoupSaute for a few minutes until the onions are cooked.  The carrots will not be done yet, but they will finish cooking in the stock.  It will smell amazing!  Add the chicken stock, shredded chicken, salt, and a bay leaf to the pot.

Chicken StockLet it simmer for a half hour or so, while you make the noodles.  Here is the recipe for homemade egg noodles.  I use about half of that recipe in this soup.

Egg NoodlesAdd the noodles to the simmering pot, the fresh noodles will cook in just a couple minutes.  If you made your noodles ahead of time and added them dry, it will take a bit longer.  When the noodles are done remove the bay leaf, add salt and pepper to taste and your soup is ready to serve!

Chicken Noodle Soup With Homemade Noodles
 
Author:
Recipe type: soup
Serves: 4
Ingredients
  • 1 medium sized onion, chopped
  • 1 cup chopped carrots
  • ½ teaspoon dried thyme
  • 2 teaspoons dried parsley flakes
  • ½ teaspoon dried basil
  • 3 minced garlic cloves
  • 1 - 2 tablespoons olive oil
  • 2 quarts chicken stock
  • 1 bay leaf
  • 2 cups shredded chicken
  • ½ teaspoon salt
  • homemade egg noodles
  • salt and pepper to taste
Instructions
  1. In a big pot saute onion, carrots, thyme, parsley, basil, and garlic in the olive oil until the onions are cooked through.
  2. Add the chicken stock, shredded chicken, bay leaf, and salt to the pot and simmer while you make the noodles. (let it simmer for at least a ½ hour)
  3. Add the fresh noodles or dry noodles that you made ahead of time to the simmering pot and let the noodles cook thoroughly.
  4. Remove the bay leaf and add salt and pepper to taste.


chicken soup with homemade noodlesThis makes a hearty meal for four people. I usually double it and enjoy leftovers. 🙂

How To Freeze Waffles, Pancakes, And French Toast For Easy Weekday Breakfasts

This is the easiest thing EVER.  Why have I not been doing this for years!?!?  I love easy, yet healthy breakfast foods.  The kind that I don’t have to worry about on weekday mornings.  Lately when I have the time, I make a HUGE batch of fluffy whole wheat pancakes, or waffles and then freeze whatever is left.  When I have bread that’s getting a little old I make french toast and put it in the freezer.  (sorry chickens no more stale bread for you)

How to freezeThis is how I do it:  Take your cooled off leftover pancakes, waffles, or french toast and layer them on a cookie sheet with parchment paper. (I have gone up to 4 layers)  Try to make sure they are not touching so you don’t have to hack them apart.

Freezing BreakfastPlace them in the freezer until they are frozen through.  The more layers the longer it will take.  I just leave mine in over night.  When they are frozen through, place them in a dated, resealable, freezer bag and put them back in the freezer.

Freezer WafflesIt’s that easy, and now you have a homemade, fast, healthy breakfast on hand.

To reheat them on those crazy weekday mornings, just pop them in the toaster.  You may have to adjust the timing or temperature on your toaster so they have time to thaw out and toast.  My girls use the toaster for the waffles, pancakes, and french toast, but if you aren’t into crispy pancakes and french toast you can always microwave them for 1 to 2 minutes or preheat the oven or toaster oven to 350 degrees and bake them for 10 to 15 minutes.

It’s sooooo nice to have yummy, healthy options in the morning that don’t come from a box.  🙂

Easy Slow Cooker Applesauce With a Twist!

My mom picked up two boxes of apples for me the other day and now it’s Saturday and I have time to deal with them!!

Apples

5.0 from 2 reviews
Easy Slow Cooker Applesauce With a Twist!
 
Author:
Ingredients
  • apples
  • pumpkin pie spice
Instructions
  1. Peel and slice enough apples to fill your slow cooker. Sprinkle 1 to 2 tablespoons of pumpkin pie spice on the apples and cook them for 4 hours on high or 8 hours on low. Let it cool off a bit and blend smooth with an immersion blender. My 6 quart crock pot made 8 cups of applesauce.

I made slow cooker applesauce last month and ABSOLUTELY loved it!  So I knew that was where most of these apples would end up.  The rest are being dried, eaten in lunches, and maybe I’ll make some apple cake.

I said this was easy and I do mean EASY.  I peeled and sliced enough apples to fill my 6 quart slow cooker to almost over flowing.

 DSCN9682 (480x640)

Now for the twist….. I’ve been looking for more ways to use my homemade pumpkin pie spice mix so I added somewhere between 1 and 2 tablespoons to the crock pot and turned it on high for 4 hours (on low for 8 to 9 hours works too).  Oh how I wish you could have smelled the aroma coming from my crock pot! After 4 hours I stirred up the apples and let them cool for a bit.  If you like your applesauce a little lumpy you can leave it as is or you can blend it for a smooth consistency.  It took about 30 seconds with an immersion blender.  That’s it….I ended up with about 8 cups of  wonderful, fall flavored applesauce, no sugar needed!

Easy Slow Cooker ApplesauceWe eat most of this as fast as I can make it, but if you want you could freeze or can your applesauce for later. 🙂

Apple Sauce1

Baked Whole Wheat Pancakes

One of my sisters sent me a baked pancake recipe the other day via Pinterest.  What a brilliant idea!!  As I mentioned before in my German Puff Pancake post I really dislike standing at the oven flipping pancakes FOREVER….while half of the family eats and the other half waits for a pancake.  There are times though that you just need a good ol’ fluffy  pancake and we’ve been loving my Fluffy Whole Wheat Pancake recipe.  As I slowly bounced this idea of baked pancakes around in my brain…I thought, why can’t I bake my own pancake recipe?  That would be the best of both worlds, a pancake that I already know we like and no flipping or waiting involved. 🙂

So I mixed up a batch of Fluffy Whole Wheat Pancakes.

Baked PancakesPoured the batter into a greased 13X9 inch pan.

Baked PancakesBaked it at 350 degrees for 25 minutes.

Whole Wheat Baked PancakesWho says you can’t have your cake and eat it too?

Baked Whole Wheat PancakesThis got a thumbs up from everyone around here, including Uncle Tom.  😀

Easy Fresh Green Bean Recipes

Green beans, green beans, green beans every where.  I have planted green beans many, many times, but never have they tasted so good or been so abundant! (it must have been those heirloom seeds?)   We pick them about every three days trying to keep up with them.

Fresh Green BeansAll these green beans have let me get acquainted with my brand new pressure cooker!

Canned Green BeansSo far I have canned 20 pints and 14 quarts.  I’m thinking that will get us through an entire year, especially since Digger isn’t fond of canned green beans.  I have given some away to friends and family and the rest we have been enjoying with dinner.

Here are 2 super tasty ways to EASILY add fresh green beans to your dinner.

First find a REALLY cute niece to help you snap the beans. 🙂

Bean snappen
She took her bean snappin job VERY seriously!

If you don’t have one of these (my sympathies) it CAN be done alone, BUT it is very boring.

After the beans are snapped and you have picked up all the beans off the floor and cut all the little teeth marks off of them, give them a good washing!  (I told you, not boring with a cute helper)

Grease a cookie sheet and place as many snapped and washed beans as your family will eat for dinner on the cookie sheet.  Drizzle with some olive oil and sprinkle sea salt and freshly ground pepper on the top.  Place in the oven at 400 degrees for about 20 minutes.  This is soooo easy and so yummy!

Oven Roasted Green BeansThe next recipe is my favorite because it involves BACON!

You will need fresh snapped and washed green beans, bacon, and a small onion.

Green Bean RecipeChop up the bacon (I used 6 slices) and fry it until crispy.  Place the bacon on a paper towel to drain,  leave the bacon fat in the pan and add the onion and green beans (about 4 cups).  I used half of a LARGE onion I bought from our neighbors at the farmers market….wow!  Let them saute in the bacon grease for a few minutes, stirring often.  When they are done to your liking, drain excess liquid then add the bacon back in and stir.  Add Salt and pepper to taste.

Fresh Green Bean RecipeThat’s it; deeeelicious!  I ate this for lunch yesterday…well not ALL of it, I shared a little with the girls. 🙂  Digger who won’t touch a green bean out of a can will happily eat either of these easy fresh green bean recipes!

Happy snappin everyone!

Healthy Homemade Blueberry Muffins

Blueberry Muffins 3Berries seem to be everywhere right now, and muffins are a weakness of mine so we’ve been eating lots of them lately.  A couple weeks ago I shared a Fresh Raspberry Muffin recipe that used our homegrown raspberries.  The girls and I made several batches, but now the bushes are pretty much picked clean.  Sadly we don’t have any blueberry bushes (yet), but I did find some for a very good price the other day so I bought LOTS!   I  found this blueberry muffin recipe about a month ago and they looked sooooo delicious I couldn’t wait to try them!  I made a few minor alterations to the recipe and oh yum, yum, yum!

Blueberry Muffins 1In a big bowl stir together the milk (any kind will work), melted butter or coconut oil, egg, vanilla and sugar.  Then mix in the flour, baking power, and salt.

Blueberry Muffins 2Gently fold in the blueberries.  We used fresh berries but frozen would work too. Fill greased muffin tins two thirds full (this makes about 10 muffins).  Bake at 375 degrees for 20 minutes.

Blueberry Muffins 4They went really well with my iced coffee. 😀

Healthy Homemade Blueberry Muffins
 
Author:
Cuisine: For breakfast or a snack
Serves: 10
Ingredients
  • ¾ cup milk - any kind of milk will work
  • ¼ cup melted butter or coconut oil or olive oil if you prefer
  • 1 egg
  • ½ tsp vanilla extract
  • ⅓ cup organic sugar or sucanat
  • ¾ cup unbleached all purpose flour
  • ¾ cup whole wheat flour
  • 2 teaspoons baking powder
  • ½ teaspoon sea salt
  • 1 cup blueberries fresh or frozen
Instructions
  1. Stir together the milk, butter, egg, vanilla, and sugar. When it's nice and smooth mix in the flours, baking powder, and salt. Then gently fold in the blueberries. Fill greased muffin tins about two thirds full. Bake at 375 degrees for 20 minutes. This will make about 10 muffins and can easily be doubled if you want more.

I’m going to make a dairy free version of these for my mom and sister by using almond milk and coconut oil.  I love recipes that you can easily substitute ingredients for people with allergies!

This recipe was adapted from Angela at Hickory Trails.  She took some amazing pictures of her muffins; you should check out her blog!

Chocolate Peanut Butter Smoothie – Sugar Free

Summer is finally here!  We enjoy smoothies all year, but they seem to be especially good on hot days.  So to celebrate the beginning of summer I’m sharing one of our favorite smoothies,(the girls have been making these daily!)  The best part is I don’t mind them having one everyday, they are a pretty healthy snack, especially if you have organic ingredients. 🙂

Choc PB Smoothie

5.0 from 2 reviews
Chocolate Peanut Butter Smoothie - Sugar Free
 
This makes enough for one adult size smoothy or two kid size smoothies. The recipe can easily be doubled or tripled.
Author:
Recipe type: Smoothy
Ingredients
  • ¾ of a cup of milk (any kind of milk)
  • 1 frozen banana
  • 1½ tablespoons cocoa powder
  • 2 ice cubes
  • 2 tablespoons peanut butter
  • 5 to 7 drops of liquid stevia - we use the chocolate flavored (If you don't use stevia any sweetener will work, honey, maple syrup, sucanat ect....)
Instructions
  1. Put all the ingredients in a blender and push the liquify button, blend until you have a nice smoothy consistency. It takes about 30 seconds in my blender.

Chocolate PB SmoothieThis is a very versatile recipe; if you can’t have peanuts just leave out the peanut butter, it’s still yummy.  If you need dairy free, you can use a different milk.  I have used almond milk and rice milk and both worked great.

An easy, healthy, summer treat with chocolate and peanut butter….how could you go wrong? Yummmm!!

Happy Summer Everyone!

Related Posts Plugin for WordPress, Blogger...