Homemade Celery Salt & Mayonnaise, Spring Cleaning Tips, Ducklings and Much More!!

For those of you who missed my last post, I wanted to invite you over to our new blog (Sufficient Acres.com) we are slowly moving posts from here to there and posting all sorts of new stuff over there!  We would LOVE it if you would click on over and take a look and sign up for our weekly newsletter.

Here are just a few of our latest posts you might want to check out, just click on the picture to take you to the new blog to read the post.

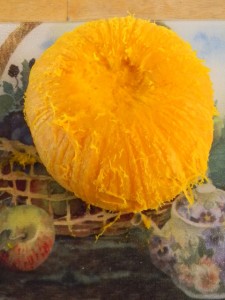
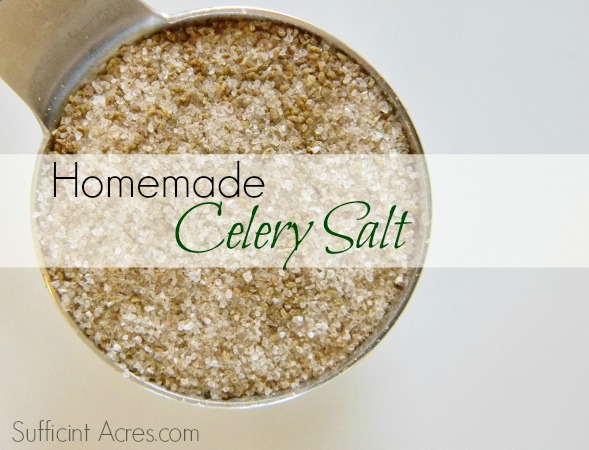
Homemade Celery Salt

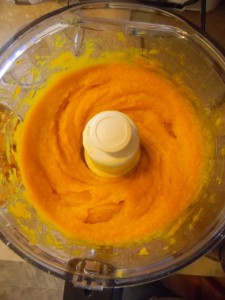
homemade mayo

mulch garden

Remove Hard Water Stains Without Chemicals

homemade play dough

tater tot crust casserole

On our new blog instead of sending an e-mail every time we publish a post we send out a free weekly newsletter that goes out every Saturday morning.  Because we post info. on several different topics like: from scratch cooking, raising chickens and ducks, homeschooling, gardening and natural cleaning tips/recipes.  We thought it would be nice for you to receive one email a week that contains all of our posts from that week, then you can choose what you want to read from there.   To sign up for the newsletter click over to the new blog scroll down just a little bit and enter your email and first name under the sunflowers (on the right side of the screen) and click subscribe!

Thanks so much to all of you that have followed along and supported Queen of the Red Double Wide.  I have enjoyed your emails, comments and encouraging feedback!  We hope you will enjoy Sufficient Acres.com even more!

DSCN9618 (640x484)

A Few Photos AND Something We’ve Been Working On – Feb 2016

February just flew by!  Here’s a few pics of our month then I’ll explain why I haven’t been posting much and what I’ve been working on instead!

DSCN8613 (480x640)

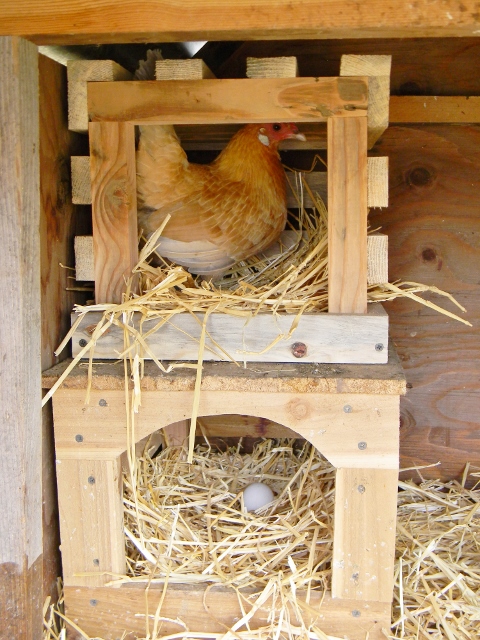
Jess built the bantam hens some nesting boxes to try to entice them to lay in their little coop instead of hiding them in the barn.  So far two out of three have decided they like the new boxes. 🙂

DSCN8620 (621x640)

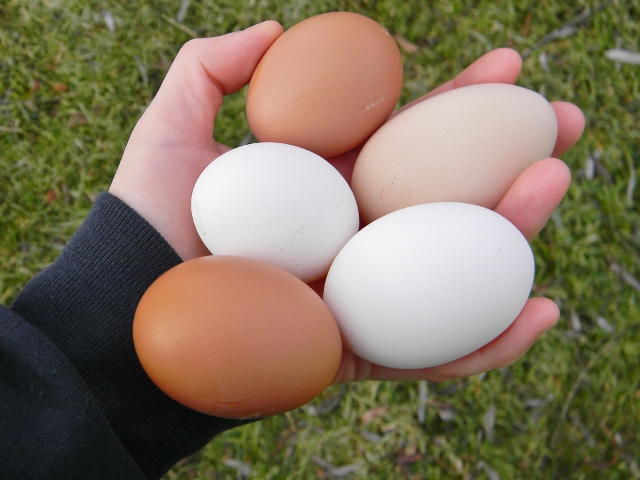
Look who found the eggs that were hiding in the barn!

DSCN8639 (480x640)

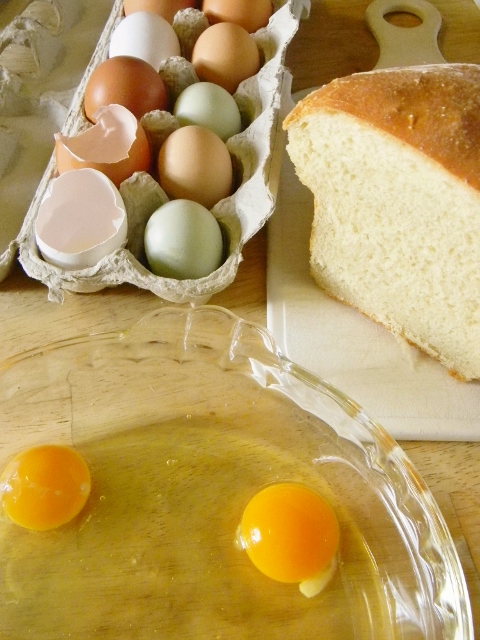
The hens have been laying like crazy!  French toast has become a favorite way to use those eggs.

DSCN8674 (640x480)

Been experimenting and trying to come up with the perfect biscuit recipe……

DSCN8643 (480x640)

Is anybody else just done, done, done with mud, mud, mud?….

DSCN8927 (640x480)

Sooooo…..what have we been up to lately?  Jess and I decided to start another blog.  I’ve been working on getting it up and going and am now ready to invite y’all to come on over and take a look!  Instead of being MY blog it is now OUR blog and we will be sharing more of a variety of things, but all centered around our journey to a more sustainable, frugal and intentional lifestyle.

Sufficient Acres

I will be committing a lot more time to this blog and posting at least twice a week.  Real food recipes, raising chickens (and soon ducks), homeschooling, chemical free cleaning, gardening, woodworking and repurposing old furniture are all on the list to share.  Eventually “Queen Of The Red Double Wide”  will go away, but not until we get lots of the information transferred to the new blog.   Another thing that will go away is my the Facebook page.  I have to admit that I’m not a fan of Facebook and did not do a good job of posting on my page!  You can, however follow my Instagram account (I post there daily), my Pinterest account and you can sign up for the weekly newsletter on our new blog.  We chose to do a weekly newsletter instead of sending out an email every time we publish a post.  This way you will receive one email that will have links to all the posts from that week plus a little note from us letting you know what’s going on around here and probably a few pictures from our week.  Our whole goal is to post useful information that will encourage and motivate you to “Do what you can, with what you have, where you are”!(Theodore Roosevelt)  So hop over to Sufficient Acres.com and say Hi!  I’m so excited about this and am looking forward to this new adventure!


A Couple Months Of Photos From The Red Double Wide – Dec 2015 & Jan 2016

Hope you all had a great Christmas and New Year and are surviving the winter weather.  Here are a few pics from the last couple of months.

DSCN7861 (480x640)

DSCN7836 (640x480)

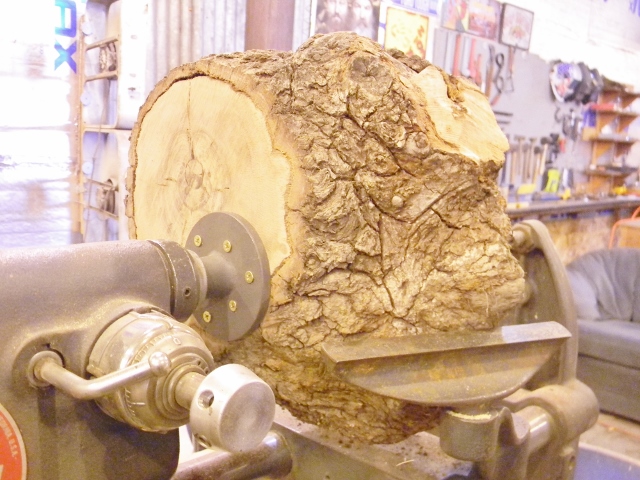
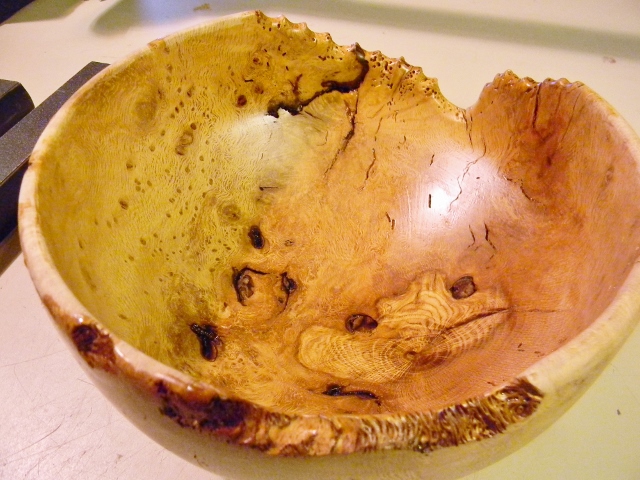
Jess turned this oak stump into…..

DSCN7961 (640x480)

this bowl and gave it to my mom for Christmas.  He claims he broke every tool he has on it. (I think it was worth it) 😉

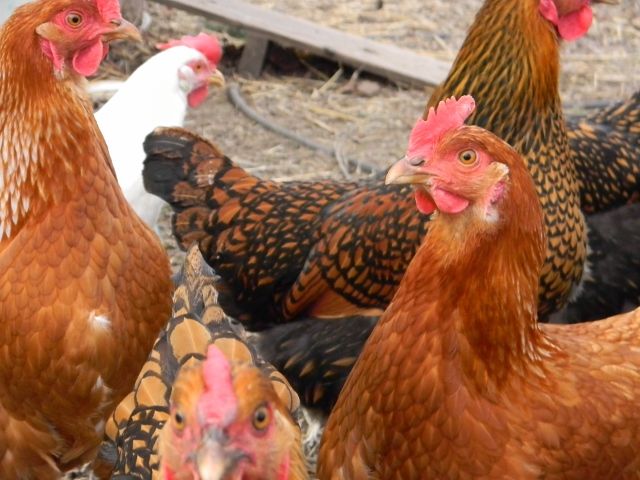
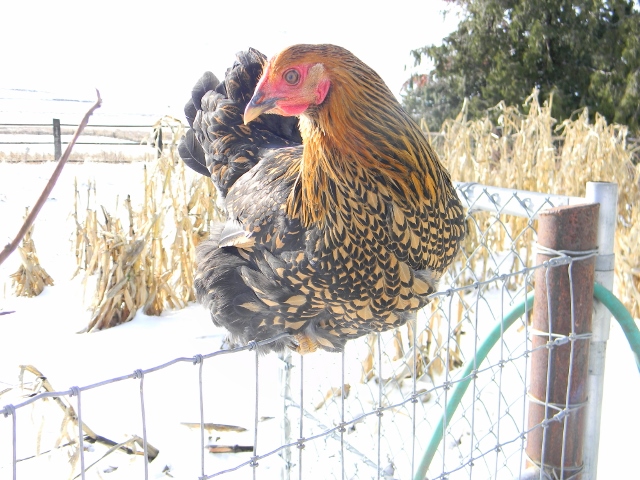
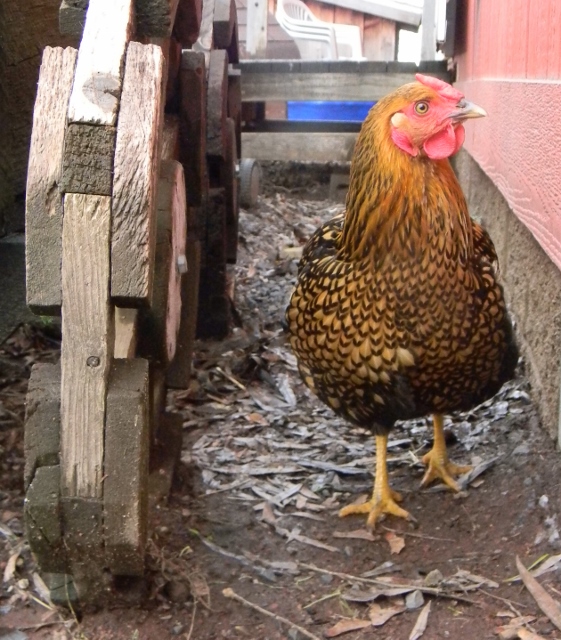
Golden Laced Wyandotte in the snow

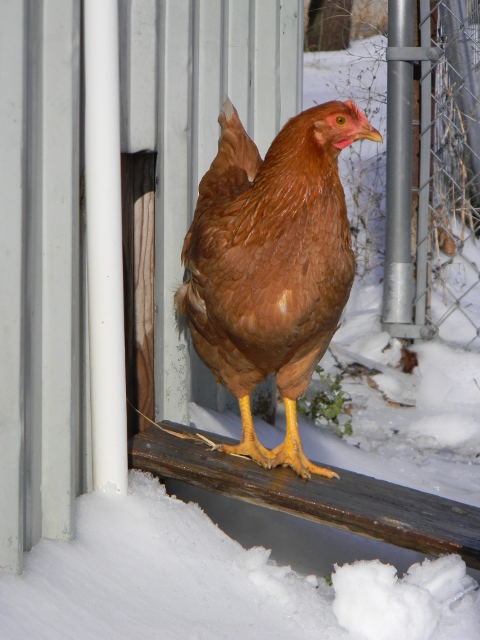
My ladies did not think much of all the snow and ice.

red sex link hen

But……

first egg (463x640)
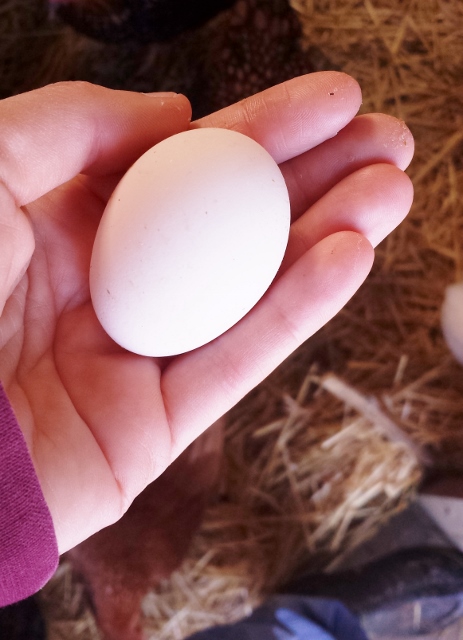
First egg!

they finally started earning their keep!!  I’m getting 8 or 9 eggs a day now.

DSCN8492 (640x480)

We’ve had snow and ice and slush and rain and now mud….more moisture than we know what to do with!

Ice

We got to go sledding….

DSCN8220 (480x640)

Guess who had the most fun!?

Rebel in the snowRebel LOVES the snow and the excitement of sledding turned him into a little terror!!

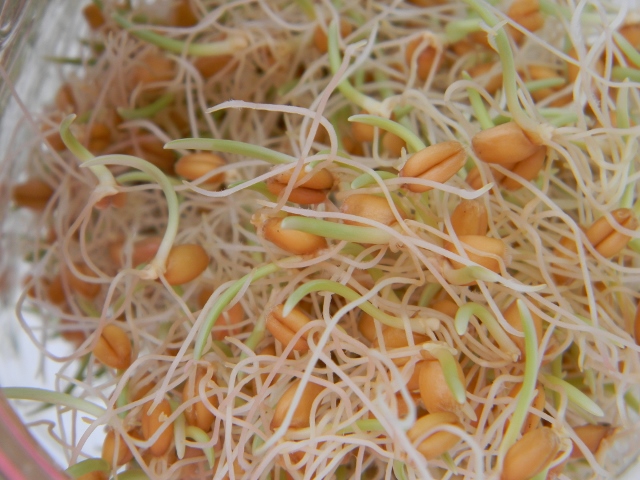
sprouting wheatWith all the snow and ice the chickens weren’t able to get out and munch on any greens so I started sprouting wheat for them.  They LOVED it and it’s much easier for them to digest than whole wheat kernels.

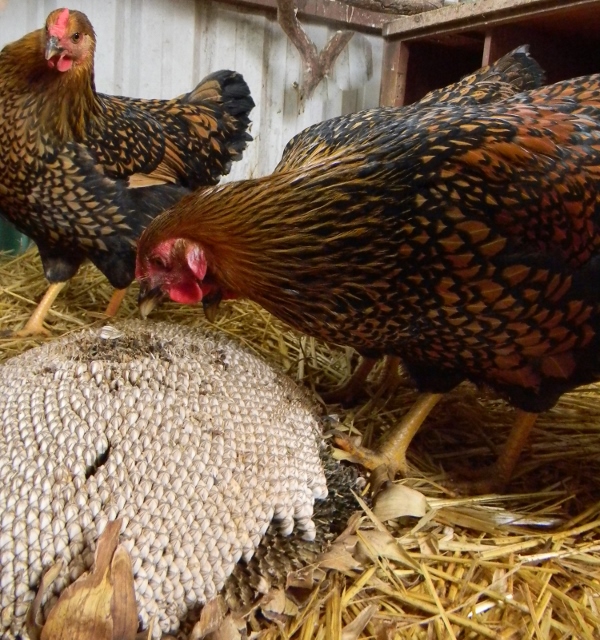
dried sunflowers for chicken feed

We also fed them dried sun flower heads that we had saved from the garden.

fog moving in

Just a few random pics from January.

DSCN8393 (640x480)

DSCN8363 (640x480)DSCN8399 (561x640)DSCN8494 (640x480)

Can’t believe February is already here!!  Have a good one everybody!


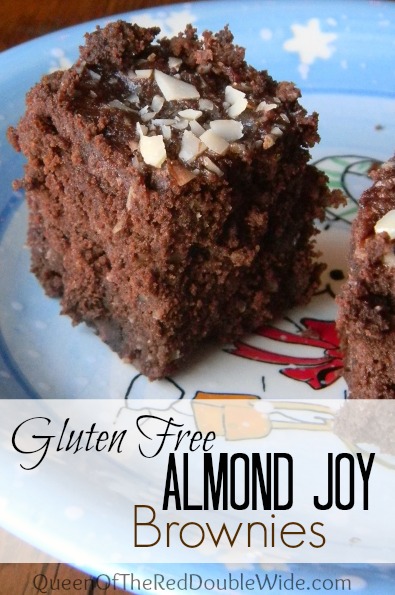
Gluten Free Almond Joy Brownies

Every year I try to add at least one gluten free item to my list of Christmas goodies.  I have several family members and friends that are on gluten free diets and it can be a hard time of year for them with all the “full of gluten” goodies being passed around.  These brownies are wonderfully tasty and simple to make.

Gluten Free Almond Joy Brownies

Chocolate, coconut and almonds are a few of my favorite things!!

DSCN7903 (516x640)

Gluten Free Almond Joy Brownies
 
Author:
Ingredients
  • ⅓ cup butter, softened
  • ½ cup cocoa powder
  • 1 cup sugar
  • ½ teaspoon vanilla extract
  • 6 eggs
  • ½ cup coconut flour
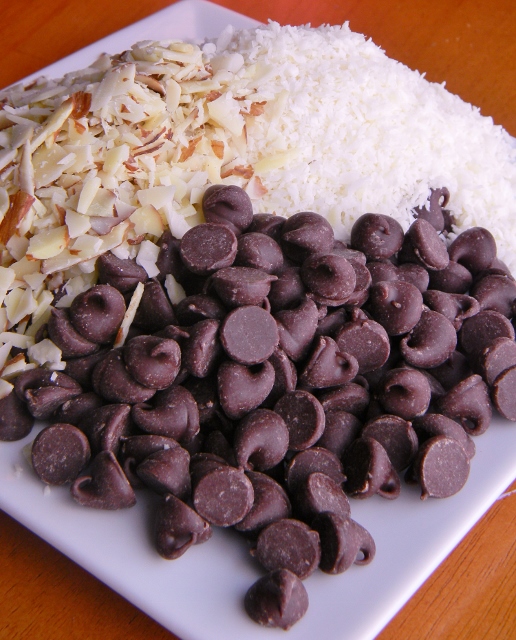
  • ½ cup semi-sweet chocolate chips
  • ½ cup unsweetened shredded coconut
  • ½ cup almond pieces
Instructions
  1. Mix together the softened butter, cocoa powder, sugar and vanilla.
  2. Stir in the eggs one at a time, completely incorporating after each egg.
  3. Mix in the coconut flour and stir until there are no lumps.
  4. Fold in the chocolate chips, coconut and almond pieces.
  5. Pour into a greased 8x8" baking dish and bake at 350° for 30 minutes.

Coconut flour is a very dense four so that’s why this recipe calls for 6 eggs!  With the add ins of almonds, coconut, and chocolate chips along with 6 eggs and coconut flour, these are not the most frugal brownies.  If you would like you can leave out the last 3 ingredients and they will still be yummy, gluten free brownies!! (just not almond joy brownies)  😉

DSCN7940 (480x640)

This recipe was adapted from this recipe at Heavenly Homemakers.

Here are a few more of my favorite Christmas recipes!  Peppermint Crunch Christmas CookiesHoliday Spritz Cookies Dipped PretzelsMy Favorite Chocolate Chip Oatmeal CookiesPeanut Butter Chocolate Chip Cookies

This post was shared at: The Weekend Potluck


Baked Potato Soup

baked potato soup

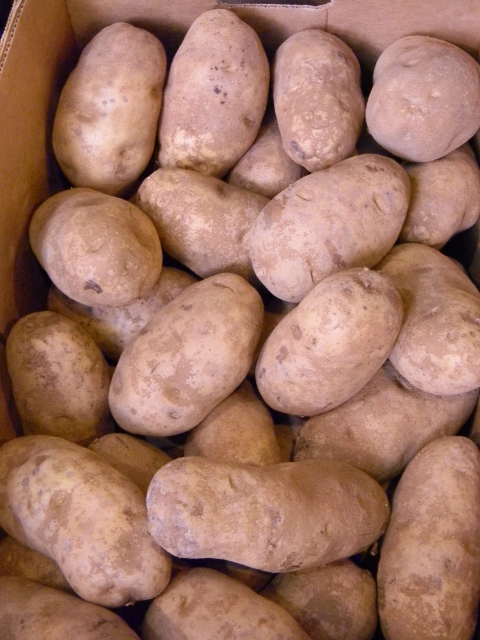
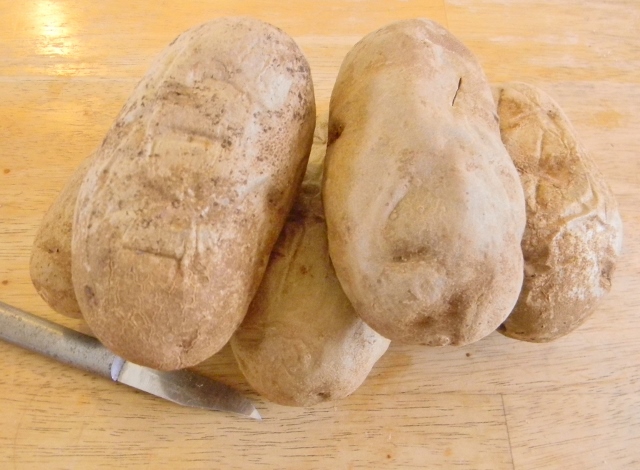
We were blessed with some free organic potatoes about a month ago.  By “some” I mean about 300 pounds, and most of them are the big baker potatoes!!  We gave away about half of them and have been enjoying the rest.

DSCN7616 (480x640)

Our VERY favorite way to eat baked potatoes is in “Baked Potato Soup”!  What’s not to love about a rich creamy soup with BACON and cheese?

DSCN7775 (640x480)

This will make a BIG pot of soup so if you’re only feeding a couple of people you may want to cut the recipe in half.  Like most soups though this makes GREAT leftovers!

Wash and stab 5 large potatoes so they don’t explode in your oven.  Bake in a 350° oven for about an hour until done.  Let them cool completely.  (I usually bake the potatoes the night before I want to make this soup then just keep them in the fridge.)

DSCN7738 (640x470)

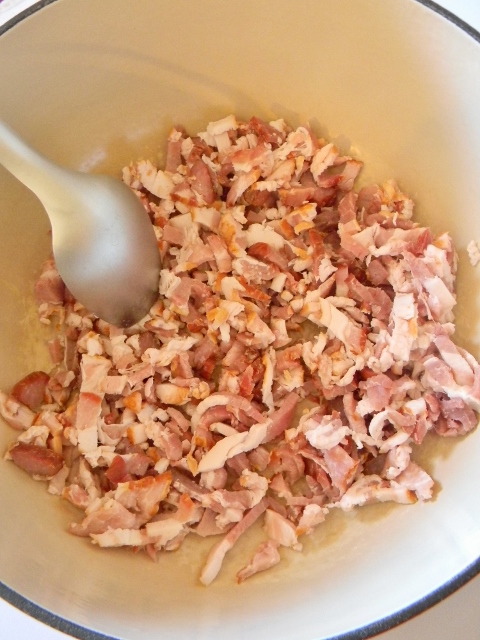
Now you need to cook a pound of bacon bits.  I used a package of ends and pieces and cut them into littler pieces and fried them up.  You could also cook the bacon in the oven and then cut them up after they cool.

DSCN7734 (480x640)

Awww! isn’t bacon beautiful?

While your beautiful bacon is cooking, peel and cube the cooled potatoes into bite size pieces.

DSCN7739 (480x640)

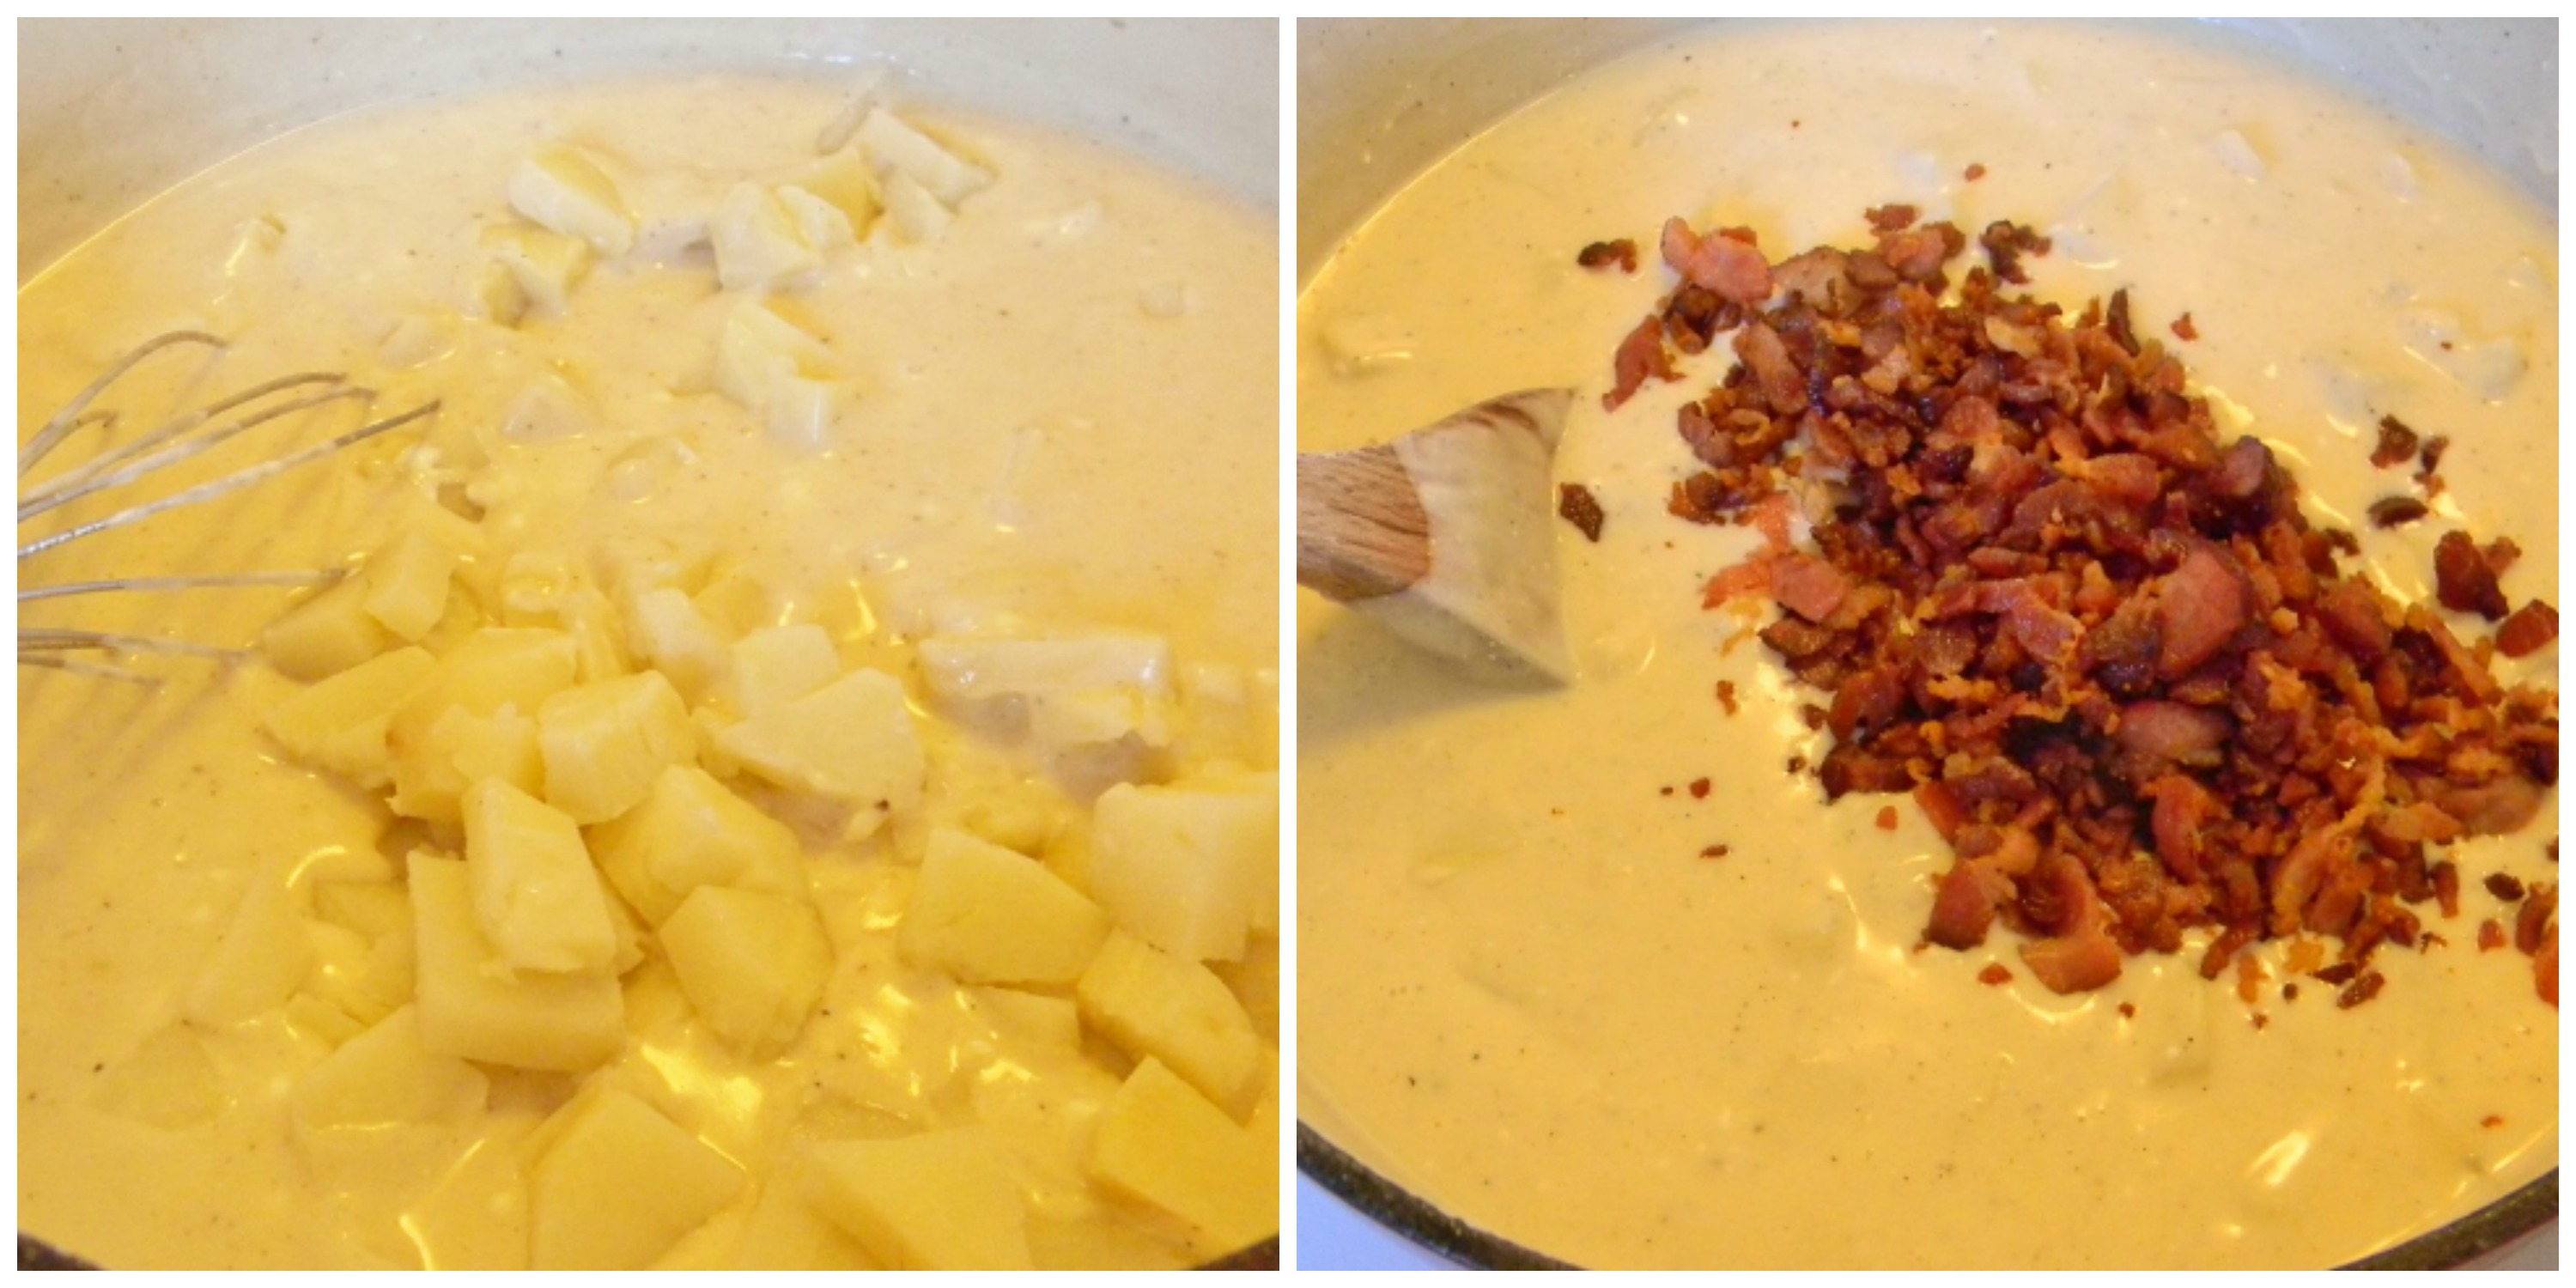
When the bacon is done place it on a paper towel to drain and set the bacon and potatoes aside while you start the soup.  In a big pot melt 3/4 of a cup of butter then whisk in 3/4 cup of flour, when it’s nice and smooth slowly whisk in a cup of milk.  Add 1 teaspoon of salt and 1/2 teaspoon of ground pepper and mix will.  Now whisk in 4 more cups of milk and 2 cups of chicken broth or stock.  Heat until it comes to a low boil and thickens, stirring almost constantly.  Remove from the heat and stir in 1 cup of sour cream, and add the potatoes and bacon.  You can hold out some of the bacon for a garnish if you wish.

potatoes and bacon

Now you can dish it up and add shredded cheddar cheese, extra bacon and sliced green onions.

DSCN7759 (640x480)

Baked Potato Soup
 
Author:
Ingredients
  • 5 large baker potatoes
  • 1 pound of bacon
  • ¾ cup of butter
  • ¾ cup all-purpose flour
  • 1 teaspoon salt
  • ½ teaspoon pepper
  • 5 cups of milk
  • 2 cups chicken stock or broth
  • 1 cup sour cream
  • Toppings: grated cheddar cheese and sliced green onions
Instructions
  1. Wash and stab 5 big baker potatoes so they don't explode in your oven.
  2. Bake at 350° for an hour or so until done. Let them cool completely.
  3. Cook up a pound of bacon to make bacon bits.
  4. While the bacon is cooking, peel the cooled potatoes and cut them into bite sized pieces.
  5. Put the bacon on some paper towels to drain and set them and the potatoes aside while you get started on the soup.
  6. In a big pot melt the butter then whisk in the flour, when it's nice and smooth whisk in 1 cup of milk, add the salt and pepper and whisk in the rest of the milk and chicken broth.
  7. While stirring almost constantly bring to a low boil to thicken. Remove from the heat and add sour cream, the potatoes and bacon. You can leave some of the bacon out for a garnish if you wish.
  8. Ladle into bowls and garnish with green onions, cheddar cheese and bacon.

DSCN7786 (640x480)

A Month Of Photos From The Red Double Wide – Nov. 2015

Wow, November is over……Christmas here we come!!  Lots happened in November, as I look back through the month of pictures it seems like these things happened 6 months ago not 3 weeks ago!!  Time sure does fly when you’re having fun. 🙂

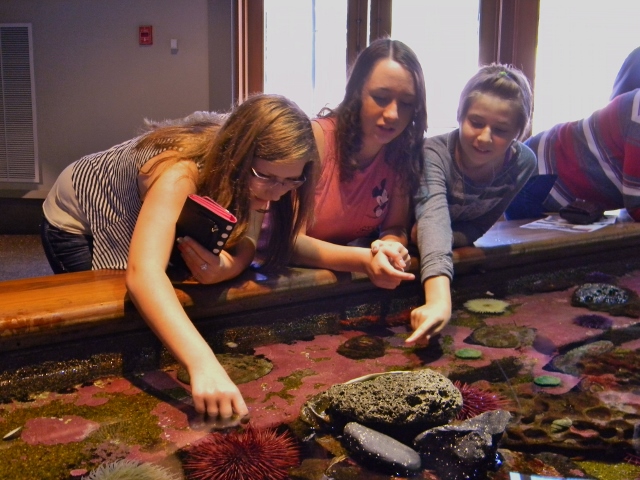
We started off the month with a trip to the Oregon Coast.

DSCN7407 (640x480)

The aquarium was tons of fun!

DSCN7432 (640x480)

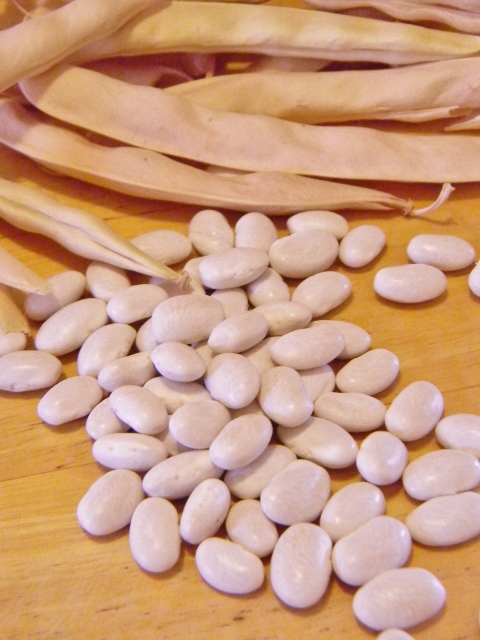
I finally finished harvesting the rest of the dried beans.  I only got 4 pounds this year so I think I need to plant more than 3/4 of a row of drying beans next year.

DSCN7498 (480x640)

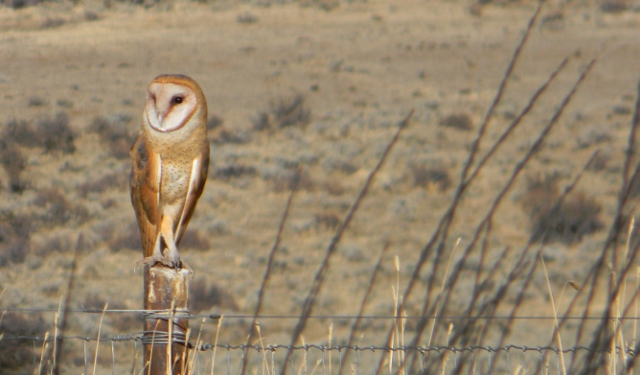
I shared a photo Jo took last month of the barn owl and this month she got an even better shot of him (or her?)!  Anyway, he (or she) has been hanging around a lot so we decided to name him (or her) Ollie…..can Ollie be a boy or a girl name???

Photo By: Jo
Photo By: Jo

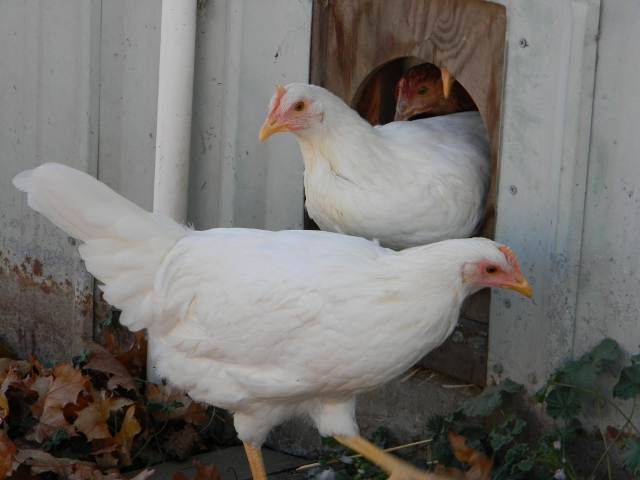
Still waiting for these ladies to start laying eggs.  We are down to one month!!

White Leghorn Chickens 3 months old

Earlier in the month we had frosty mornings and….

frosty leaves

rainy afternoons with lots and lots of rainbows!

Rainbow and barn

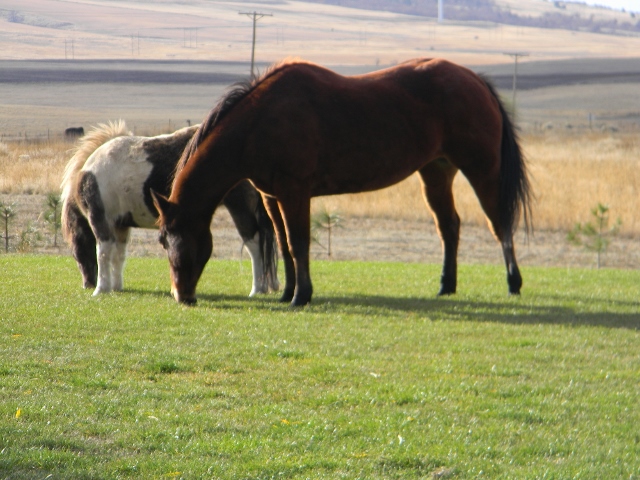
Our neighbors horses kept escaping from their pen and headed strait for our green lawn every time.  The girls had a blast petting them while they grazed.

horses

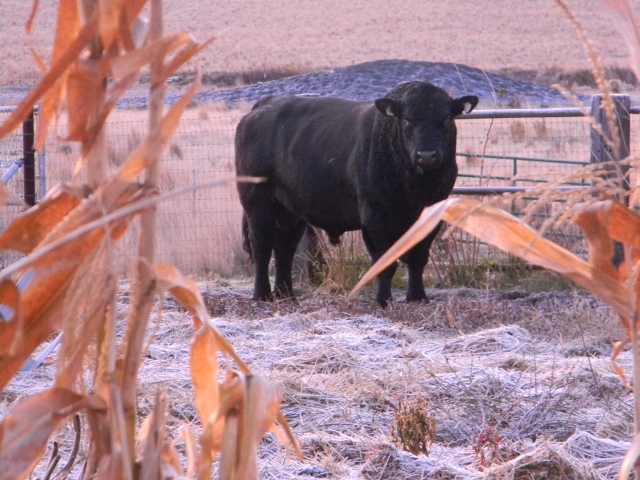
A couple days after the horses came visiting I woke up to this guy in our garden.  For some reason the girls didn’t go pet him. 😉

DSCN7637 (640x480)

The last week or so the weather has been cold, cold, cold!

DSCN7678 (480x640)

And frosty, frosty, frosty…..

DSCN7682 (640x480)

Hope you all had a grand Thanksgiving and are looking forward to Christmas.  The girls got the tree up and decorated over the weekend.  I LOVE that they are old enough to do this (by themselves) and still young enough to want to!! 😀

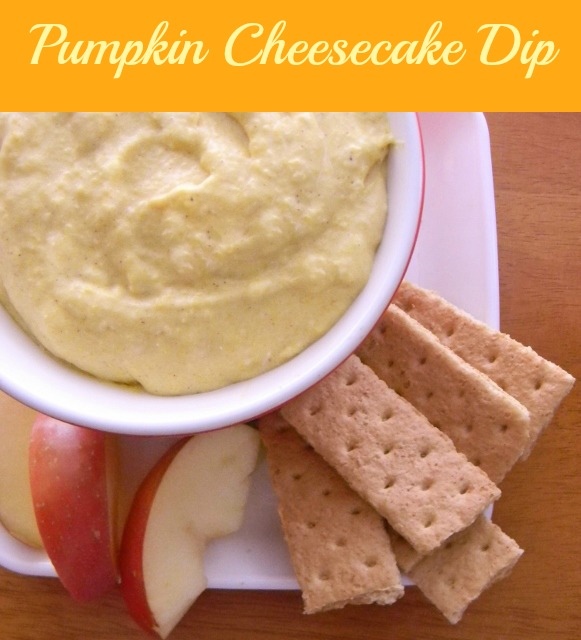
Pumpkin Cheesecake Dip

I needed one more excuse to use my homemade pumpkin puree and homemade pumpkin pie spice mix and this is a GREAT way to use both.  I made pumpkin dip last year and followed a recipe with powdered sugar……it was WAY to sweet.  So, this year I decided to come up with my own pumpkin dip.  I was aiming for rich, creamy and naturally sweetened.  It took me a couple tries to perfect it, and I’m excited to shared it with you just in time for Thanksgiving!

Pumpkin Chesecake Dip

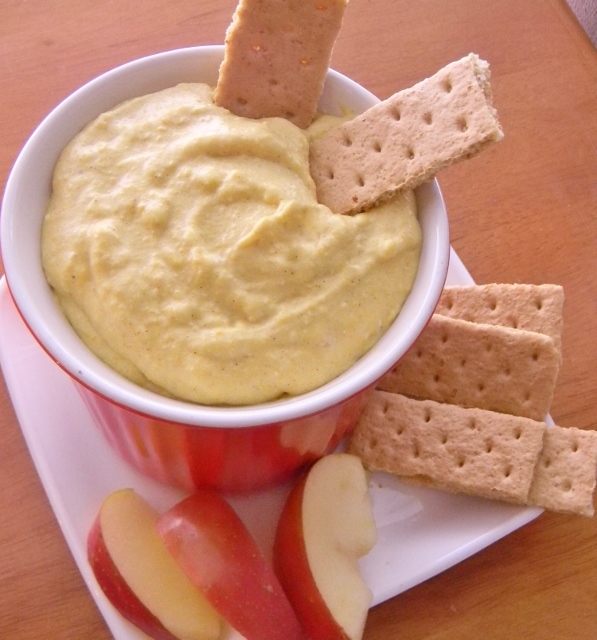
Rich, creamy, and sweetened with 100% maple syrup……yummmmm!

Pumpkin Cheesecake Dip
 
Author:
Ingredients
  • ½ cup heavy whipping cream
  • 1 teaspoon vanilla
  • 1¾ cups pumpkin puree or one 15 oz. can
  • 1 8oz package of cream cheese, softened
  • 1 teaspoon pumpkin pie spice mix
  • ½ cup maple syrup
  • liquid stevia, powdered sugar (optional)
  • Graham crackers and apples for dipping
Instructions
  1. Whip together the heavy cream and vanilla until soft peaks form.
  2. In a separate bowl blend together the rest of the ingredients until smooth then fold in the whipped cream.
  3. Give it a taste, if you think it needs to be sweeter you can add a little more maple syrup or stevia or a little powdered sugar. We usually add about 10 drops of liquid stevia, and that does the trick.

DSCN7724 (597x640)


Natural Cleaning Products! Plus $10 Off Your First Order

This post contains affiliate links.

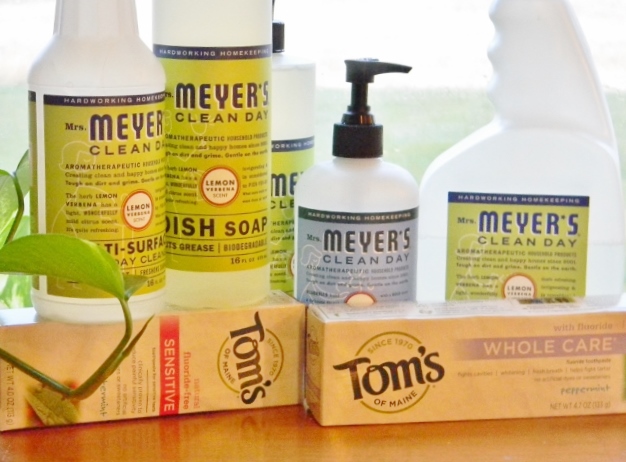
natural cleaning products

Have you ever gone to the store with several cleaning products on your list, determined to buy ONLY all natural cleaning products, because you know you don’t want any more of those nasty chemicals in your house??  You get to the cleaning isle and find that perfect, non-toxic, completely biodegradable toilet bowl cleaner made with plant based ingredients, including essential oils that give it that wonderful citrusy, clean smell.  You are super excited (or maybe am I the only one that gets excited about toilet cleaner) and are about to throw it in the cart when your eyes flitter across the price tag………you choke a little, then your empty hand flinches back like the cleaner just burst into flames.  You let out a long sigh and decide that the toxic cleaner down the isle might be ok if you don’t let the kids do ANY cleaning……or (better yet) maybe EVERYTHING in the house can be cleaned with water, vinegar and baking soda……????

I kept doing this over and over until a couple a months ago when I found ePantry.  It’s an amazing web sight that sells my favorite brands of NATURAL cleaning products at prices I actually find reasonable.  In fact I just finished my second order from them and spent $22.25 on an order that I would have spent $36.12 at the store.  I know because I checked the prices of every item and I saved $13.87 just from that one order!!  Not to mention that I ordered it in my jammies and they will deliver it to my door…..BONUS!

DSCN7073 (640x480)

Now, here is the very best part, if you click over to ePantry through this link you will get $10 off your first order of $20 or more AND through the end of November you will also receive a free soy candle!  I also get a credit when you make your first order, (at no extra cost to you) so it’s a win win win win situation!!

I hope all your holiday planning, shopping, cooking and cleaning is going well and you are blessed with the VERY best Thanksgiving yet!!

Till next time, Grace

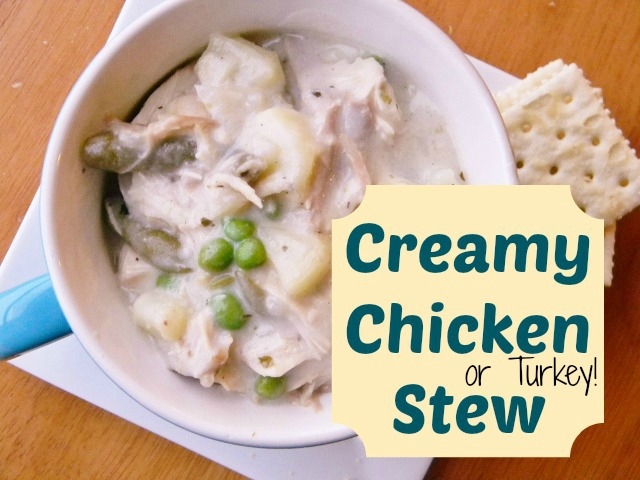
Creamy Chicken (or Turkey) Stew aka “Leftover Stew”

This is comfort food at its best!  It’s always a hit at our house and perfect for crisp, fall days.  If I had a favorite stew, this just might be it, and what better way to use up all that leftover turkey after Thanksgiving!!!

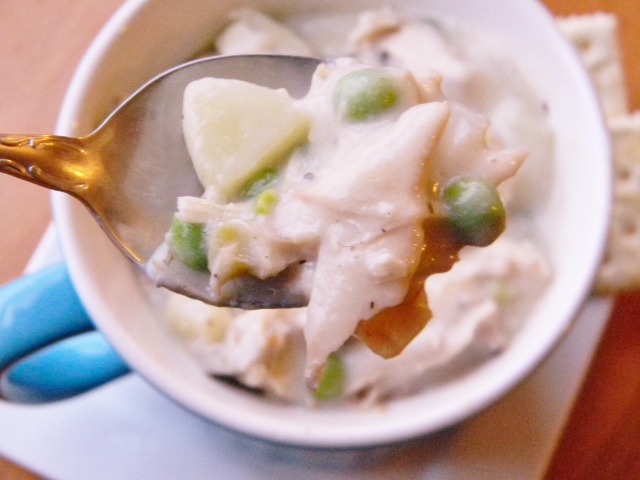
Creamy Chicken Stew

I usually make this soup a day or two after we’ve had roasted chicken for dinner.  I put whatever is left of the roasted chicken (bones and all) in a big pot, cover it with water and let it simmer away for a few hours.  When I pull the meat off the bone I always have more than enough chicken and chicken stock to use in this stew.  You could also use a rotisserie chicken and store bought stock.

This recipe is very versatile, you can use any combination of veggies you have on hand as long as they are cooked first.  I used leftover baked potato, green beans and peas this time.  Some other veggies I have used in this stew are: corn, carrots, halved brussels sprouts, pieces of asparagus, mushrooms and celery.  I like to go through the fridge and throw in whatever I have!  Hence the name – “Leftover Stew”. 🙂

DSCN7590 (640x480)

Creamy Chicken (or Turkey) Stew
 
Author:
Ingredients
  • 4 tablespoons butter
  • ½ cup finely chopped onion
  • ½ teaspoon dried basil
  • ½ teaspoon dried thyme
  • ¼ teaspoon celery salt
  • ¼ teaspoon garlic powder
  • ¼ teaspoon pepper
  • ⅓ cup all-purpose flour
  • 1 teaspoon salt
  • 2 cups milk
  • 2 cups chicken or turkey stock
  • 3 cups cooked chicken or turkey pieces
  • 3½ cups cooked veggies of your choice(there are some ideas above)
Instructions
  1. Start by sautéing the onion, basil, thyme, celery salt, garlic powder and pepper in the butter.
  2. When the onions are translucent whisk in the flour and salt.
  3. When the flour is completely incorporated, slowly whisk in the milk and chicken stock.
  4. Bring them to a low boil to thicken.(stirring often)
  5. Add the chicken and all the veggies and stir well.
  6. Give it a taste and add salt and pepper if needed.


Here is my recipe for chicken soup with homemade noodles….I love soup season!

chicken soup with homemade noodles


Easy Homemade Pumpkin Puree and Roasted Pumpkin Seeds

We grew LOTS of sugar pumpkins this year.  I gave away several and we still have about a dozen left for us to enjoy.
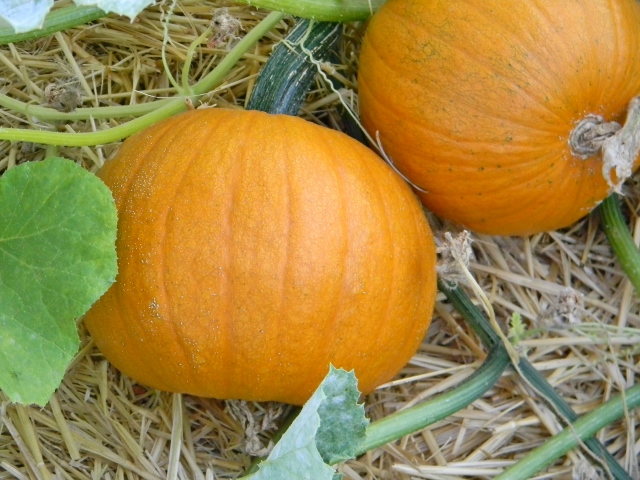
Sugar pumpkins growing in the garden

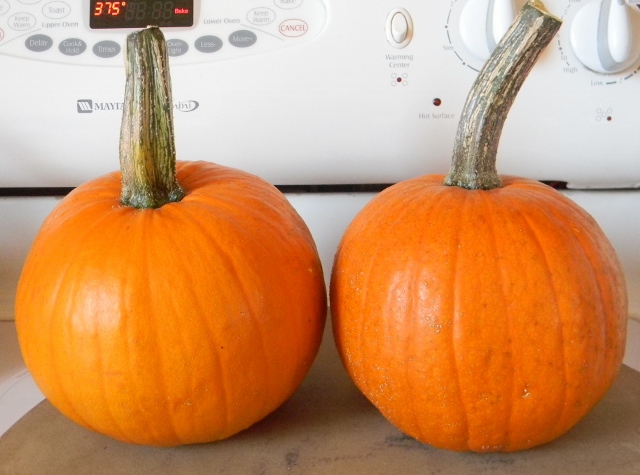
Making your own pumpkin puree for all those fall recipes is great, and you can put left- overs in the freezer for later.  With this easy method of baking the pumpkin you don’t need to worry about loosing any body parts when you cut the pumpkin up because you put the whole darn thing in the oven (pre-heated to 375°) and bake it whole…..
DSCN7315 (640x475)

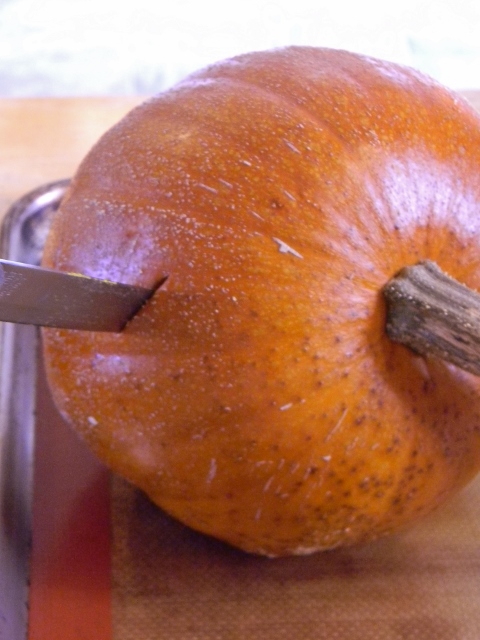
I put the pumpkins on a cookie sheet just in case of any drips.  It will take 30 minutes to 1 hour and 30 minutes to get done.  It all depends on how big your pumpkins are.  You can use the big pumpkins to make pumpkin puree, but the small sugar pumpkins have a sweeter more pumpkiney flavor.  My spell check is telling me that pumpkiney is not a word, but you get my point, right? (pumpkinie, pumpkiny, pumkiney, pumpkinish…..one of these should totally be a word!)  These two took about 45 minutes to get done.  When you can poke a sharp knife into the pumpkin easily, it’s done.
DSCN7502 (480x640)

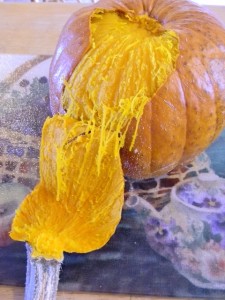
Let them cool down enough to handle, then peel them.
Homemade Pumpkin PureeEasy Pumpkin Puree


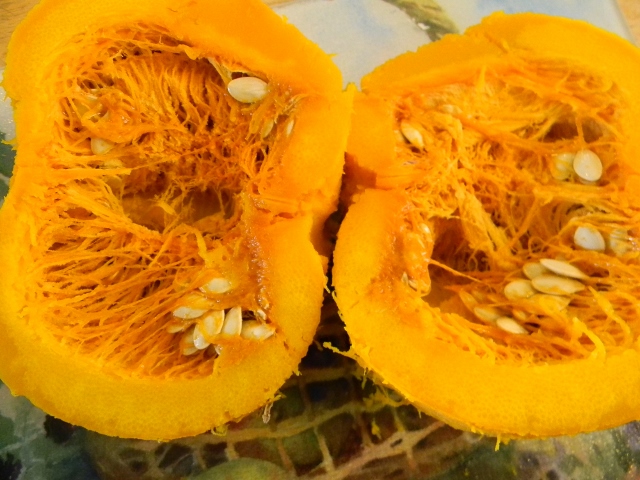
Cut your peeled pumpkin in half, spoon out the “guts” and separate the seeds.
Homemade Pumpkin Puree

Take the “meat” of your pumpkin and puree it in a food processor or blender.
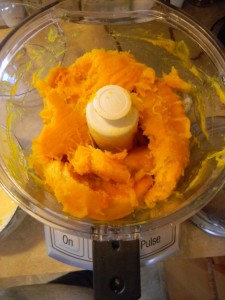
Homemade Pumpkin PureeHomemade Pumpkin Puree


Now you can use it in any recipe calling for pumpkin puree and put any leftovers in the freezer.
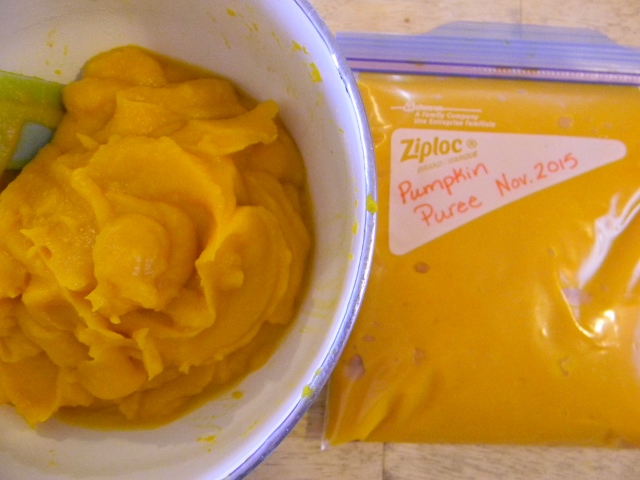
homemade pumpkin puree

Now, take the pumpkin seeds, rinse them off and dry them.  These two little pumpkins gave me a little more than a cup of seeds, so I added 1 tablespoon of olive oil with 1/2 teaspoon of seasoning salt and 1/2 teaspoon of garlic salt.  I stirred it all together coating all the seeds and poured them on a cookie sheet, then sprinkled some pepper on them.
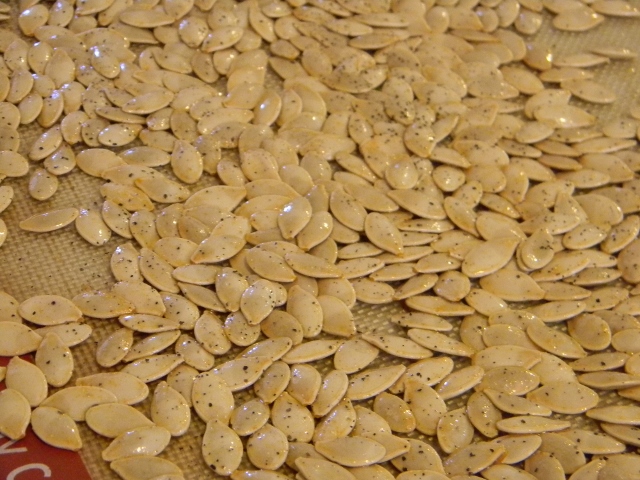
Roasted pumpkin seeds

Pre-heat the oven to 325° and bake the seeds for 5 to 20 minutes.  Check them every 5 minutes and give them a little stir.  These took about 17 minutes.
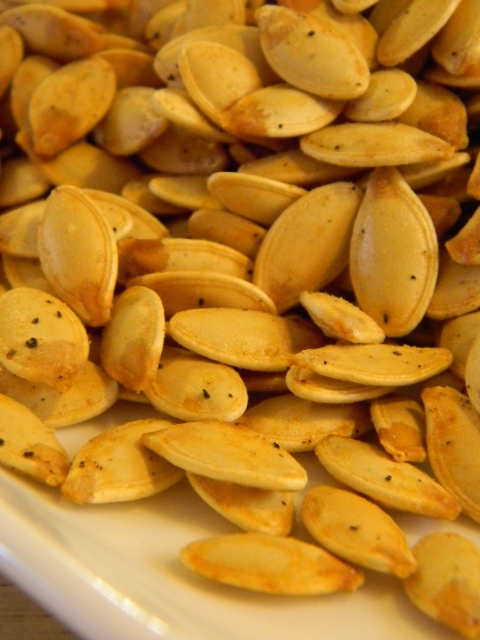
roasted pumpkin seeds

This is just a basic recipe for roasted pumpkin seeds so feel free to add any seasonings you like!

A few tips: One 15oz can is equal to 1 3/4 cups pumpkin puree – If you have chickens, feed them the guts and skin from your pumpkin and you will have wasted NONE of your pumpkin!  If you don’t have chickens the compost pile is a great place for the “extras”.

Easy Homemade Pumpkin Puree and Roasted Pumpkin Seeds
 
Author:
Ingredients
  • For Pumpkin Puree:
  • 1 or 2 pumpkins
  • _____________________________________________________________________________
  • For Roasted Pumpkin Seeds:
  • 1 cup of washed and dried pumpkin seeds
  • 1 tablespoon olive oil
  • ½ teaspoon seasoning salt
  • ½ teaspoon garlic salt
  • Black Pepper
Instructions
  1. For the pumpkin puree: Put your whole pumpkin(s) in the oven at 375°. Depending on the size of your pumpkin it will take from 30 minutes to 1 hour and 30 minutes to cook. When you can easily poke a sharp knife in the pumpkin it's done. Let your pumpkin(s) cool until you can easily handle them. The skin will peal off easily, then cut the pumpkin in half and spoon out the guts and seeds. Place the "meat" of your pumpkin in a food processor or blender and puree.
  2. -------------------------------------------------------------------------------------------------------------
  3. For the roasted pumpkin seeds: Pre-heat the oven to 325° Separate the seeds from the guts then rinse and dry the pumpkins seeds. Take your dried pumpkin seeds and stir in the olive oil, seasoning salt and garlic salt. Spread the seasoned seeds out on a cookie sheet and sprinkle a little black pepper on them. Bake the seeds for 5 to 20 minutes. They will burn easily so check on them and give them a little stir every 5 minutes.

Here are a couple recipes that call for pumpkin puree:

Fluffy Pumpkin Pancakes

Pumpkin Pancakes


and Pumpkin Chip Bread/Muffins

Pumpkin Chip Bread


Related Posts Plugin for WordPress, Blogger...