Easy Homemade Pumpkin Puree and Roasted Pumpkin Seeds

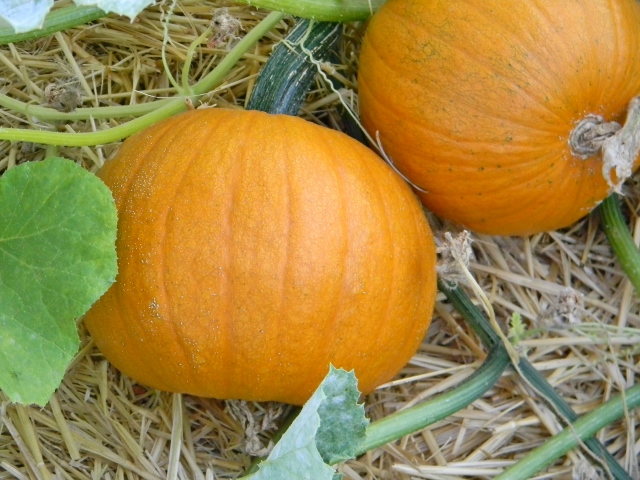
We grew LOTS of sugar pumpkins this year.  I gave away several and we still have about a dozen left for us to enjoy.

Sugar pumpkins growing in the garden

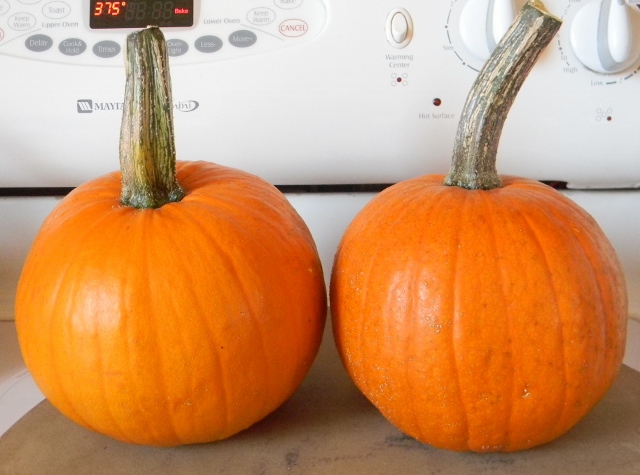
Making your own pumpkin puree for all those fall recipes is great, and you can put left- overs in the freezer for later.  With this easy method of baking the pumpkin you don’t need to worry about loosing any body parts when you cut the pumpkin up because you put the whole darn thing in the oven (pre-heated to 375°) and bake it whole…..

DSCN7315 (640x475)

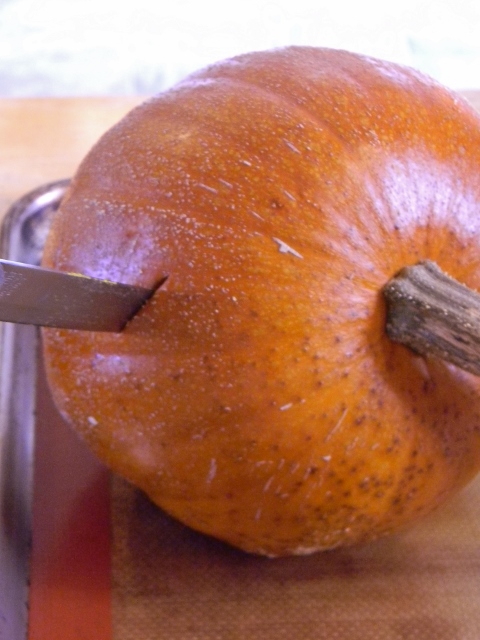
I put the pumpkins on a cookie sheet just in case of any drips.  It will take 30 minutes to 1 hour and 30 minutes to get done.  It all depends on how big your pumpkins are.  You can use the big pumpkins to make pumpkin puree, but the small sugar pumpkins have a sweeter more pumpkiney flavor.  My spell check is telling me that pumpkiney is not a word, but you get my point, right? (pumpkinie, pumpkiny, pumkiney, pumpkinish…..one of these should totally be a word!)  These two took about 45 minutes to get done.  When you can poke a sharp knife into the pumpkin easily, it’s done.

DSCN7502 (480x640)

Let them cool down enough to handle, then peel them.

Homemade Pumpkin PureeEasy Pumpkin Puree


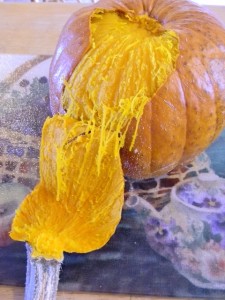
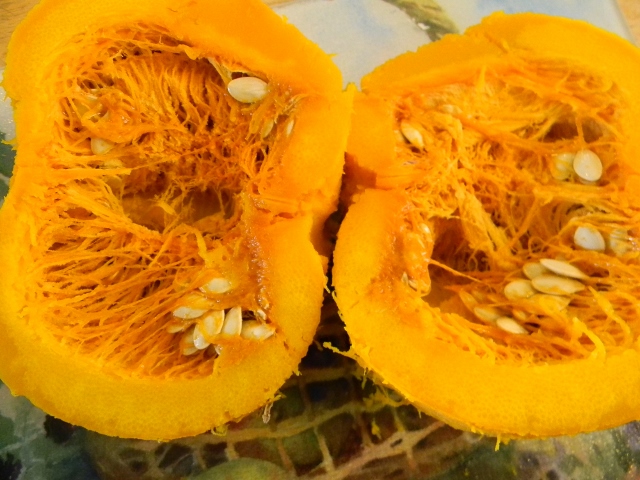
Cut your peeled pumpkin in half, spoon out the “guts” and separate the seeds.

Homemade Pumpkin Puree

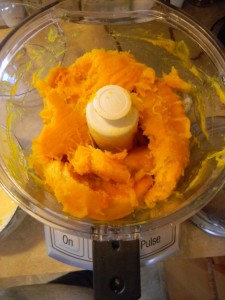
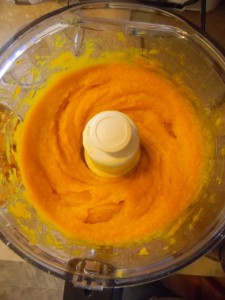
Take the “meat” of your pumpkin and puree it in a food processor or blender.

Homemade Pumpkin PureeHomemade Pumpkin Puree


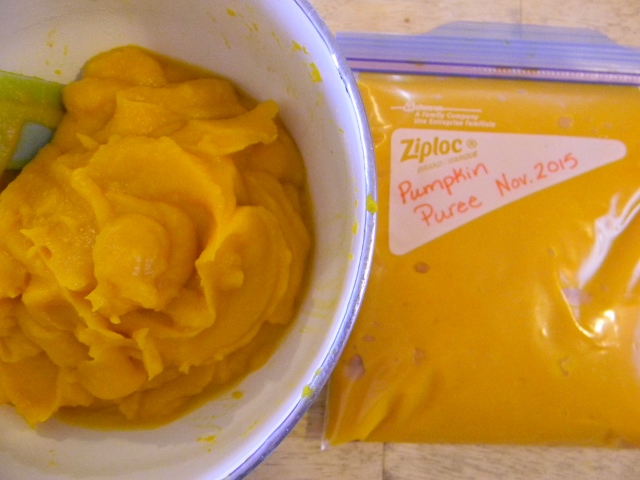
Now you can use it in any recipe calling for pumpkin puree and put any leftovers in the freezer.

homemade pumpkin puree

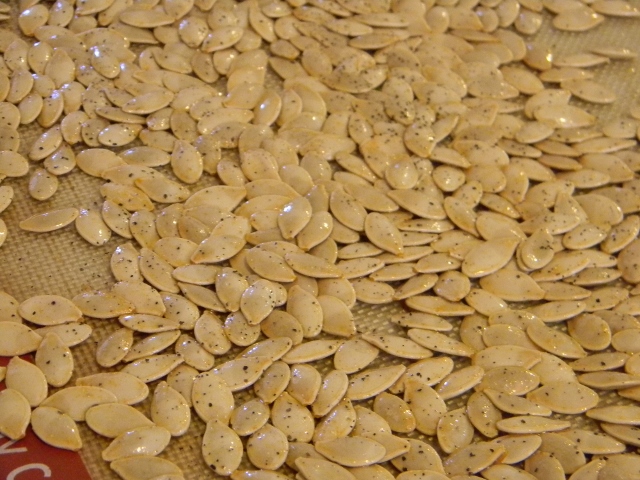
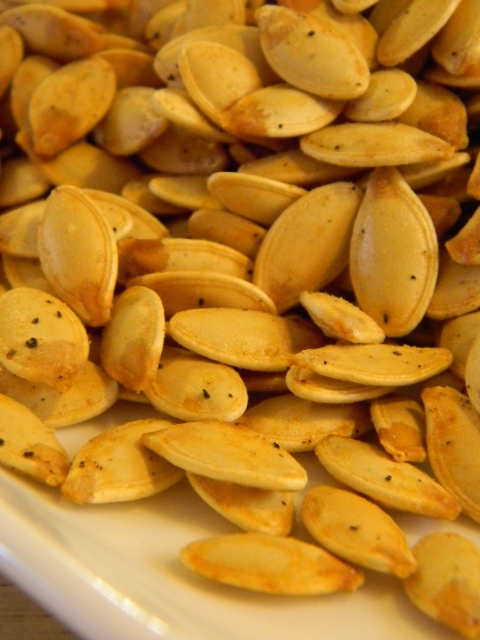
Now, take the pumpkin seeds, rinse them off and dry them.  These two little pumpkins gave me a little more than a cup of seeds, so I added 1 tablespoon of olive oil with 1/2 teaspoon of seasoning salt and 1/2 teaspoon of garlic salt.  I stirred it all together coating all the seeds and poured them on a cookie sheet, then sprinkled some pepper on them.

Roasted pumpkin seeds

Pre-heat the oven to 325° and bake the seeds for 5 to 20 minutes.  Check them every 5 minutes and give them a little stir.  These took about 17 minutes.

roasted pumpkin seeds

This is just a basic recipe for roasted pumpkin seeds so feel free to add any seasonings you like!

A few tips: One 15oz can is equal to 1 3/4 cups pumpkin puree – If you have chickens, feed them the guts and skin from your pumpkin and you will have wasted NONE of your pumpkin!  If you don’t have chickens the compost pile is a great place for the “extras”.

Easy Homemade Pumpkin Puree and Roasted Pumpkin Seeds
 
Author:
Ingredients
  • For Pumpkin Puree:
  • 1 or 2 pumpkins
  • _____________________________________________________________________________
  • For Roasted Pumpkin Seeds:
  • 1 cup of washed and dried pumpkin seeds
  • 1 tablespoon olive oil
  • ½ teaspoon seasoning salt
  • ½ teaspoon garlic salt
  • Black Pepper
Instructions
  1. For the pumpkin puree: Put your whole pumpkin(s) in the oven at 375°. Depending on the size of your pumpkin it will take from 30 minutes to 1 hour and 30 minutes to cook. When you can easily poke a sharp knife in the pumpkin it's done. Let your pumpkin(s) cool until you can easily handle them. The skin will peal off easily, then cut the pumpkin in half and spoon out the guts and seeds. Place the "meat" of your pumpkin in a food processor or blender and puree.
  2. -------------------------------------------------------------------------------------------------------------
  3. For the roasted pumpkin seeds: Pre-heat the oven to 325° Separate the seeds from the guts then rinse and dry the pumpkins seeds. Take your dried pumpkin seeds and stir in the olive oil, seasoning salt and garlic salt. Spread the seasoned seeds out on a cookie sheet and sprinkle a little black pepper on them. Bake the seeds for 5 to 20 minutes. They will burn easily so check on them and give them a little stir every 5 minutes.

Here are a couple recipes that call for pumpkin puree:

Fluffy Pumpkin Pancakes

Pumpkin Pancakes


and Pumpkin Chip Bread/Muffins
Pumpkin Chip Bread


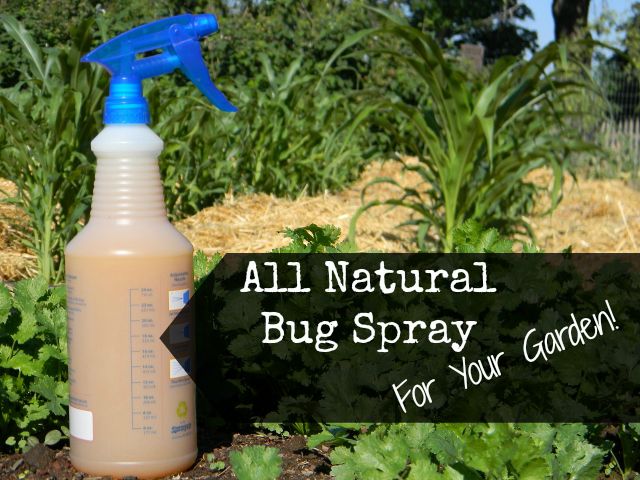
Homemade All Natural Insect Spray For Your Garden

This post contains affiliate links.
garden bug spray

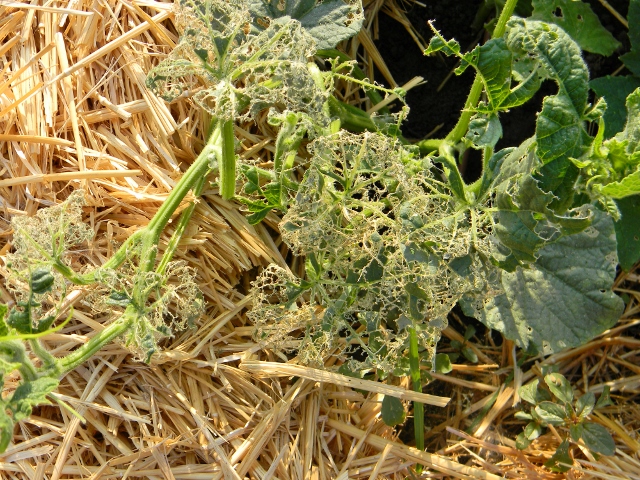
Uuug!  I have never had this much trouble with nasty little insects devouring my garden!  At first I thought it was due to my deep straw mulch.  My husband warned me before I put the straw in the garden that it would create the perfect environment for earwigs.  He was absolutely correct!  The little buggers love to hide in the dark, moist straw during the day and then come out and graze on my veggie plants all night!!  But I can’t blame the whole problem on the mulch.  We have earwigs and ants EVERYWHERE this year.  It’s just simply a bad year for bugs.  (Darn it!)  It’s so frustrating to watch all your hard work slowly disappearing!

DSCN5451 (640x480)

They seemed to like the squash, cabbage and kale the best!  I think most of the damage was done by earwigs, but I have also seen aphids and grasshoppers.

I got on-line and looked up MANY different natural and organic bug sprays.  I came up with my own simple spray that REALLY works!  My plants are looking MUCH better!

DSCN5674 (640x480)

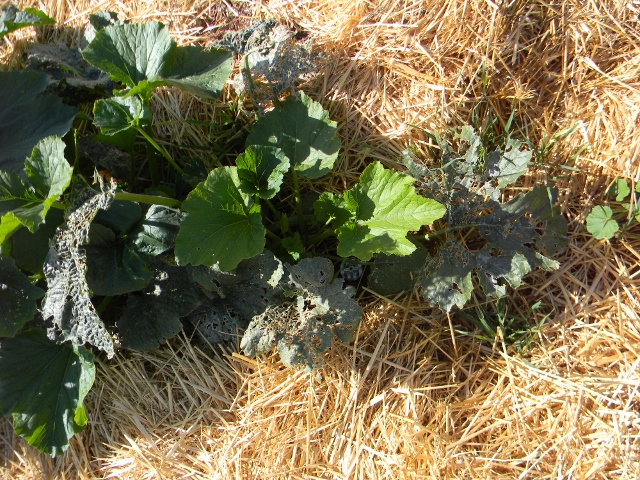
This is an early morning picture and has lots of shadows, but I hope you can see the very bug eaten leaves and then the new growth in the center after I sprayed them!  I still lost some of the little plants that were just to far gone by the time I sprayed them but the bigger plants are recovering nicely.

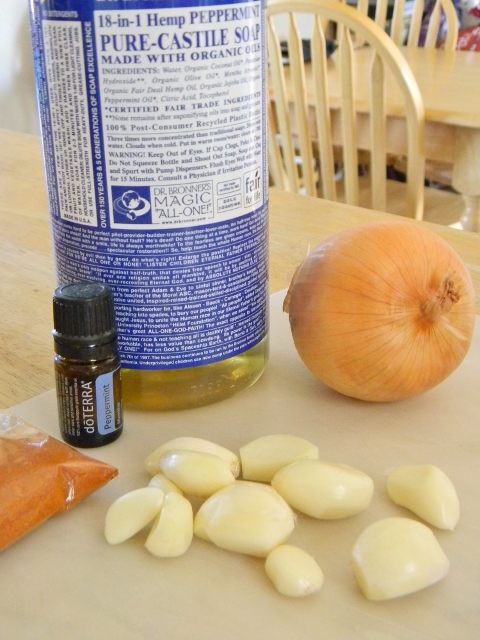
To make this spray I used garlic, an onion, cayenne pepper, peppermint castile soap, peppermint oil and water.

DSCN5264 (480x640)

Start by chopping the cloves from one head of garlic and 1 onion into tiny pieces.  You can use a food processor if you have one.  When you have them all chopped up put them in a pot with 6 cups of water and 1 teaspoon of cayenne pepper powder.  Bring your concoction to a boil then remove it from the heat and let it cool completely.  Strain the liquid into a squirt bottle and add 2 tablespoons of peppermint castile soap and 5 drops of peppermint oil.  Shake it up and you’re ready to spray those nasty pests away.
DSCN5276 (631x640)

Spray early in the morning before the hot sun is out or just before dark.  Be sure to shake well before each use and spray the top and bottom of each leaf.  If you have any left over, store it in the fridge for up to a week.

Homemade - All Natural - Garden - Insect Spray
 
Author:
Ingredients
  • 1 whole head of garlic, peeled and cloves removed
  • 1 good sized onion, peeled
  • 1 teaspoon cayenne pepper
  • 6 cups of water
  • 2 tablespoons peppermint castile soap
  • 5 drops peppermint oil
Instructions
  1. Chop up all the garlic cloves and onion into small pieces.
  2. Put the cayenne pepper, water, chopped onions and garlic into a pot and bring it to a boil.
  3. Remove the pot from the heat and let it cool completely.(over night is good)
  4. Strain cooled liquid into a squirt bottle and add the castile soap and peppermint oil.
  5. Shake well.

I’ve only had to spray my garden twice, but we only had rain once and we don’t water with sprinklers, so you may have to spray more often if the leaves are getting washed off.  Try to avoid spraying directly on the part of the plant you are going to eat.

This post was shared at: Our Simple Homestead Blog Hop

September 2013 – A Month Of Photos From The Red Double Wide

Happy Fall Everyone!

The last days of summer went out with unusually hot temperatures, and the first days of fall came in very wet (for around here anyway).  September brought lots of changes with me going back to teaching at our local Christian School, and the girls going back to school there.  My poor garden has been severely neglected, (it’s more like a jungle than a garden) but as you can see we are still harvesting the benefits of our early summer work.

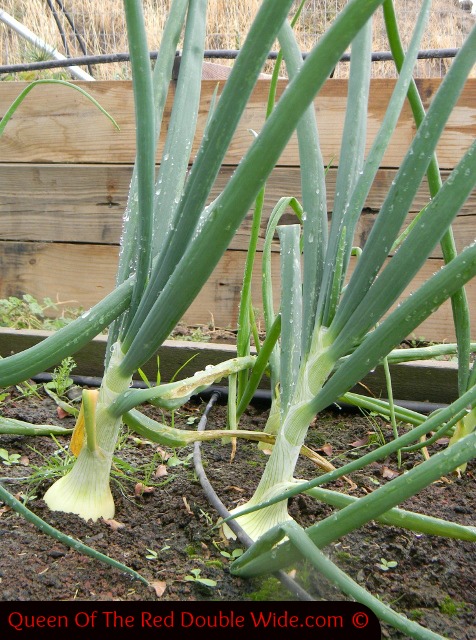
Onions

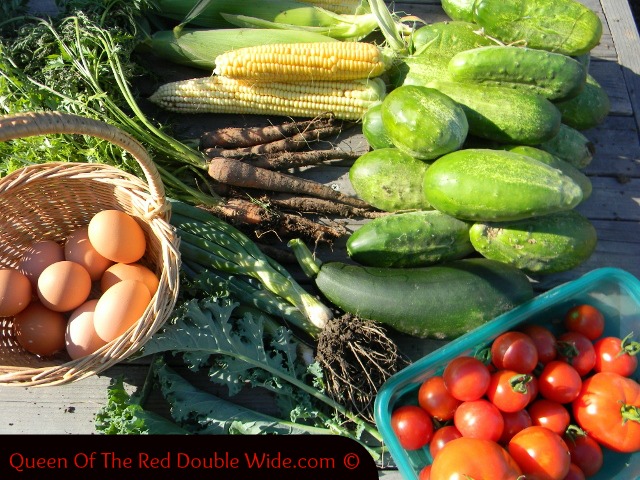
Harvest

Bread
Whole wheat bread and hamburger buns.

Saturday has become my, baking/laundry/blogging/gardening/chicken coop cleaning day!  I am trying to learn how to plan meals ahead of time and get as much done on the weekends as i can.  I want to keep cooking real food from scratch as much as possible with this new schedule.  This is a big challenge for me, as my organization skills are MINIMAL! (just ask my husband)  Good thing my girls are big enough to help and the men in the house are patient. 😀

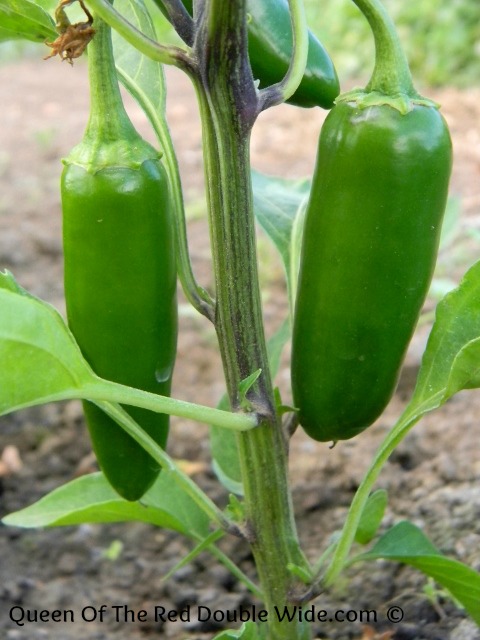
Peppers

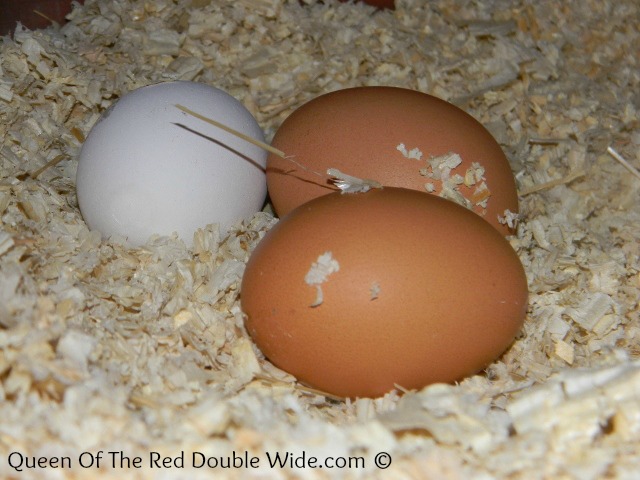
Eggs

PumpkinI have learned that gardening is all about NEXT year.  So many things I want to change and do better next spring. I guess that’s part of the excitement of a garden. 🙂

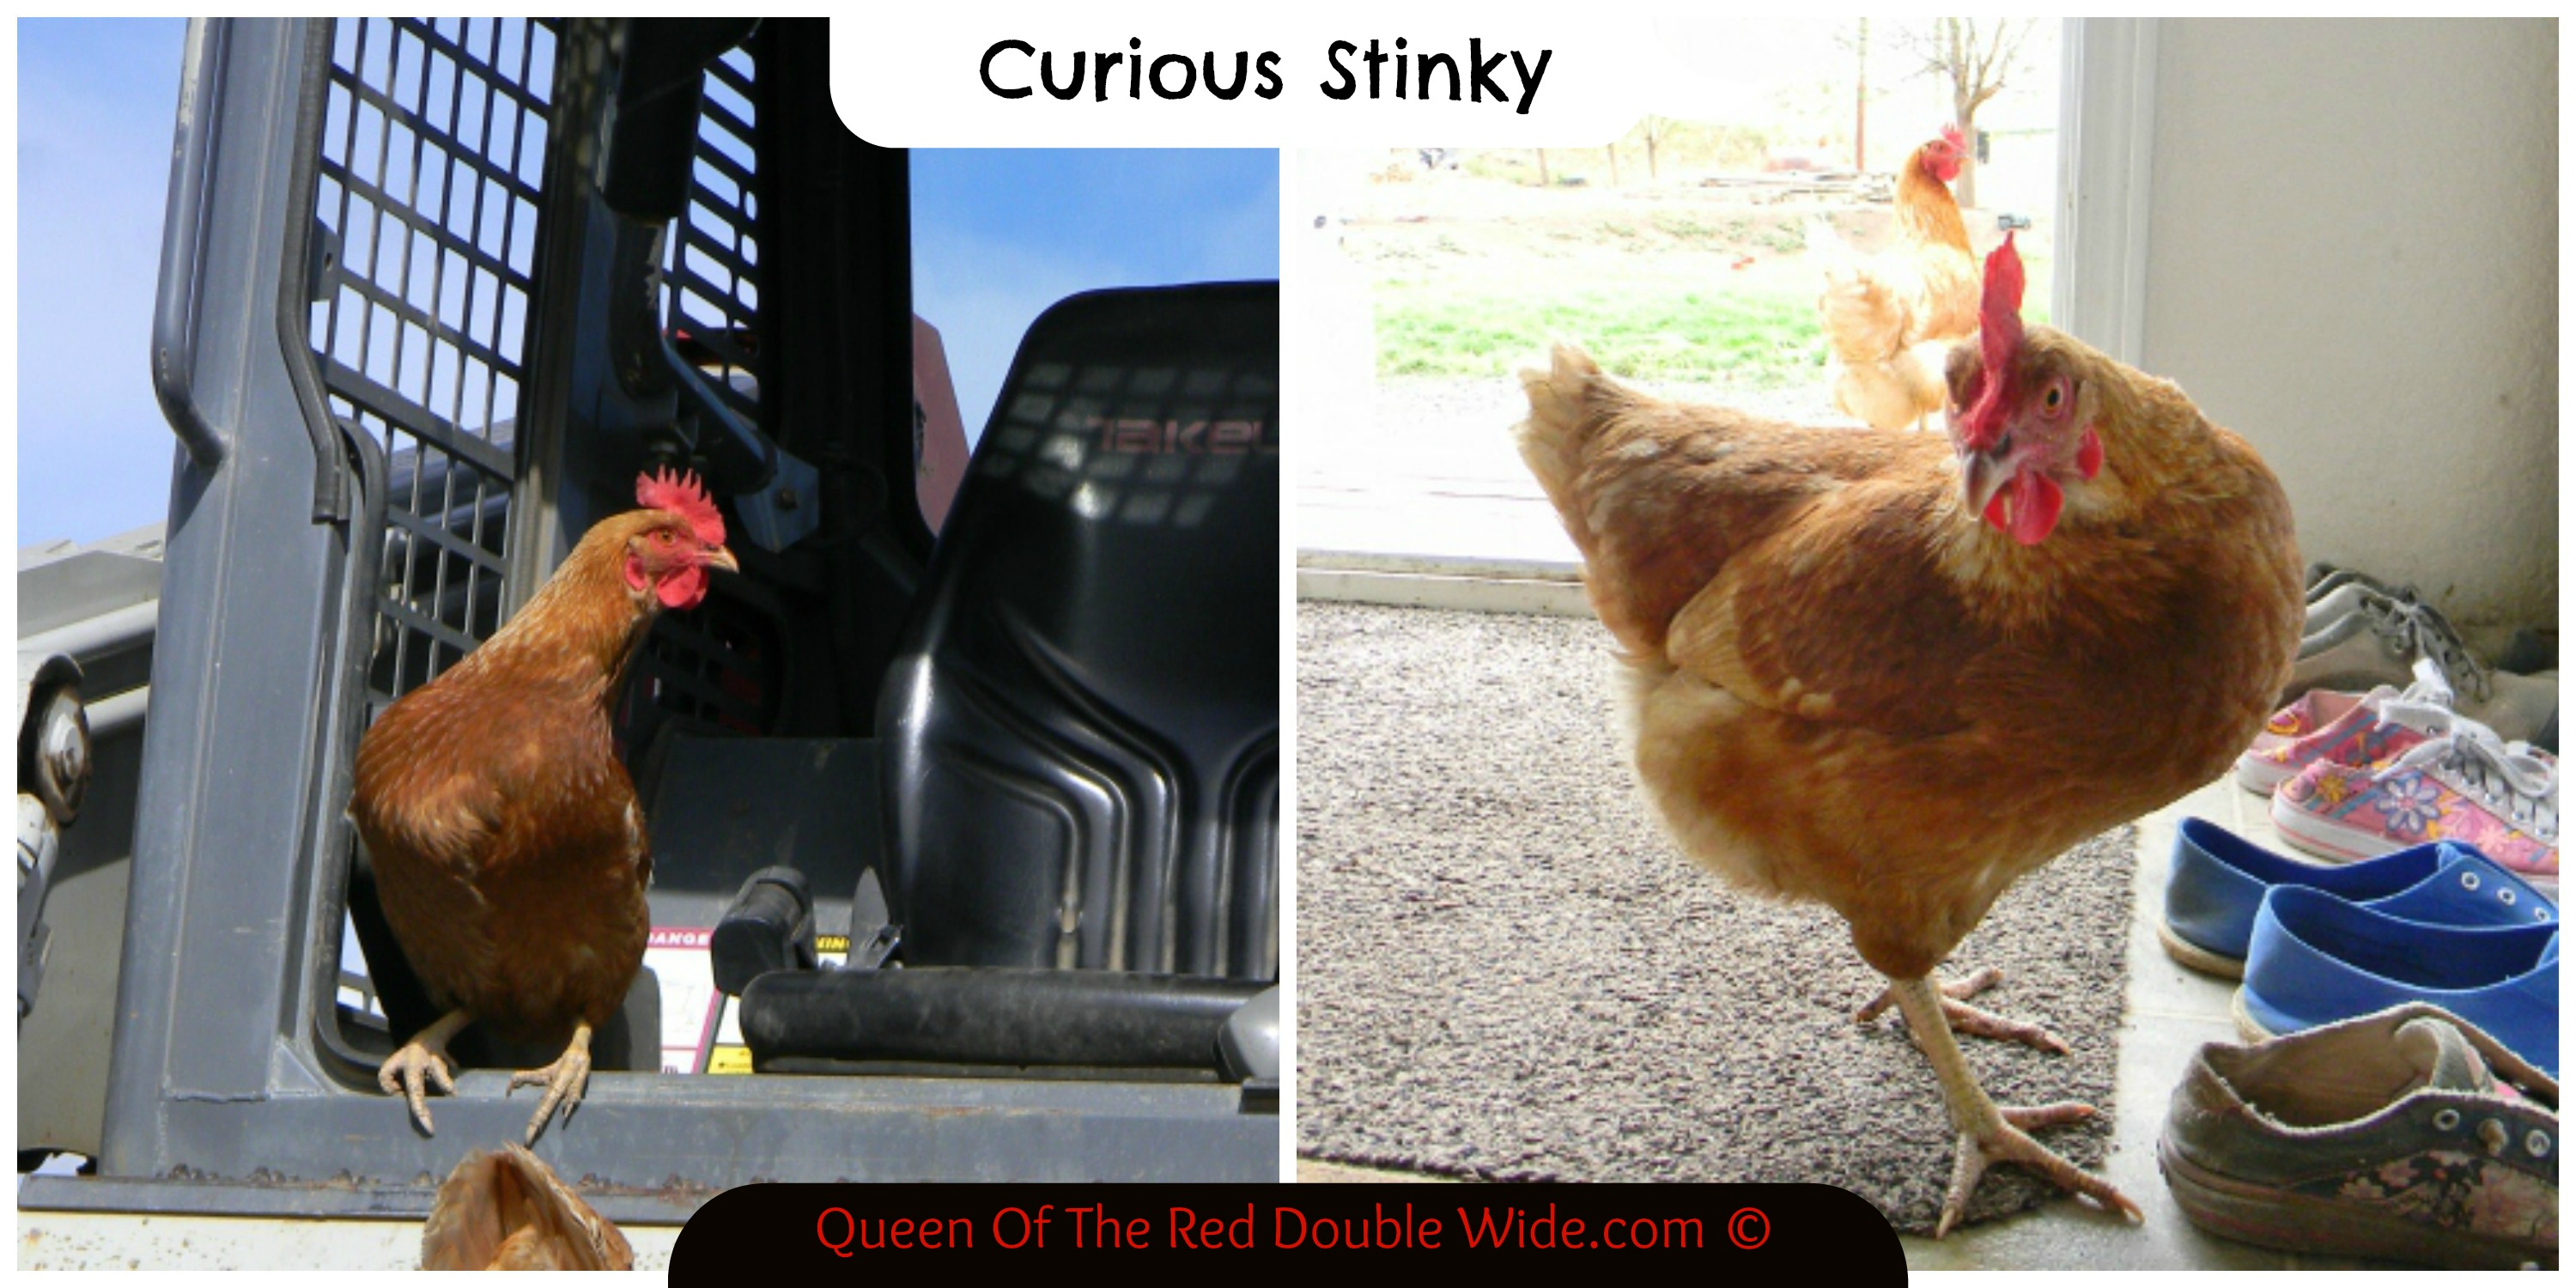
StinkyThis past month I posted about butchering our Cornish Cross chickens and then I wrote a story about Stinky going to the fair.  After that post I had several people express concern about Stinky someday ending up in the cook pot.  I want to assure everyone that Stinky will live out her free range life here at the Red Double Wide with no fear of ending up in the cook pot! 😀

Thanks for visiting and have a good week!

August 2013 – A Month of Photos From the Red Double Wide

WOW!  August is over already?!?!

Hope you enjoy some of my photos from August.

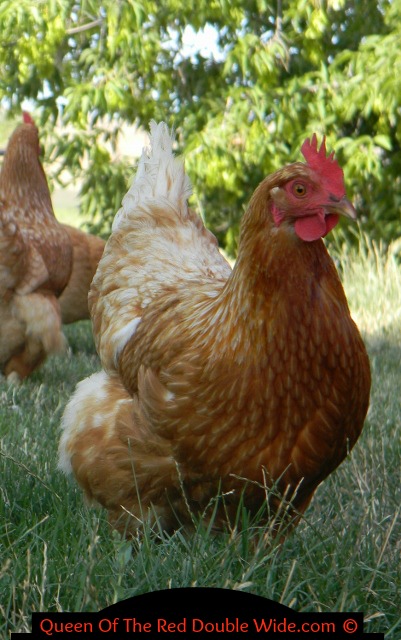
Chicken

Buddies
Napping on the trampoline. 🙂
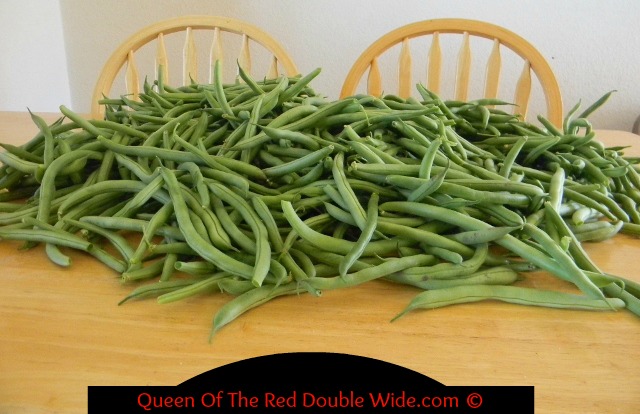
Green Beans
beans….beans…..beans
Bag Of Wheat
This a HUGE bag of wheat that my dad harvested. We are going to supplement the chicken feed with it and Digger wants to experiment with fodder.
Wind Storm
We had a nasty wind storm that blew over several corn stocks. I was glad it didn’t do more damage.
Tomato
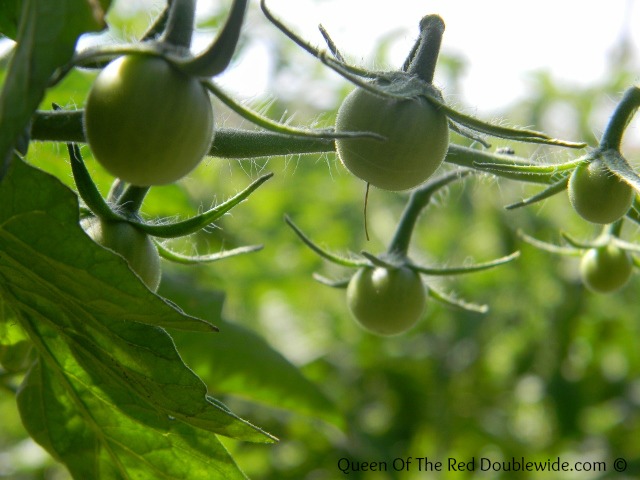
We have dozens and dozens of these….now, if they would just turn red!
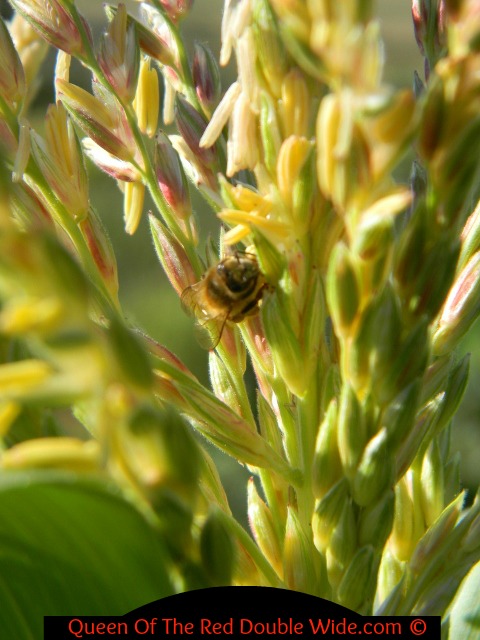
Bee
I am very pleased with how many bees I hear and see while in the garden. 🙂
Some of our corn grew CRAZY tall. A few of them are over 12 feet tall and the ears are so high I'm going to need a ladder to harvest them!
Some of our corn grew like CRAZY. A few of them are over 12 feet tall and the ears are so high I’m going to need a ladder to harvest them!
Sun Flower
One volunteer sun flower came up in the middle of our garden. I decided to let it grow and I’m glad I did. It’s absolutely gorgeous! I counted 30 blooms on it at one point. 🙂

We ended the month of August with the county fair.

Showing Chickens
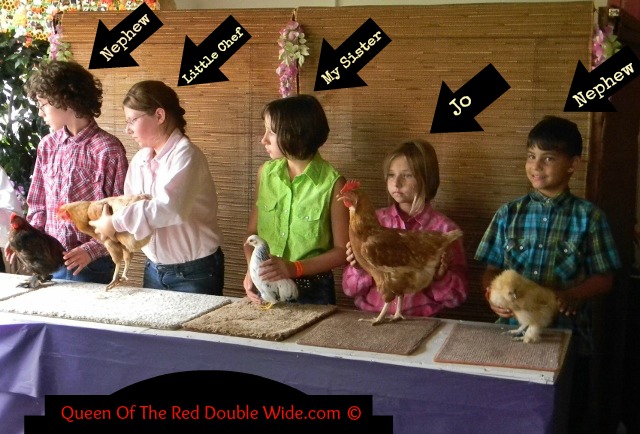
This isn’t the greatest picture but I wanted everyone to see how the fair and chickens are a family ordeal! They all did so well with ALL of their projects. I am a very proud mom, sister, and aunt!!!

September will be bringing many changes.  I have decided after much thought and prayer to go back to teaching at our local Christian School and the girls will also be attending there.  This means lots less time at home.  I am hopeful that I can keep up with cooking from scratch, gardening, and my blog!

Thanks for stopping by the Red Double Wide!!  Hope you are all getting to enjoy this harvest season. 😀

Easy Fresh Green Bean Recipes

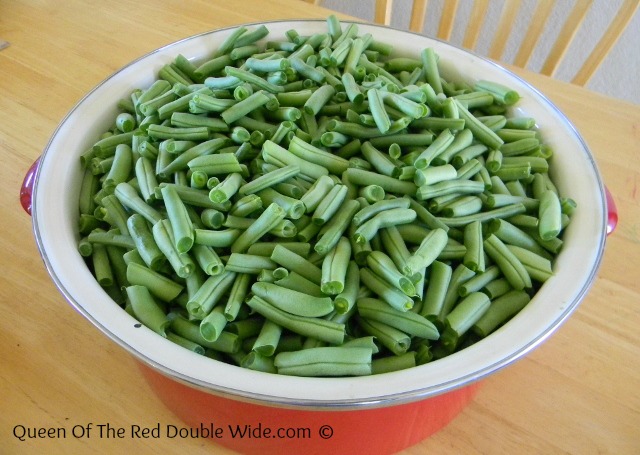
Green beans, green beans, green beans every where.  I have planted green beans many, many times, but never have they tasted so good or been so abundant! (it must have been those heirloom seeds?)   We pick them about every three days trying to keep up with them.

Fresh Green BeansAll these green beans have let me get acquainted with my brand new pressure cooker!

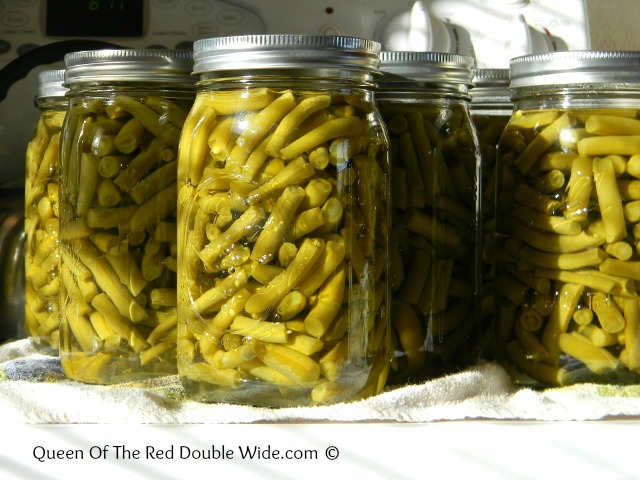
Canned Green BeansSo far I have canned 20 pints and 14 quarts.  I’m thinking that will get us through an entire year, especially since Digger isn’t fond of canned green beans.  I have given some away to friends and family and the rest we have been enjoying with dinner.

Here are 2 super tasty ways to EASILY add fresh green beans to your dinner.

First find a REALLY cute niece to help you snap the beans. 🙂

Bean snappen
She took her bean snappin job VERY seriously!

If you don’t have one of these (my sympathies) it CAN be done alone, BUT it is very boring.

After the beans are snapped and you have picked up all the beans off the floor and cut all the little teeth marks off of them, give them a good washing!  (I told you, not boring with a cute helper)

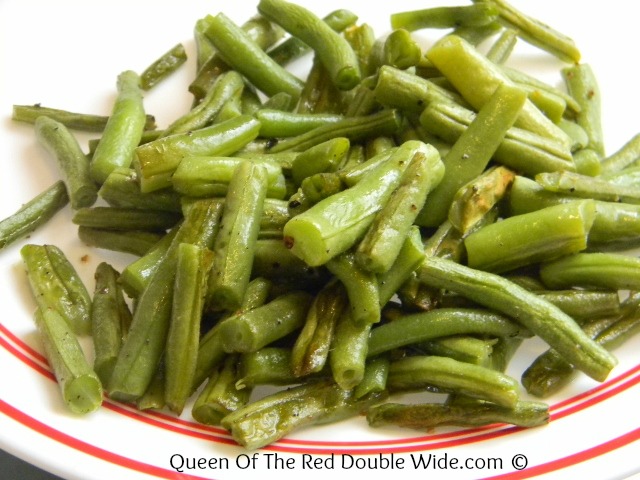
Grease a cookie sheet and place as many snapped and washed beans as your family will eat for dinner on the cookie sheet.  Drizzle with some olive oil and sprinkle sea salt and freshly ground pepper on the top.  Place in the oven at 400 degrees for about 20 minutes.  This is soooo easy and so yummy!

Oven Roasted Green BeansThe next recipe is my favorite because it involves BACON!

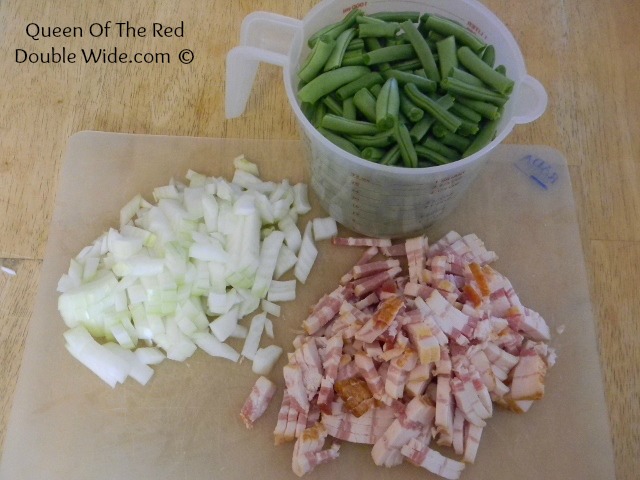
You will need fresh snapped and washed green beans, bacon, and a small onion.

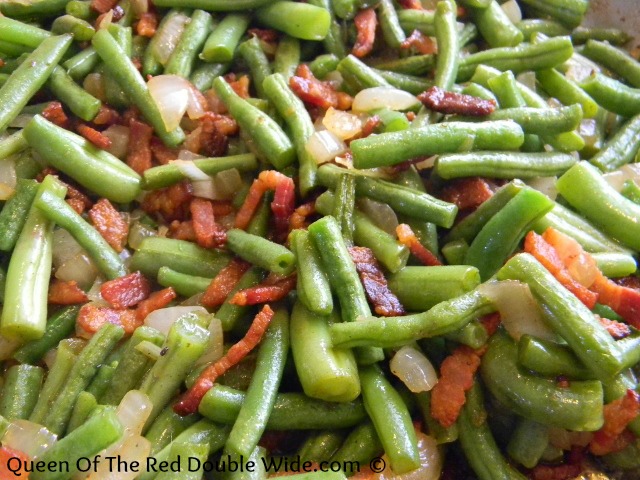
Green Bean RecipeChop up the bacon (I used 6 slices) and fry it until crispy.  Place the bacon on a paper towel to drain,  leave the bacon fat in the pan and add the onion and green beans (about 4 cups).  I used half of a LARGE onion I bought from our neighbors at the farmers market….wow!  Let them saute in the bacon grease for a few minutes, stirring often.  When they are done to your liking, drain excess liquid then add the bacon back in and stir.  Add Salt and pepper to taste.

Fresh Green Bean RecipeThat’s it; deeeelicious!  I ate this for lunch yesterday…well not ALL of it, I shared a little with the girls. 🙂  Digger who won’t touch a green bean out of a can will happily eat either of these easy fresh green bean recipes!

Happy snappin everyone!

July 2013 – A Month of Photos From the Red Double Wide

July was a month of bbq’s with great friends, many 4-H meetings, baby chicks, HOT weather, gardening, and allergies!  Despite the sneezing, runny noses, and watery eyes it was a wonderful, busy month.

We started off the month by celebrating the 4th of July with a family trip to the beautiful San Juan Islands.  It was a great trip and so wonderful to see family that we hadn’t seen for a while.  Visiting the beach was also wonderful!

Two days after we got home from our little vacation our meat chicks arrived!

3 Days OldThey are the girls 4-H projects.  To read more about our meat chickens click here.

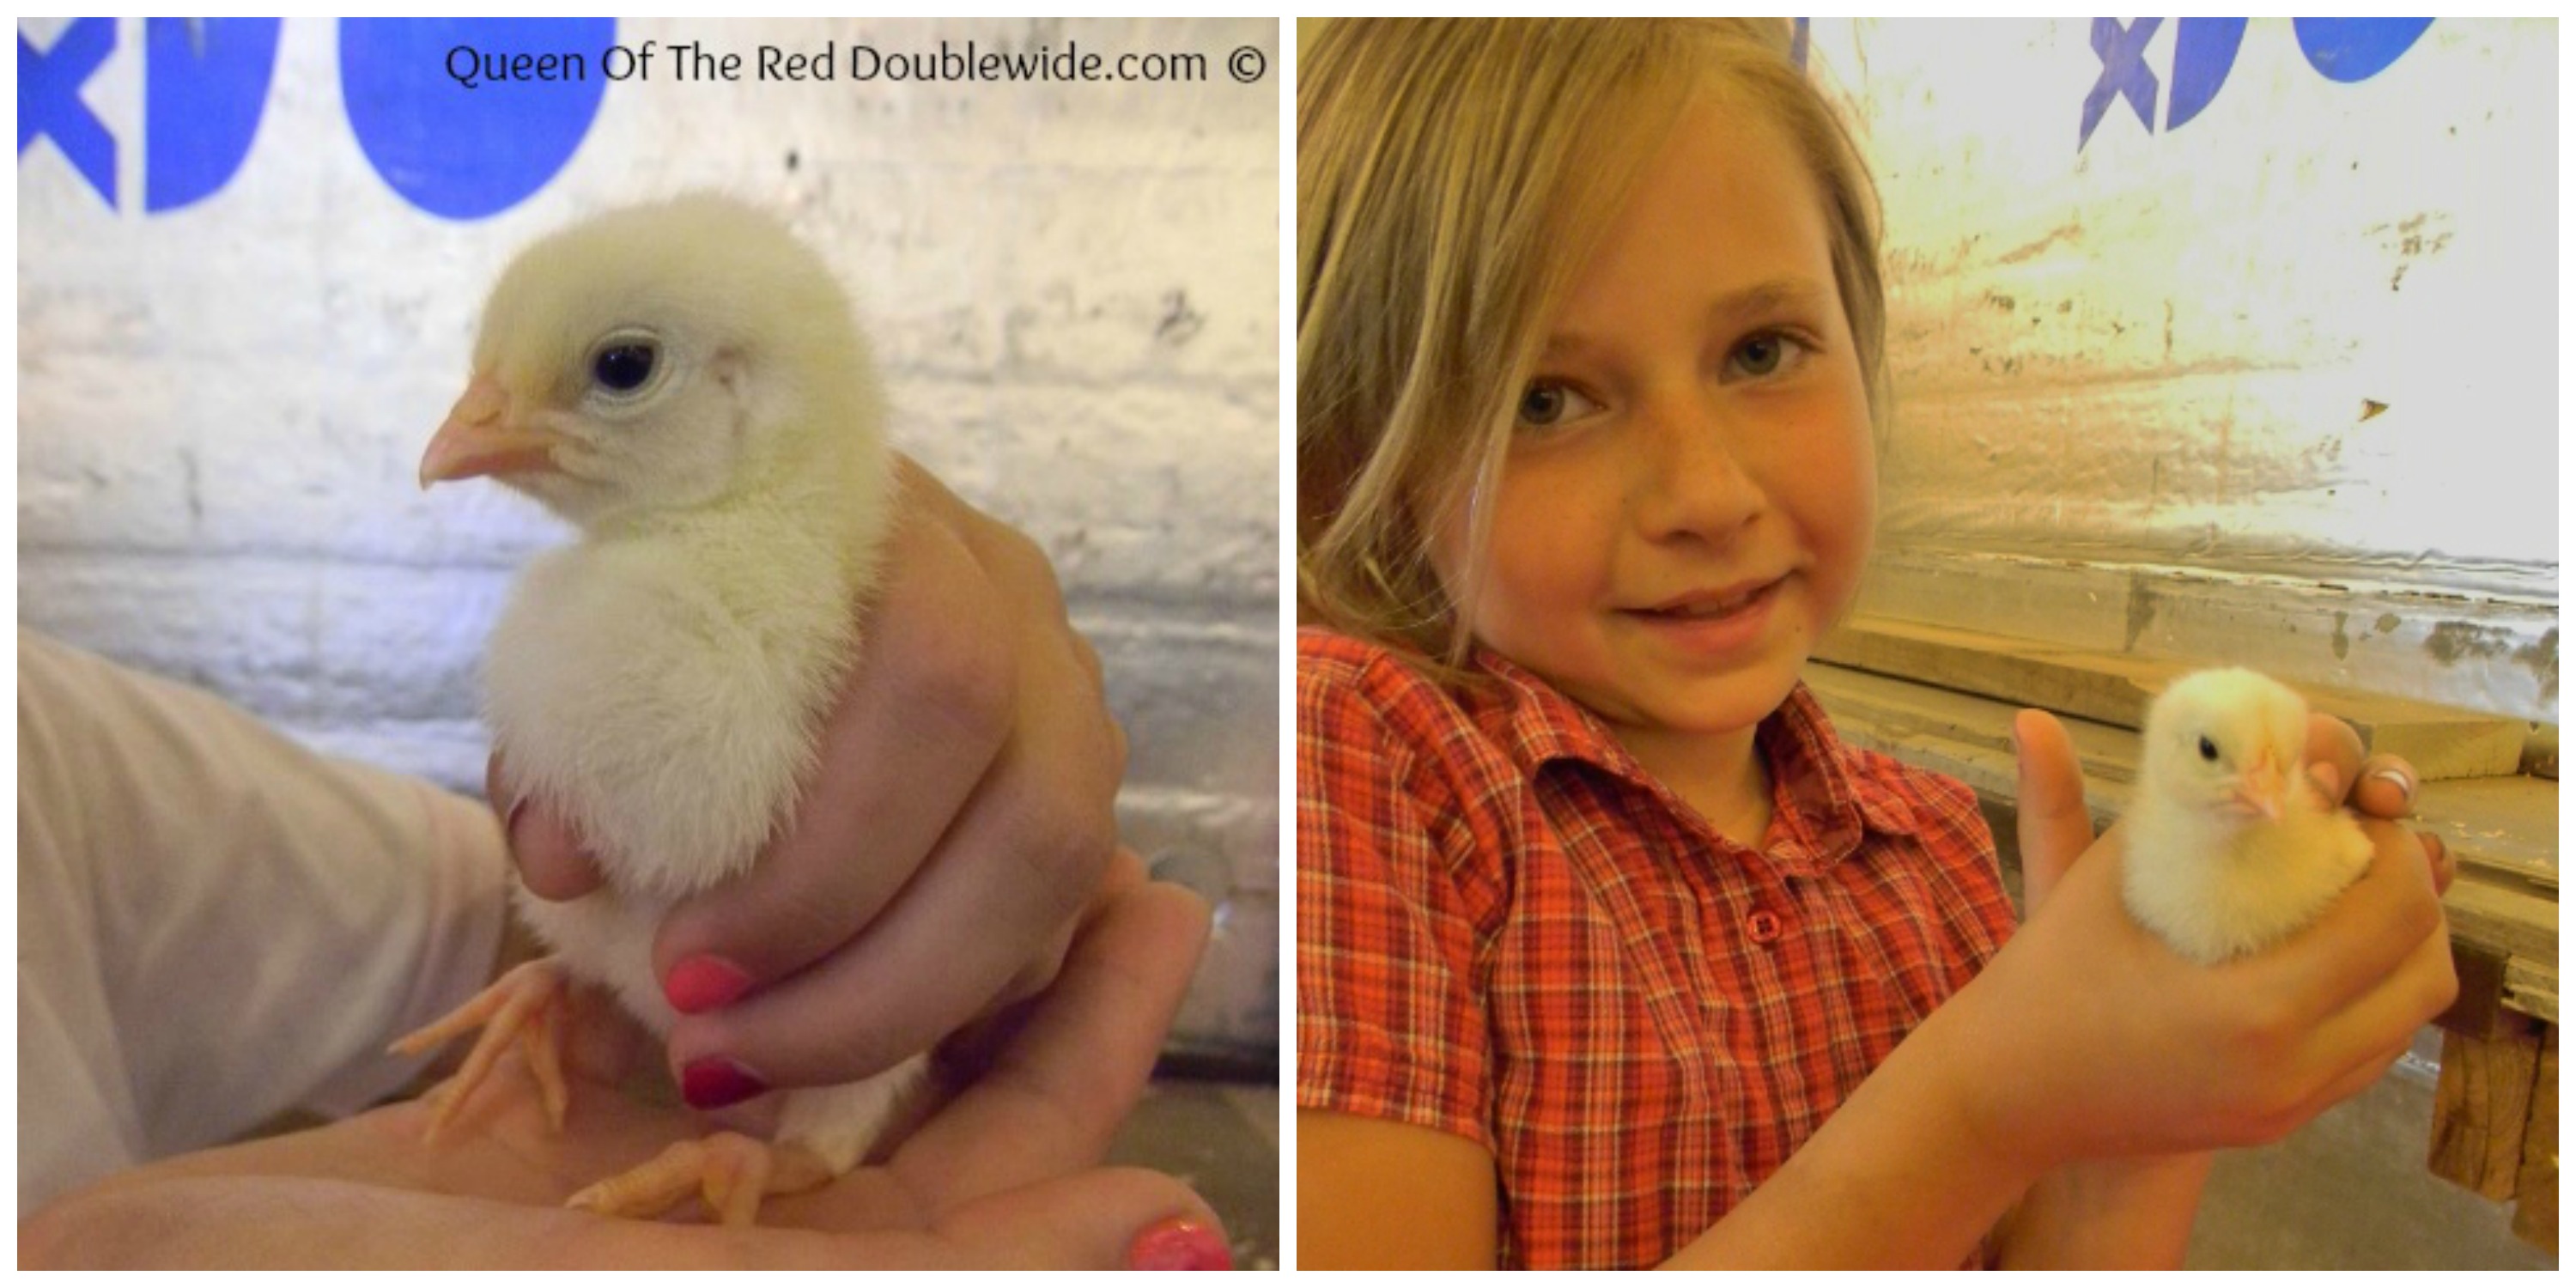
chick Collage

Butterfly
Front yard visitor
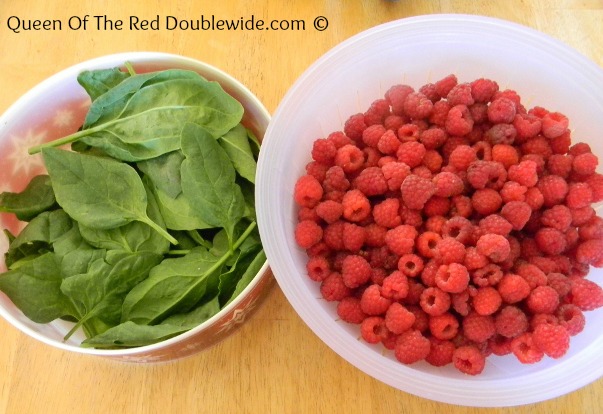
Spinich & Raspberries
First harvest from the garden

We have an AWESOME group of people from our church that came out and joined us for a taco feed and go-kart party.  Our go-cart track goes through our hay field and it’s about three-fourths of a mile long.  As you can see from the picture this is not a clean sport!  Everyone was sooooooo dirty but it was a blast!

Go-Karts

Garden 5
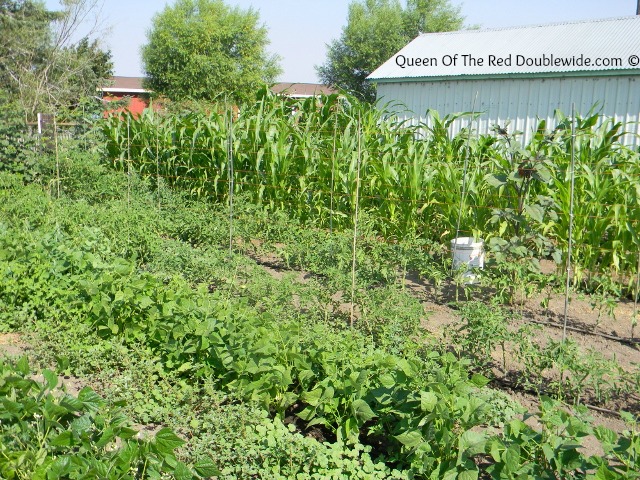
My weed filled garden! The corn is taller than me now. 🙂
Garden 2
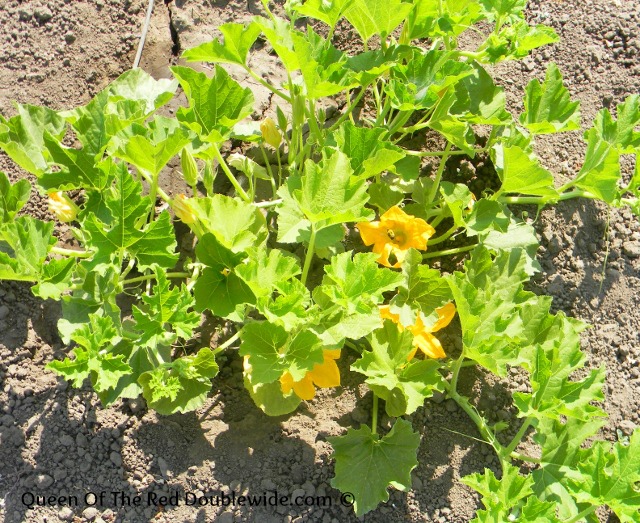
Squash plant
Garden 6
Baby Tomatoes
Painting
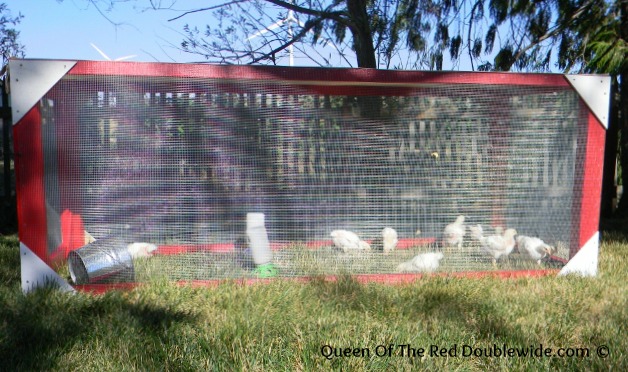
The girls painting the new chicken pen for their 4-H meat chickens.
Chicken pen - 1
The finished pen!
Harvest
My dad getting ready for harvest….I can’t believe it’s that time of year already!

Hope all of you had a great July!  In August I’m looking forward to our county fair and preserving the harvest from my garden.

June 2013 – A Month of Photos From The Red Double Wide

June was a wonderful and busy month.

This last week of June has brought several HOT days and the garden has really taken off! (and with some late spring rains so have the weeds!)  Needless to say I’ve spent a great deal of time over the past month in the garden. 😀

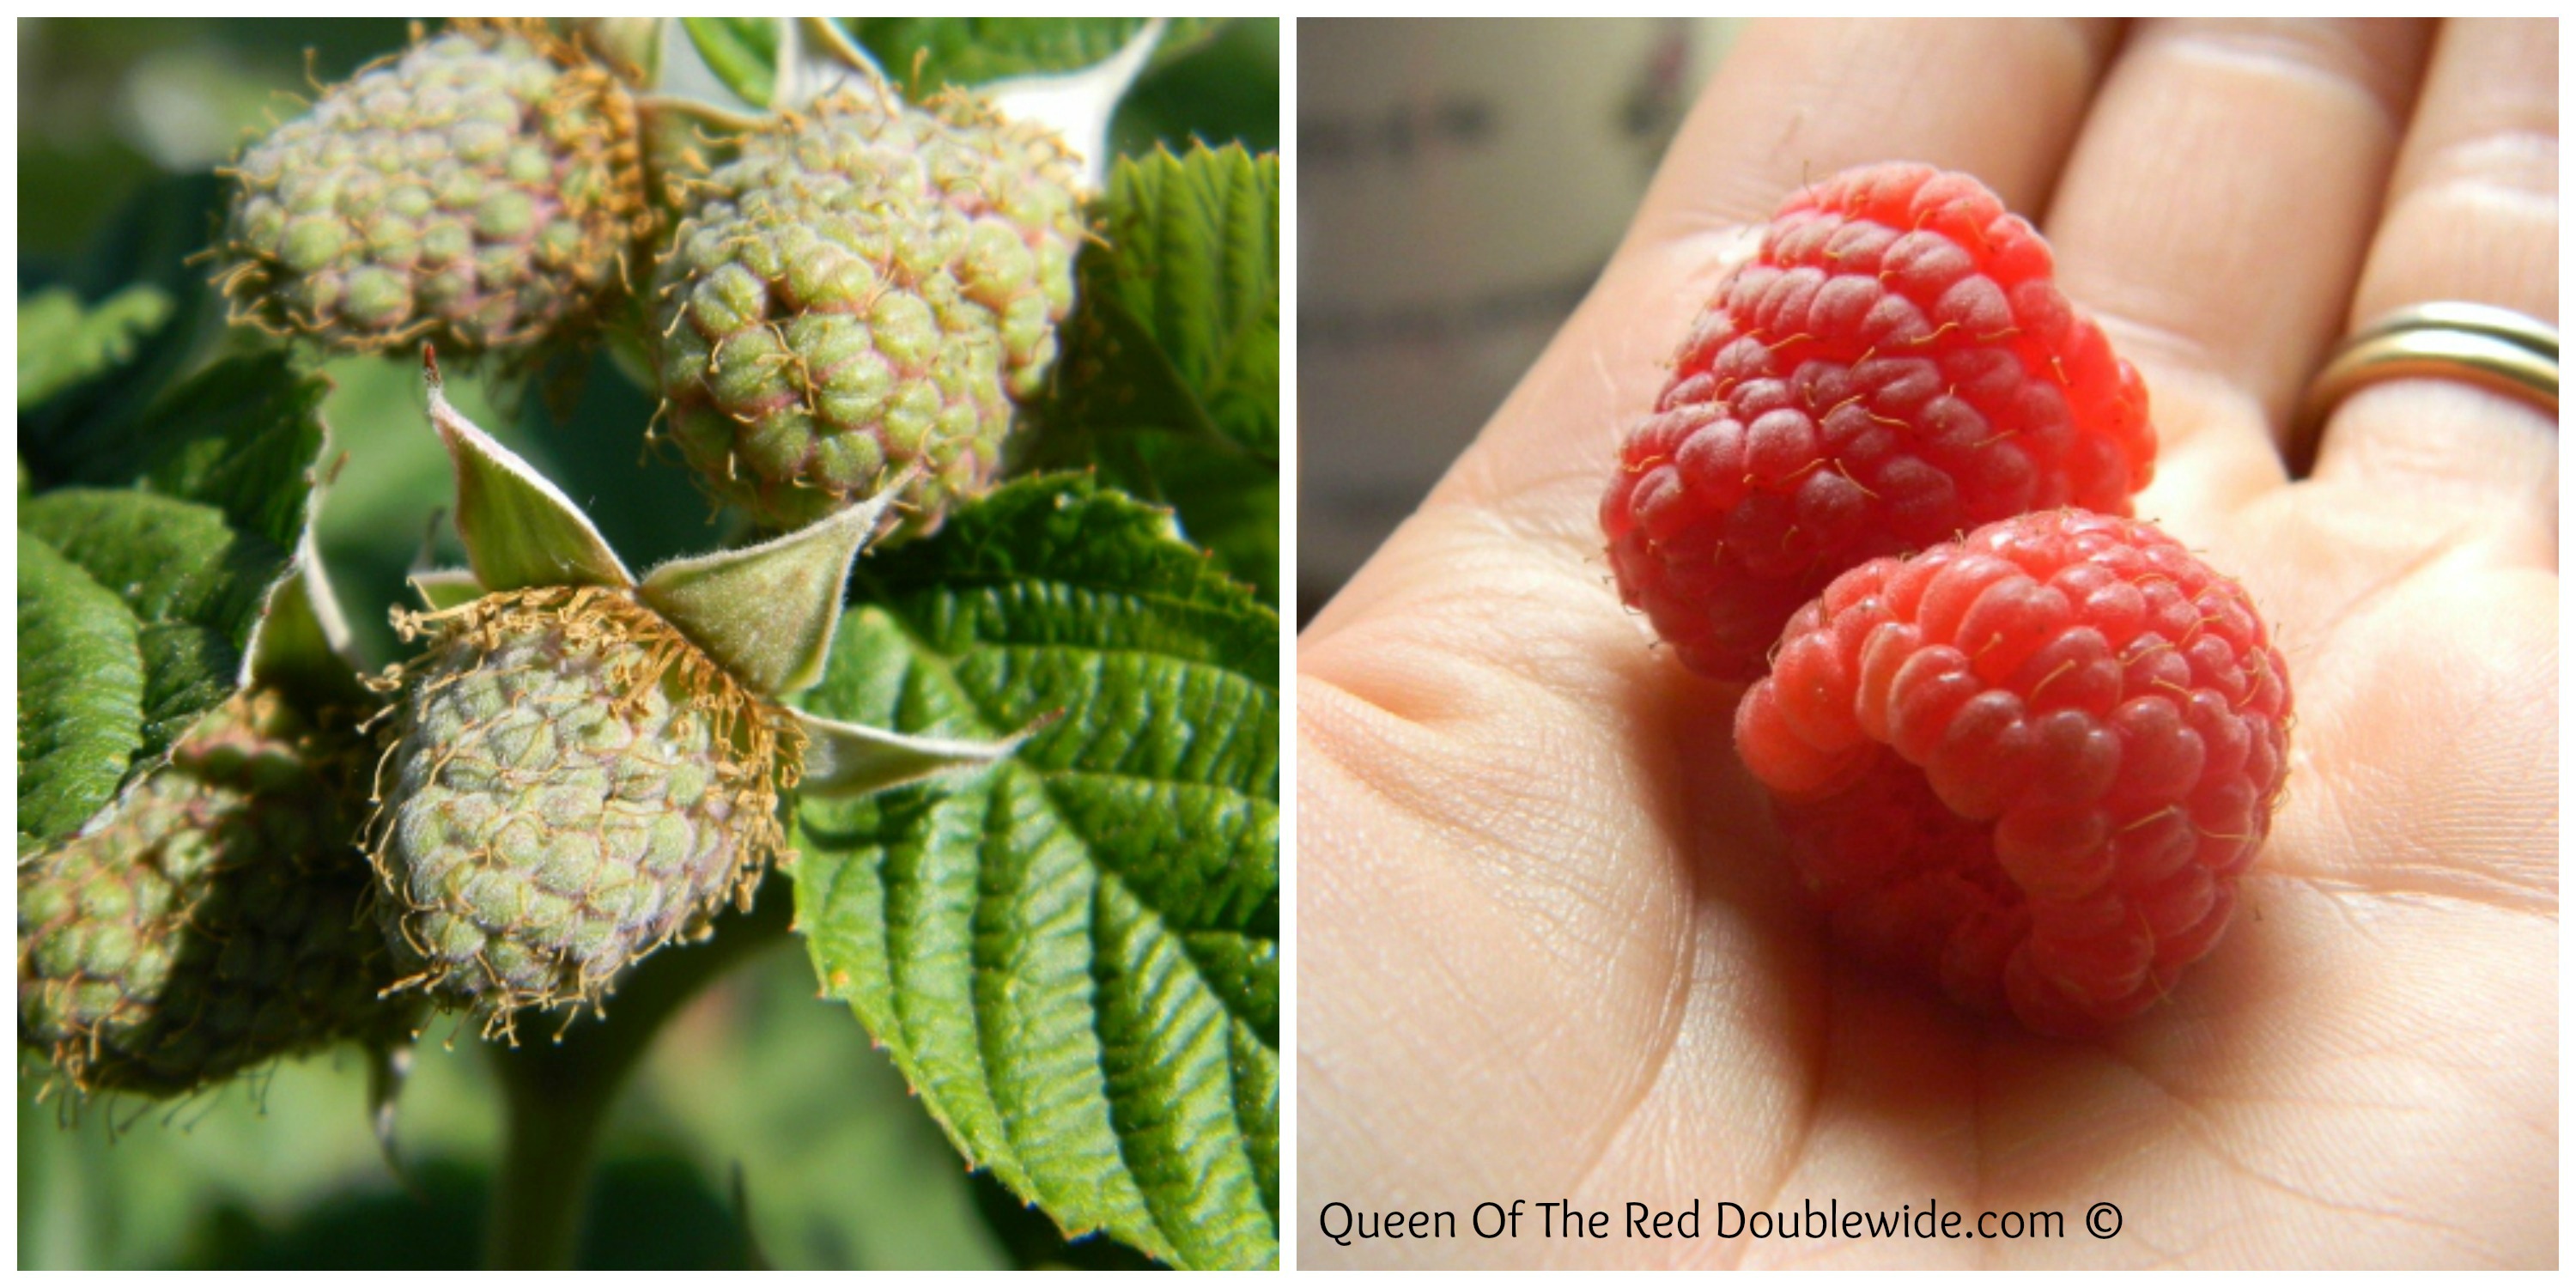
We have been getting quite a few raspberries.  If the kids stop eating them we might even have enough for some jam!

Raspberry CollageThe men of the house…..shooting skeet. 🙂

June 2013 DiggerJune 2013June 2013Happy dog!

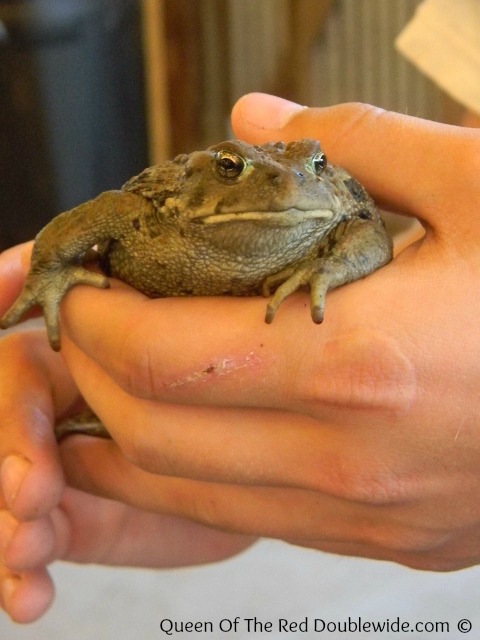
June 2013 StigDusty found this cute toad.  He kept it in a 5 gallon bucket until the girls and I got home so they could see it, and I could take a picture.  He then let it go in the garden, after naming him “Bruce the pirate toad”.

June 2013 ToadJo’s cats Boots and Tiger…Boots has six toes on her front paws, but this is not what makes her special.  Jo bought her the pink collar with her own allowance money.  We tried to tell her the cat would lose that thing the first chance she got, but for all the world Boots seems to be proud of it.  Often as not she is now referred to as “Prissy Missy”.
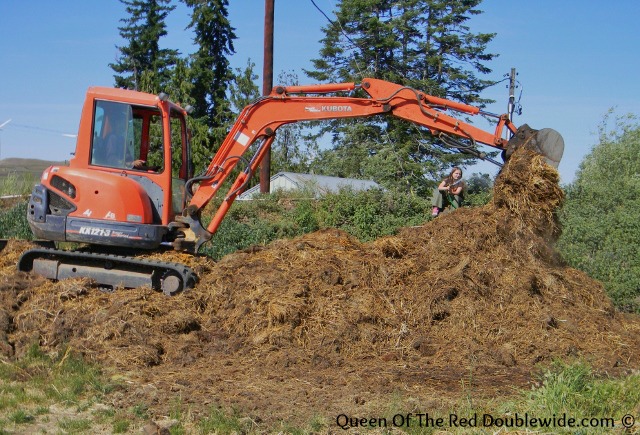
June 2013 catsStirring the compost pile. (How redneck!)

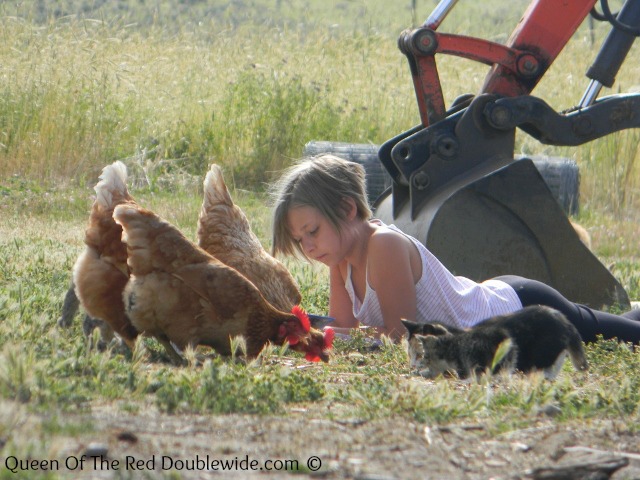
June 2013 CompostJo loves to read and she loves animals….this is her reading a book while the chickens and kittens play.  As you can tell by the hair, this was about three minutes after she rolled out of bed.  She would live in the barn yard, if we let her.   😀

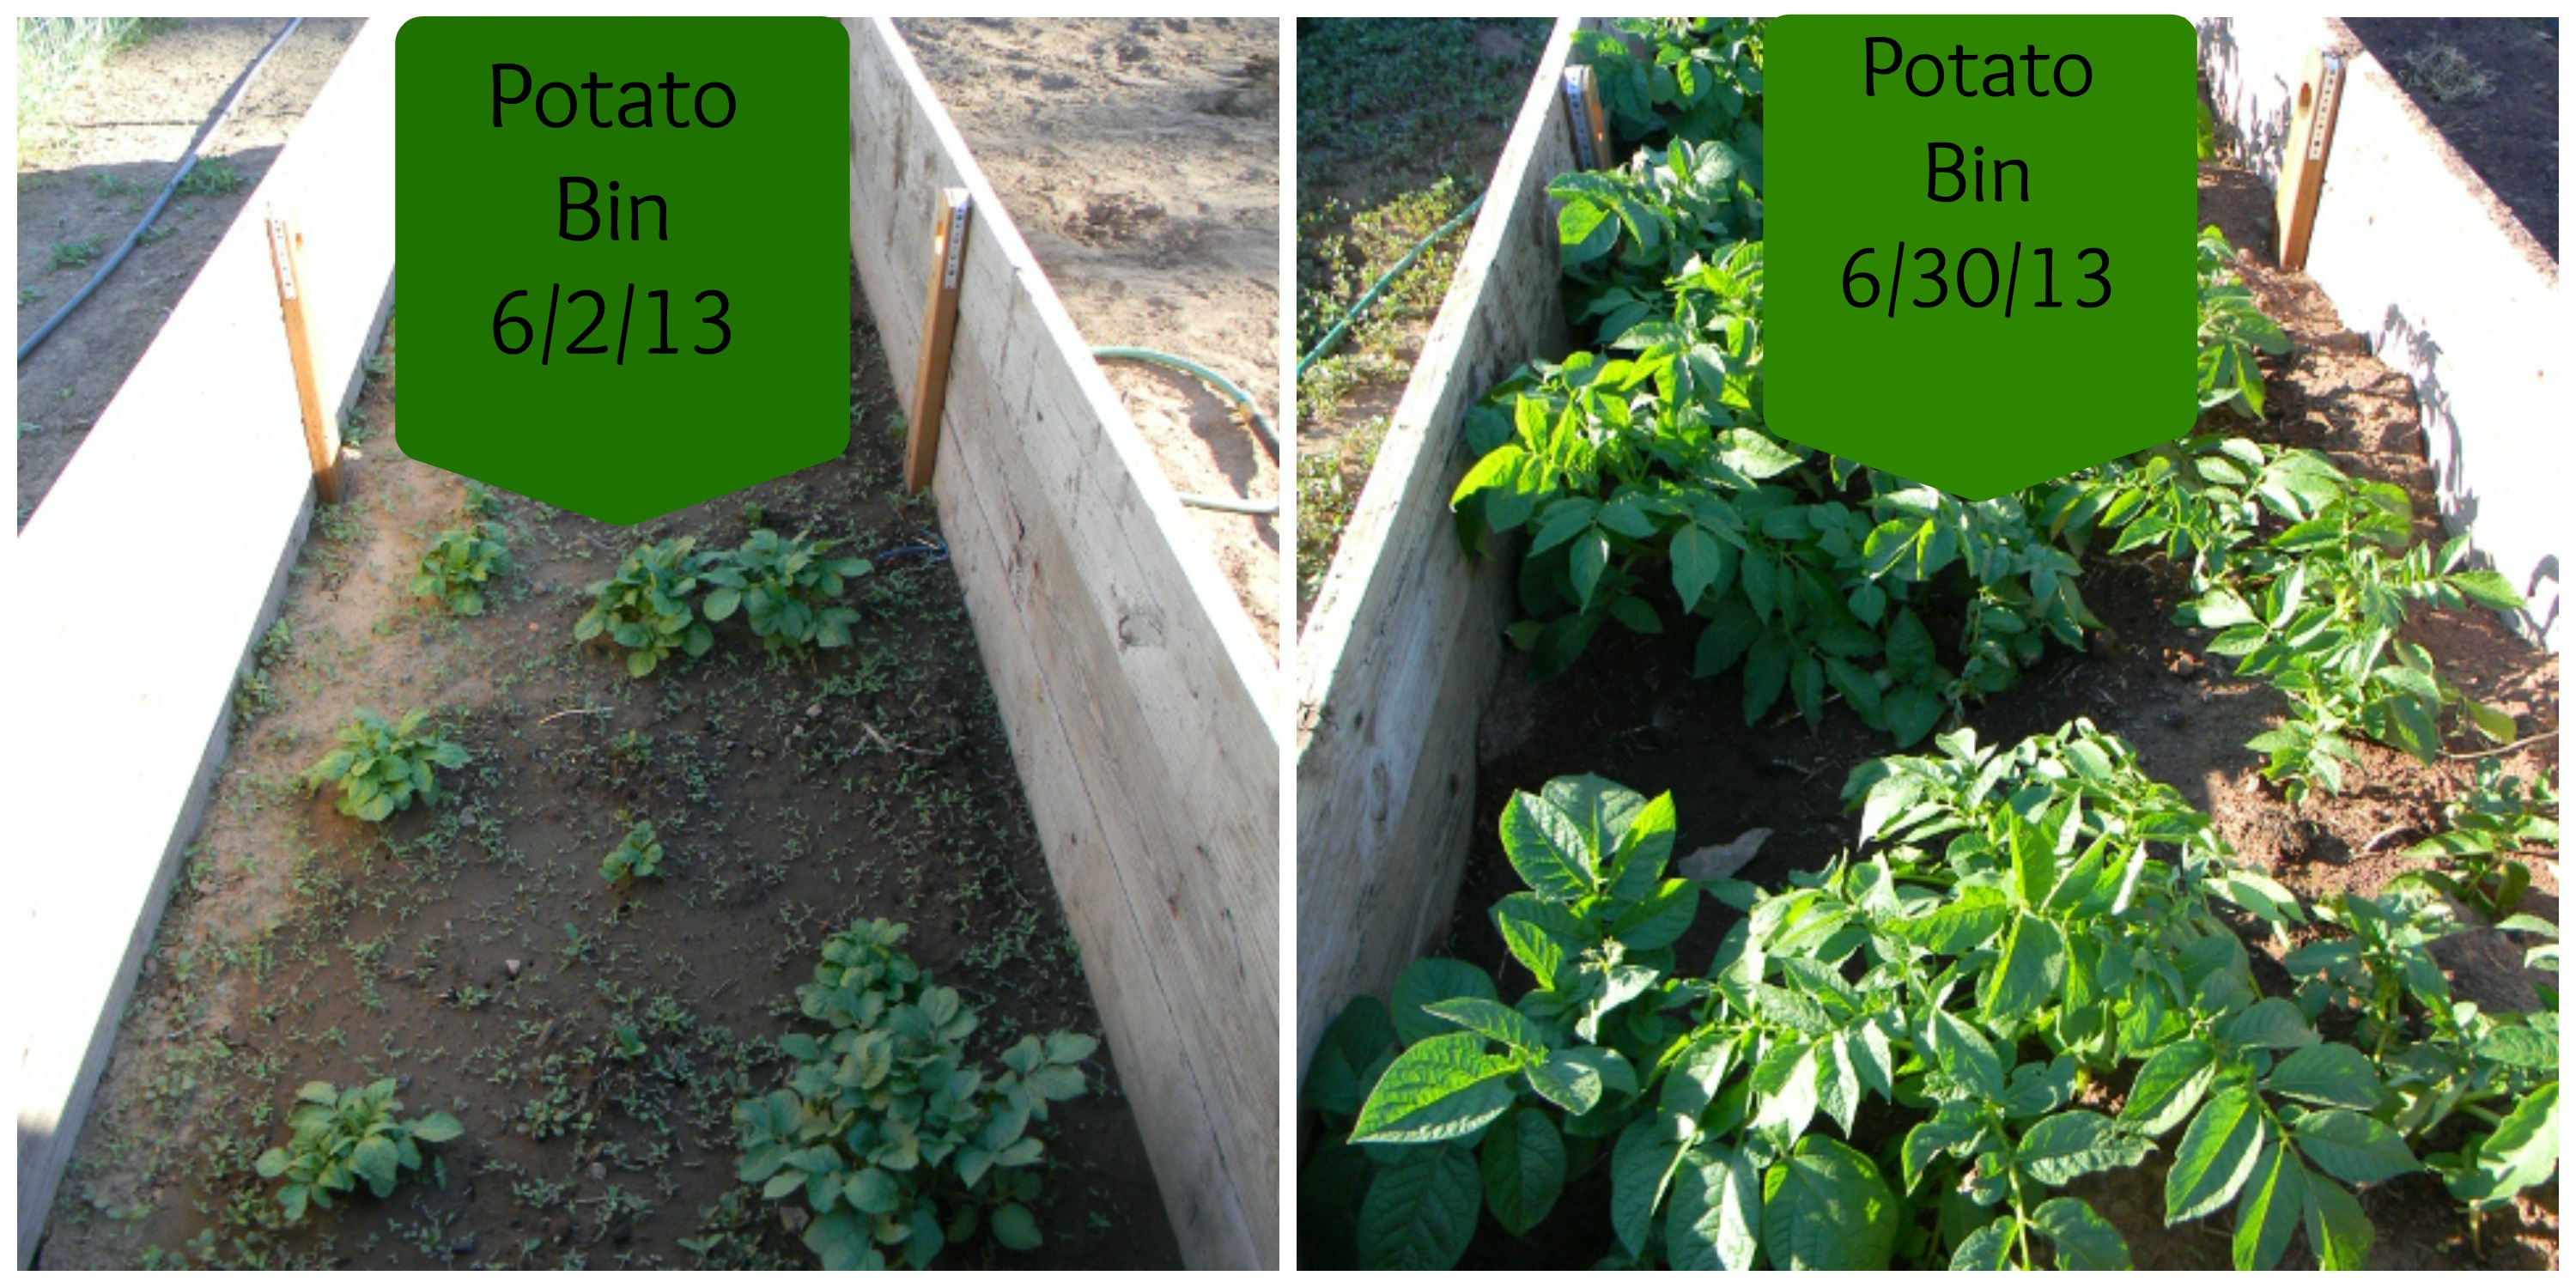
June 2013 readingThese are the potatoes we planted in our recycled potato bin.  It’s amazing how much they grew in June!

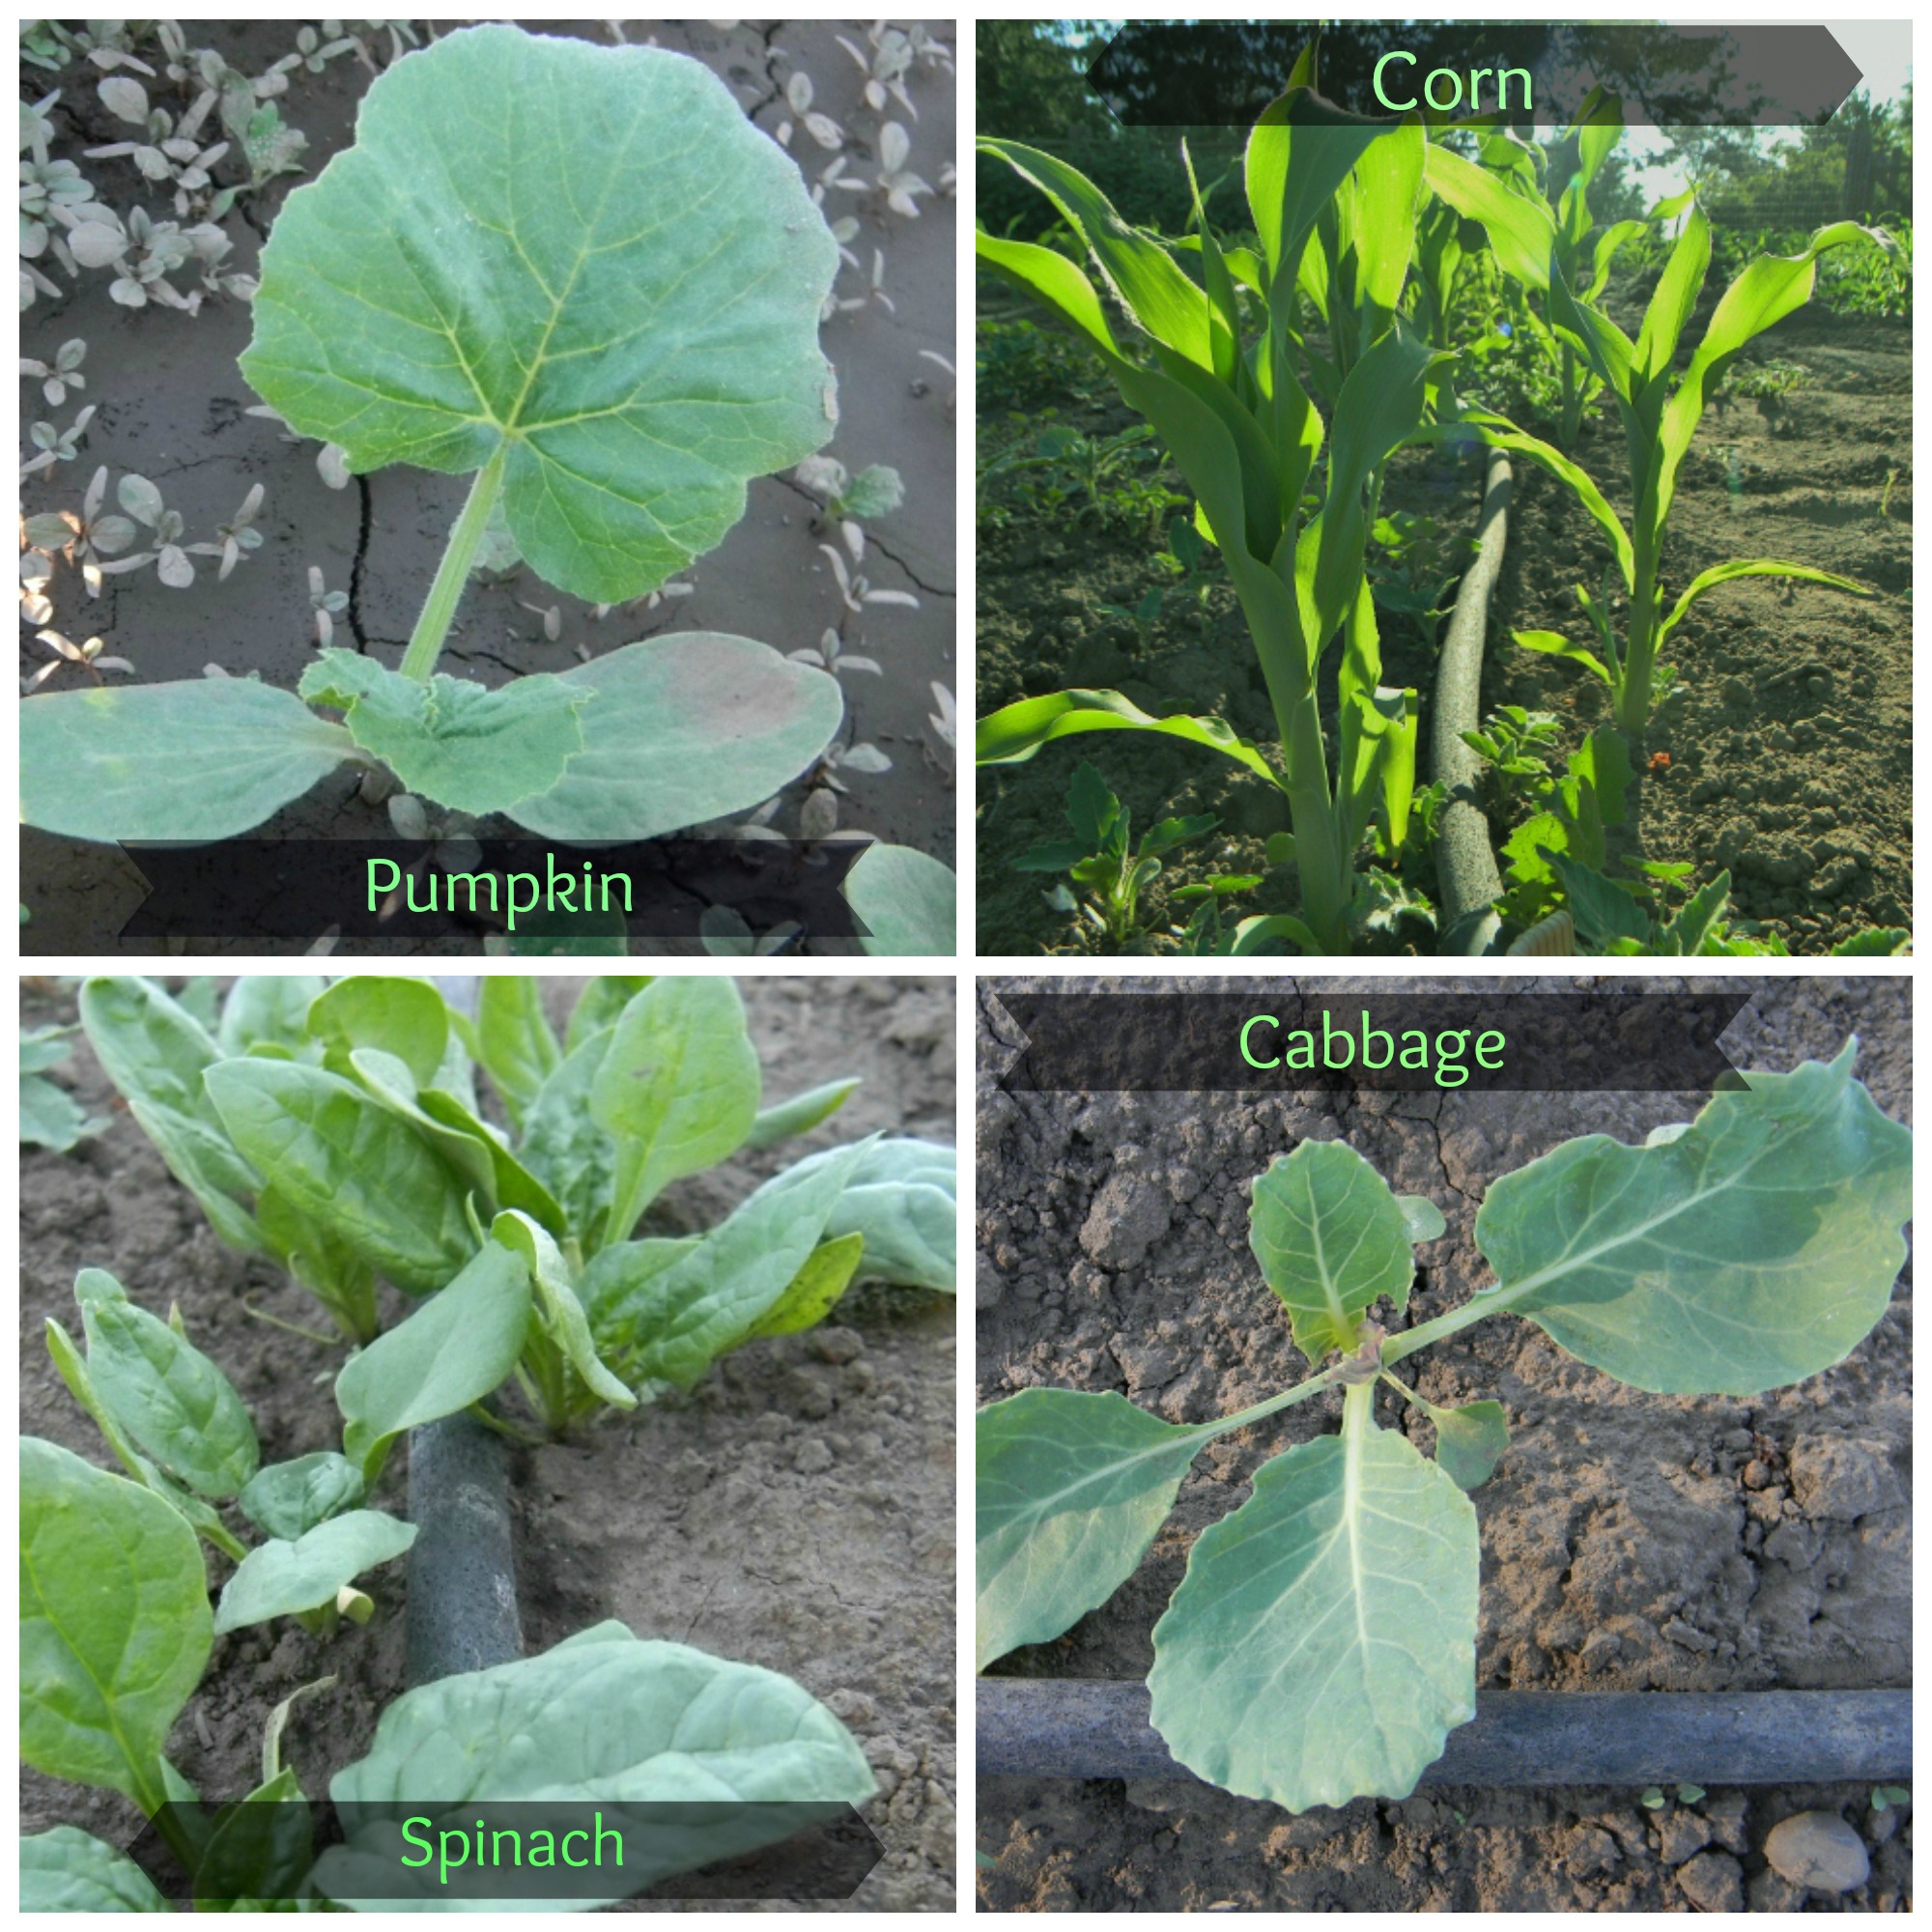
Potato Bin CollageMore pics of the garden….(please ignore the weeds!)

Garden CollageIn July I’m looking forward to more gardening, trips to the pool, baking, BBQ’s, and 4-H meetings.

Thanks for dropping by the Red Double Wide!

-Grace

Our Garden – A Work In Progress

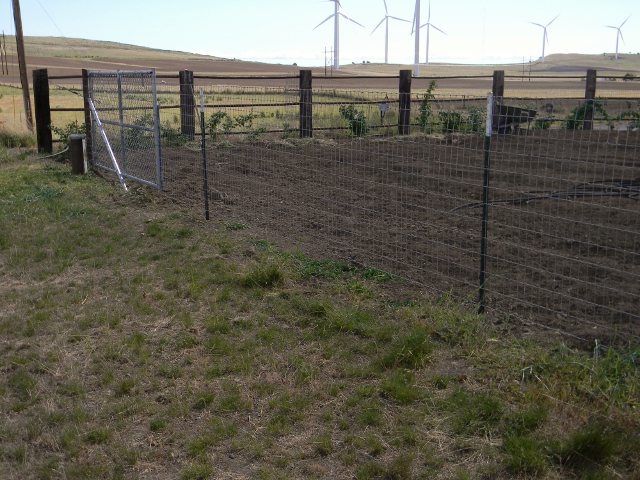
Our garden got off to a slow start this year.  To make a long story short, we couldn’t plant the garden until the chicken proof fence was up and hey,… it’s been a busy spring!!

We are making slow progress in good spirits though.

The fence is finished! (Around the garden…)

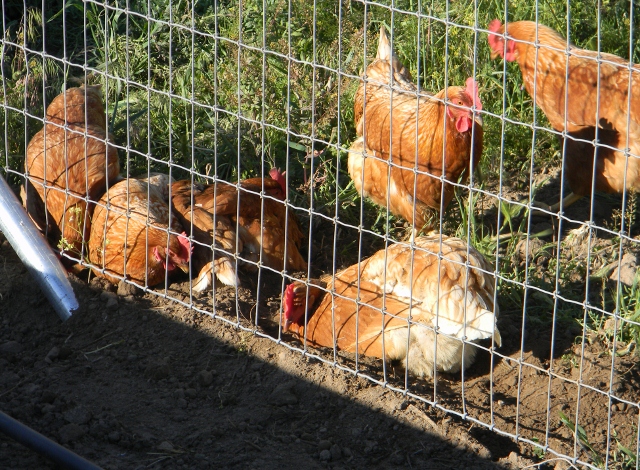
DSCN7175 (640x480)The chickens are locked out (for the most part).  They really don’t like that their favorite dust baths are no longer available. 🙂  They decided that this tiny patch of dirt would have to do.

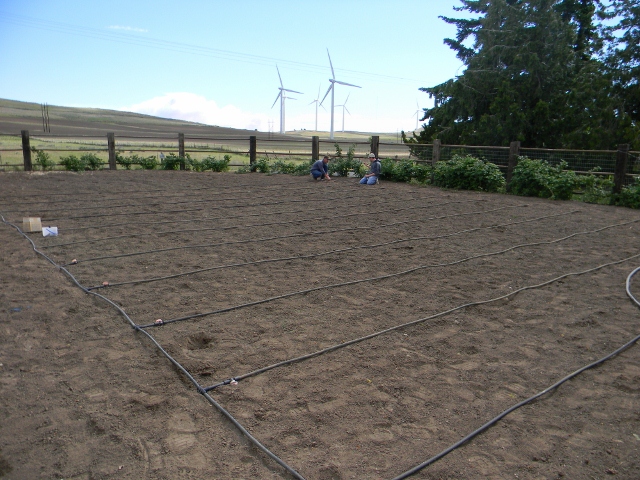
DSCN7301 (640x470)Most of the irrigation is finished.

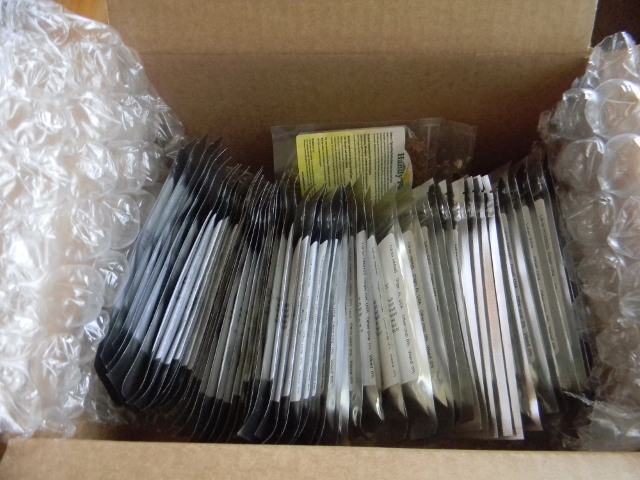
DSCN7294 (640x480)The seeds are planted… Almost all of them!  This is the box of heirloom vegetable seed packets I ordered, and this fall I’m hoping to harvest enough seed for next years garden.

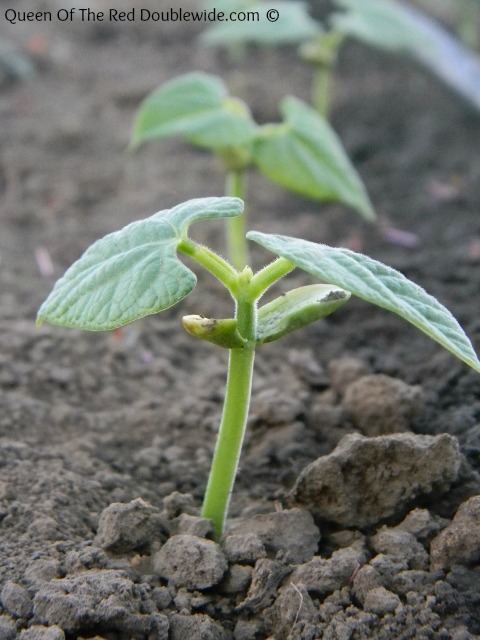
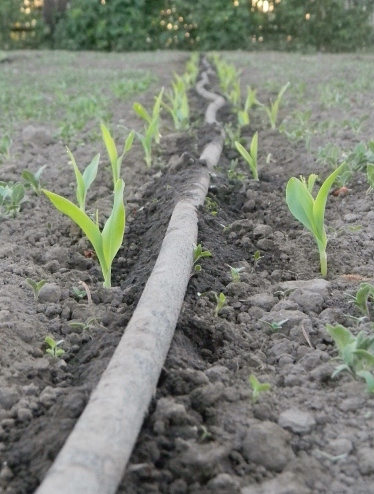
DSCN6738 (640x480) One week old corn and beans!

DSCN7443 (480x640)DSCN7451 (480x640)-1

It’s amazing how fast everything pops up! (once it actually gets planted)

This is the biggest garden we’ve ever had and the progress is slow, but there is progress. 🙂

How is your garden doing?  Is it a work in progress too?

May 2013 – A Month of Photos From the Red Double Wide

Another month gone by!  Here are some of my favorite photos from May.

DSCN6817 (640x469)-1
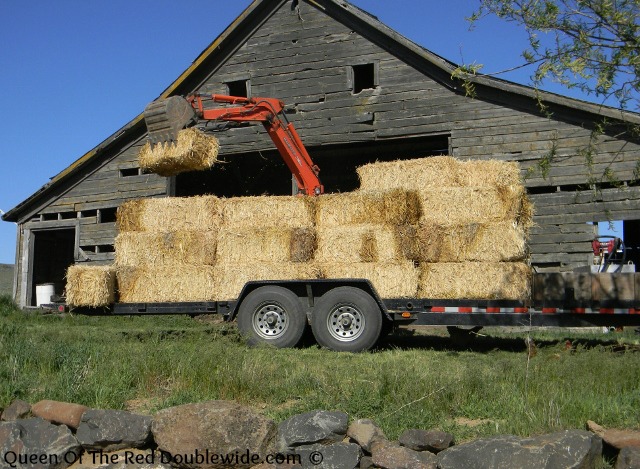
Moving straw into the barn….the easy way!
DSCN6755 (640x480)-1
Poor chicken!
DSCN7012 (640x480)-1
The lilacs in the front yard were beautiful and smelled wonderful.
DSCN7026 (640x480)-1
This is my niece in the garden. Playing in the dirt is always fun!
DSCN7080 (518x640)-1
Jo’s cat had three kittens….this one is Marshmallow. 🙂
DSCN6843 (640x480)-1
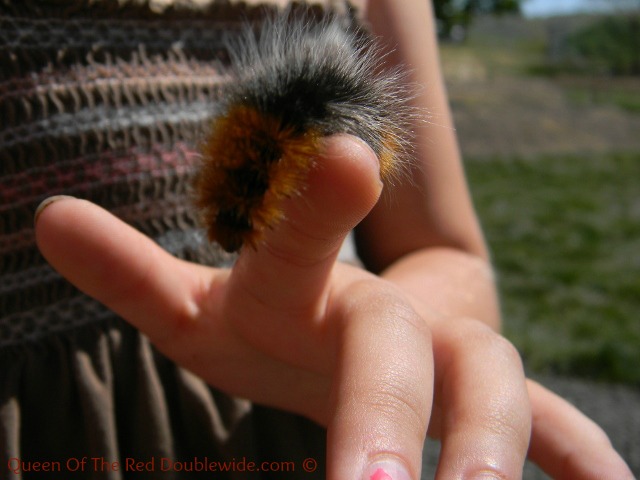
The kids found many “wooly worms” aka caterpillars.
DSCN7163 (640x457)-1
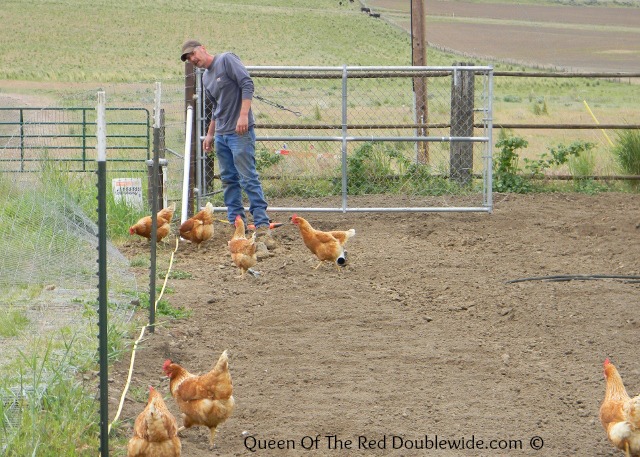
This is Digger working on the new garden fence with help from the chickens.

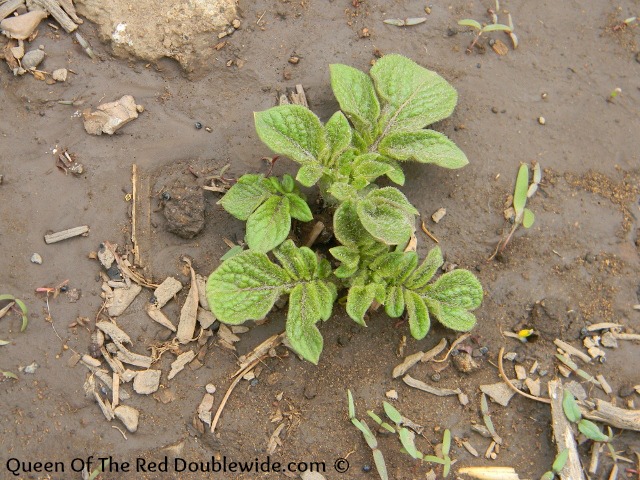
DSCN7165 (640x480)-1The potatoes are growing that we planted in the recycled potato bin!

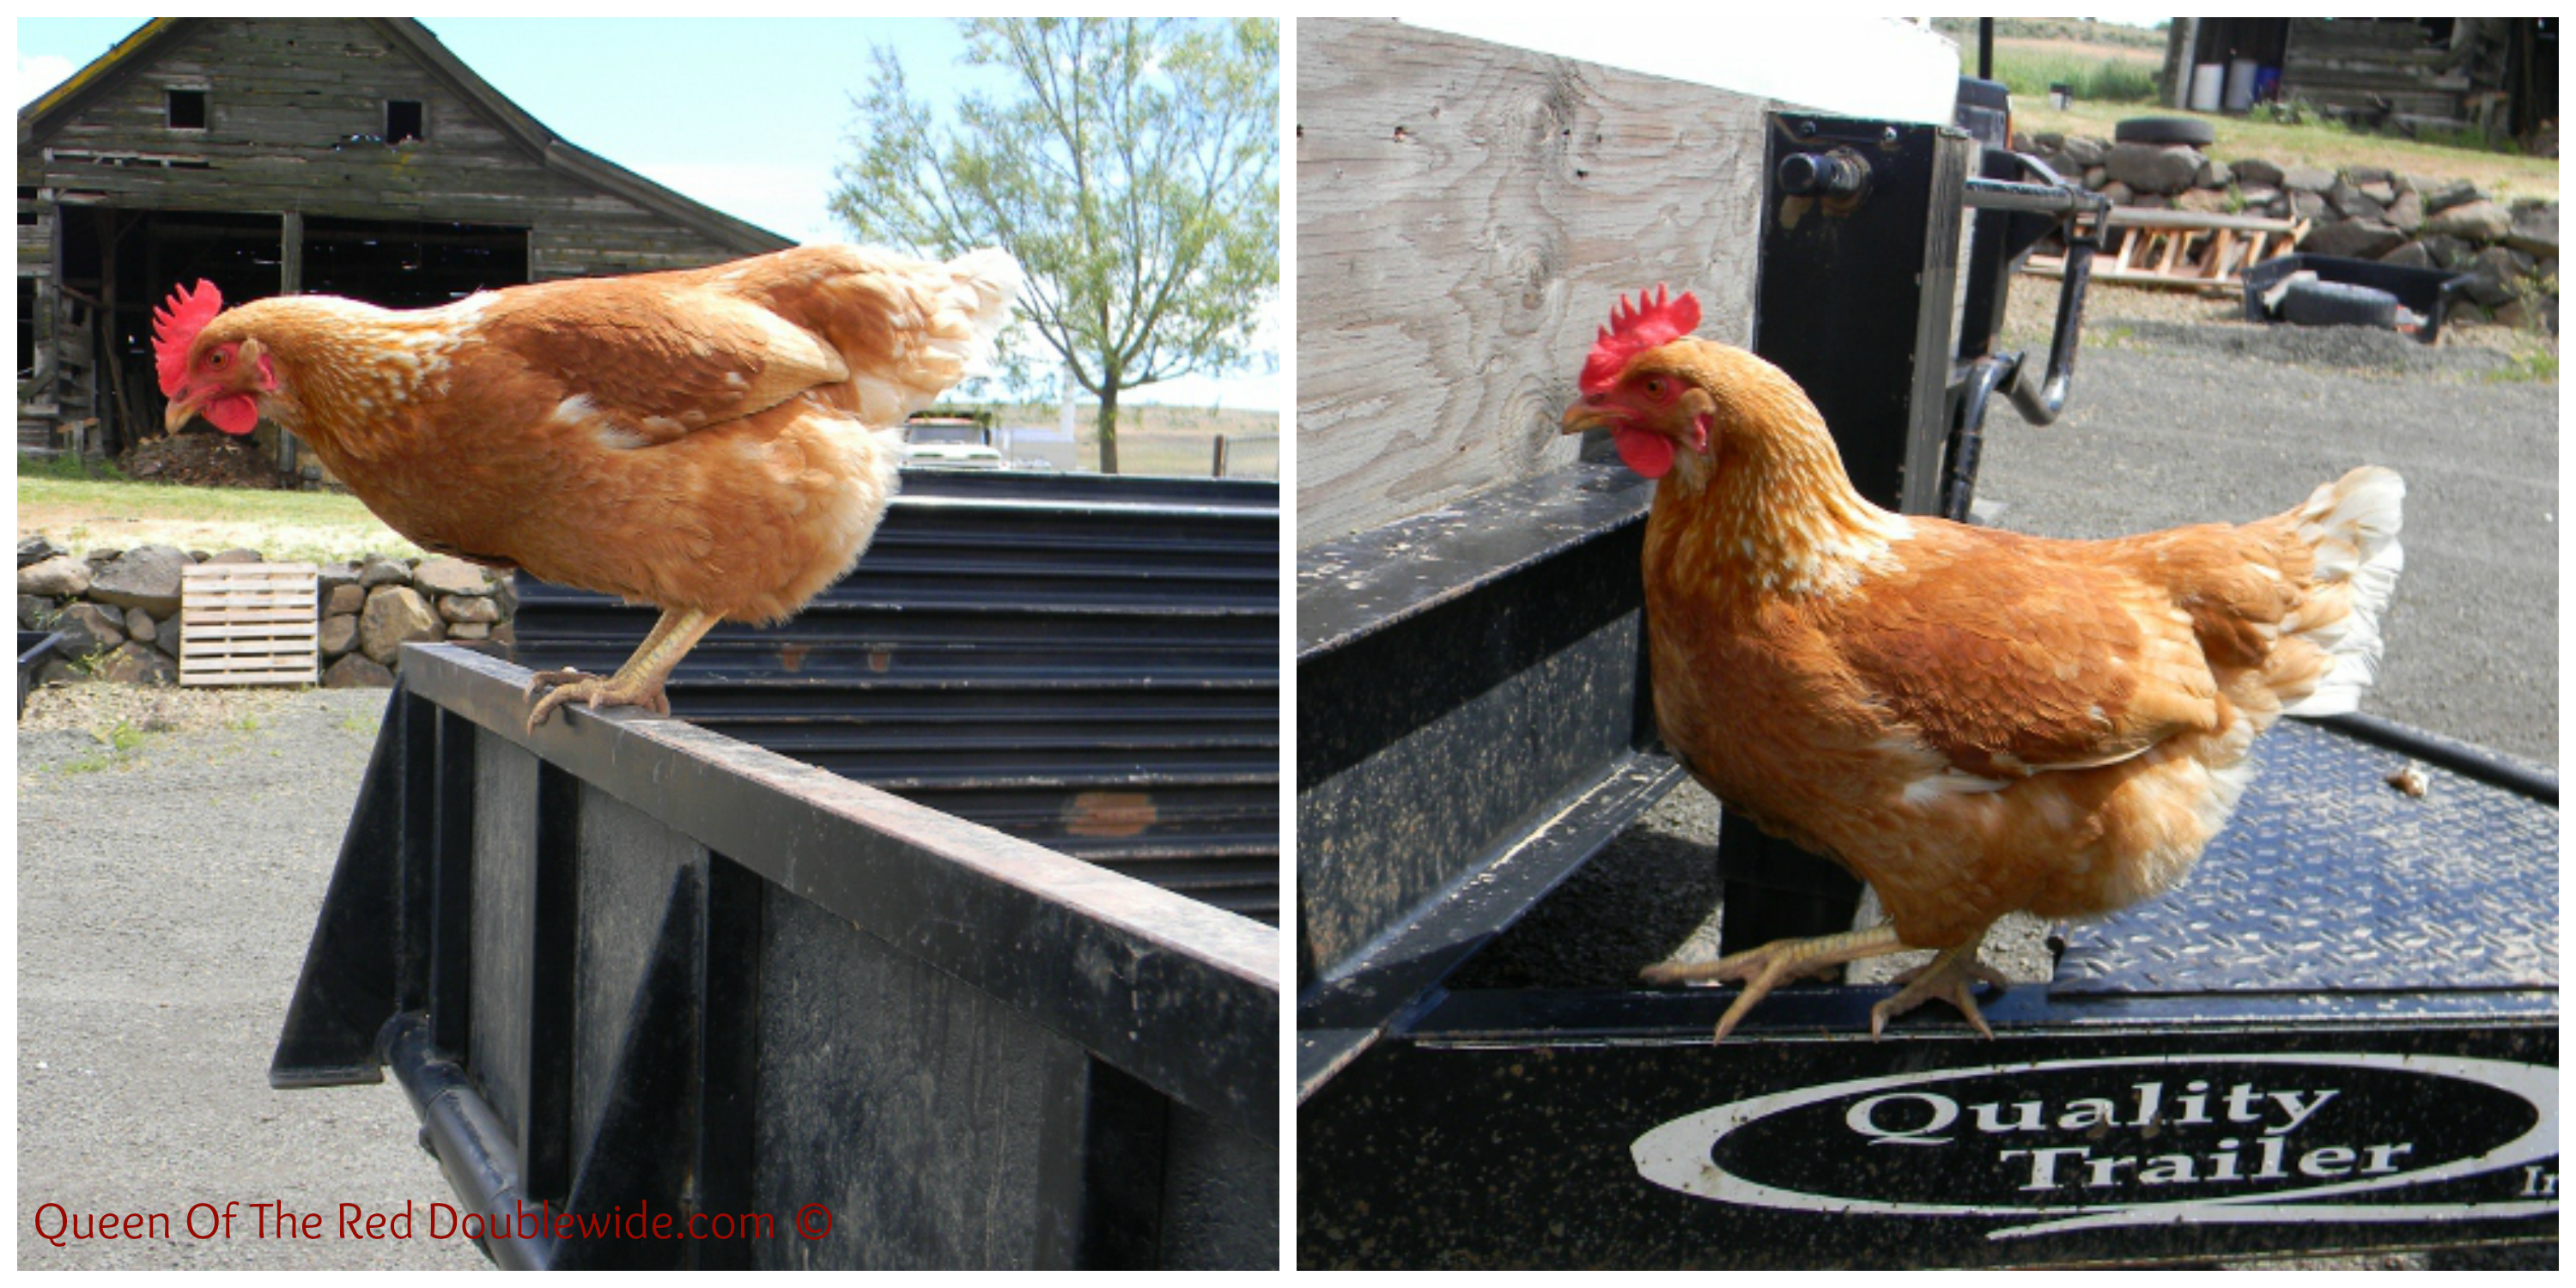
PicMonkey Collage-2This is Stinky she is guarding Diggers truck and trailer.  To read Stinky and Diggers story click here.

DSCN7200 (640x320)-1
This picture really didn’t do this sunset justice….absolutely gorgeous!

May was a good month, the first couple weeks were warm and beautiful.  They involved LOTS of mowing and weed control.  The last couple weeks were cooler and wet, we found ourselves indoors quite a bit.  Everything is nice and green now and I’m looking forward to a nice warm June!

Related Posts Plugin for WordPress, Blogger...