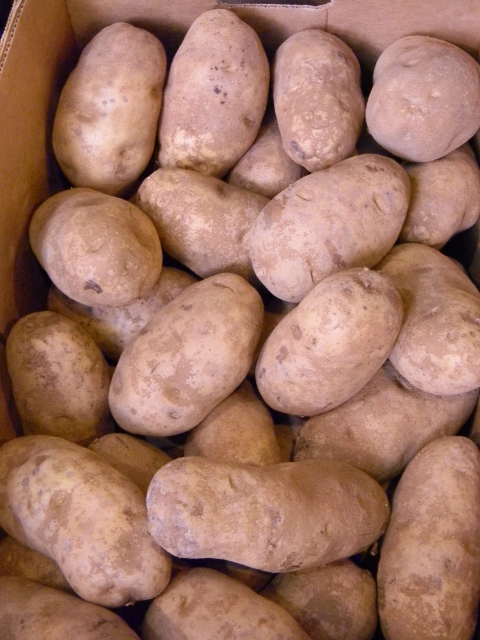
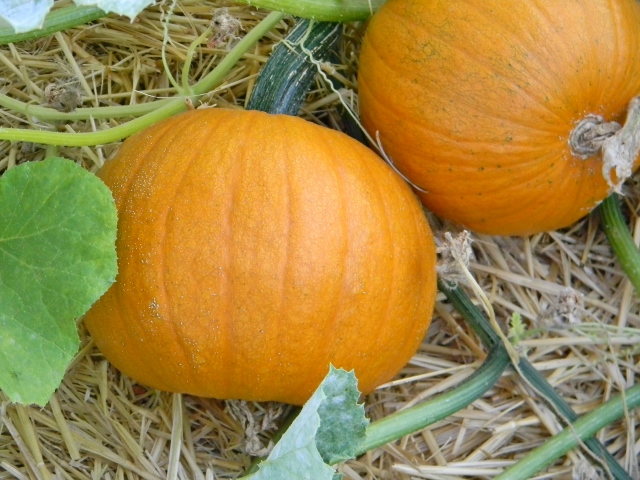
We grew LOTS of sugar pumpkins this year. I gave away several and we still have about a dozen left for us to enjoy.
Making your own pumpkin puree for all those fall recipes is great, and you can put left- overs in the freezer for later. With this easy method of baking the pumpkin you don’t need to worry about loosing any body parts when you cut the pumpkin up because you put the whole darn thing in the oven (pre-heated to 375°) and bake it whole…..
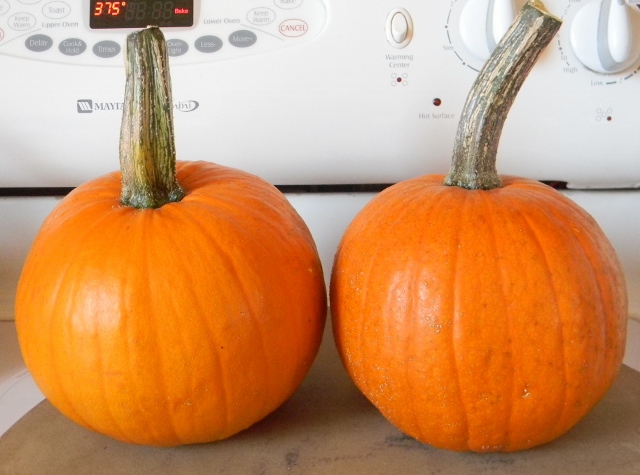
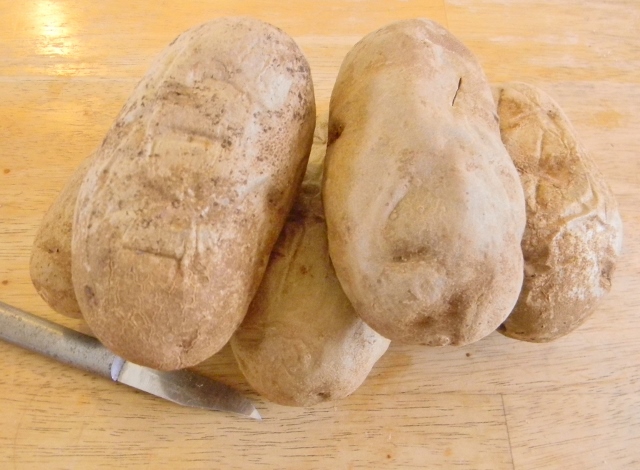
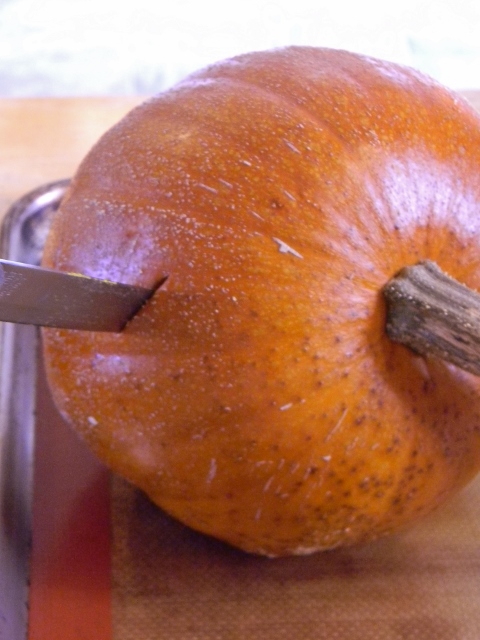
I put the pumpkins on a cookie sheet just in case of any drips. It will take 30 minutes to 1 hour and 30 minutes to get done. It all depends on how big your pumpkins are. You can use the big pumpkins to make pumpkin puree, but the small sugar pumpkins have a sweeter more pumpkiney flavor. My spell check is telling me that pumpkiney is not a word, but you get my point, right? (pumpkinie, pumpkiny, pumkiney, pumpkinish…..one of these should totally be a word!) These two took about 45 minutes to get done. When you can poke a sharp knife into the pumpkin easily, it’s done.
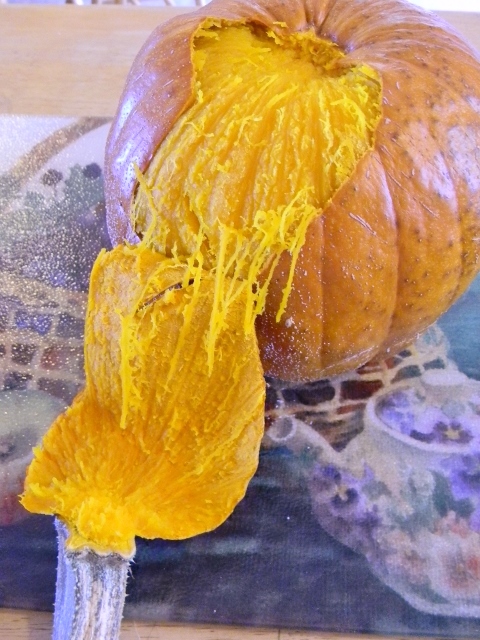
Let them cool down enough to handle, then peel them.

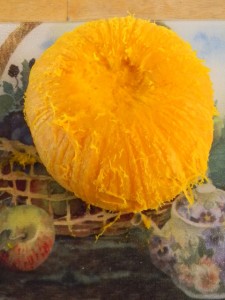
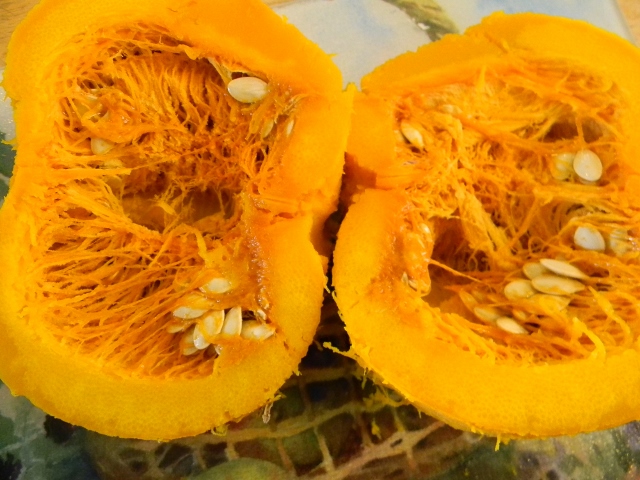
Cut your peeled pumpkin in half, spoon out the “guts” and separate the seeds.
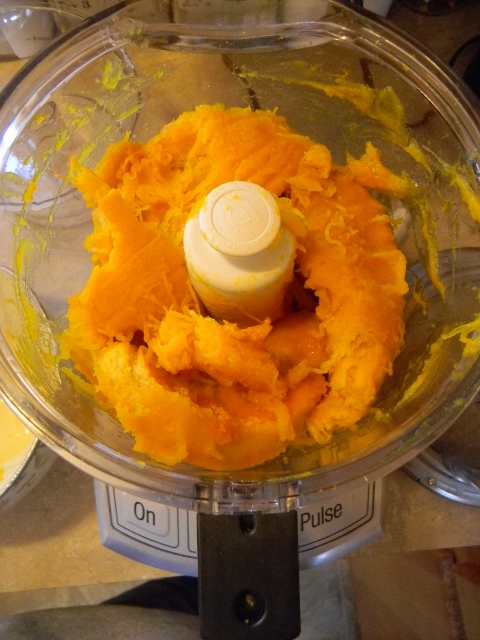
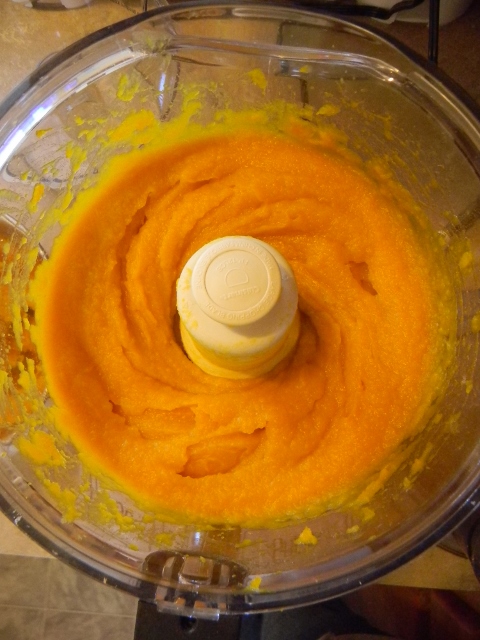
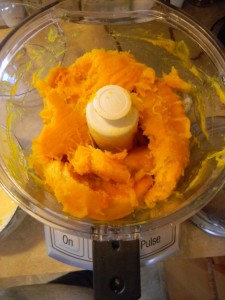
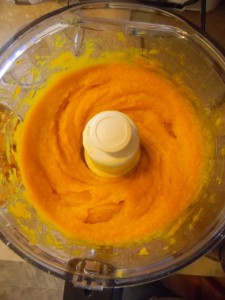
Take the “meat” of your pumpkin and puree it in a food processor or blender.
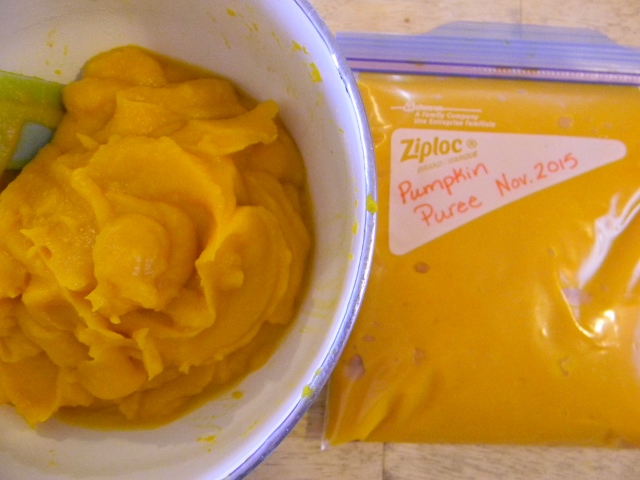
Now you can use it in any recipe calling for pumpkin puree and put any leftovers in the freezer.
Now, take the pumpkin seeds, rinse them off and dry them. These two little pumpkins gave me a little more than a cup of seeds, so I added 1 tablespoon of olive oil with 1/2 teaspoon of seasoning salt and 1/2 teaspoon of garlic salt. I stirred it all together coating all the seeds and poured them on a cookie sheet, then sprinkled some pepper on them.
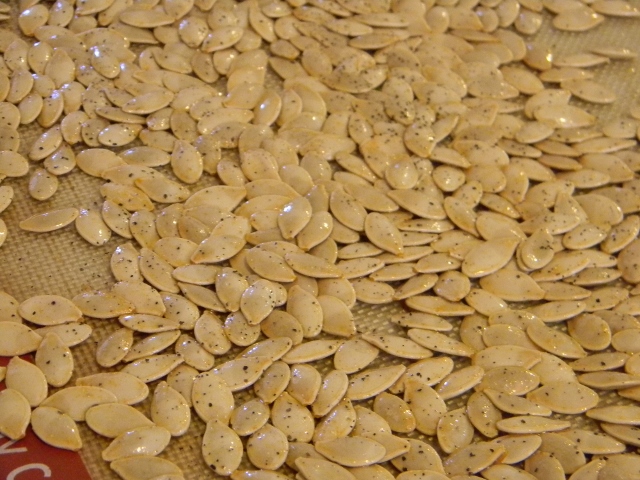
Pre-heat the oven to 325° and bake the seeds for 5 to 20 minutes. Check them every 5 minutes and give them a little stir. These took about 17 minutes.

This is just a basic recipe for roasted pumpkin seeds so feel free to add any seasonings you like!
A few tips: One 15oz can is equal to 1 3/4 cups pumpkin puree – If you have chickens, feed them the guts and skin from your pumpkin and you will have wasted NONE of your pumpkin! If you don’t have chickens the compost pile is a great place for the “extras”.
Easy Homemade Pumpkin Puree and Roasted Pumpkin Seeds
Author: Queen Of The Red Doublewide
- For Pumpkin Puree:
- 1 or 2 pumpkins
- _____________________________________________________________________________
- For Roasted Pumpkin Seeds:
- 1 cup of washed and dried pumpkin seeds
- 1 tablespoon olive oil
- ½ teaspoon seasoning salt
- ½ teaspoon garlic salt
- Black Pepper
- For the pumpkin puree: Put your whole pumpkin(s) in the oven at 375°. Depending on the size of your pumpkin it will take from 30 minutes to 1 hour and 30 minutes to cook. When you can easily poke a sharp knife in the pumpkin it's done. Let your pumpkin(s) cool until you can easily handle them. The skin will peal off easily, then cut the pumpkin in half and spoon out the guts and seeds. Place the "meat" of your pumpkin in a food processor or blender and puree.
- -------------------------------------------------------------------------------------------------------------
- For the roasted pumpkin seeds: Pre-heat the oven to 325° Separate the seeds from the guts then rinse and dry the pumpkins seeds. Take your dried pumpkin seeds and stir in the olive oil, seasoning salt and garlic salt. Spread the seasoned seeds out on a cookie sheet and sprinkle a little black pepper on them. Bake the seeds for 5 to 20 minutes. They will burn easily so check on them and give them a little stir every 5 minutes.
3.3.3077
Here are a couple recipes that call for pumpkin puree:
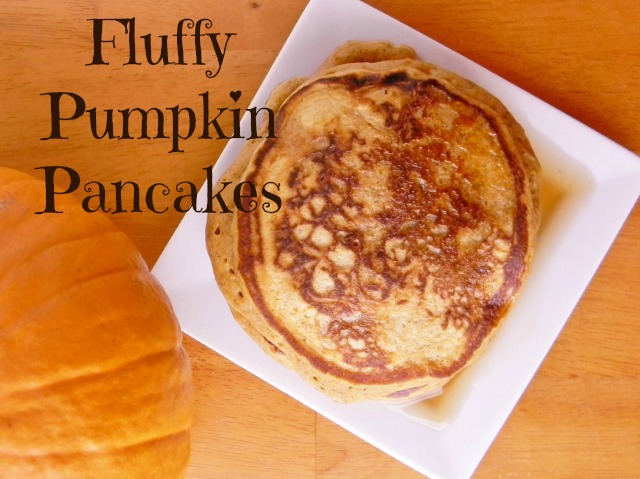
Fluffy Pumpkin Pancakes

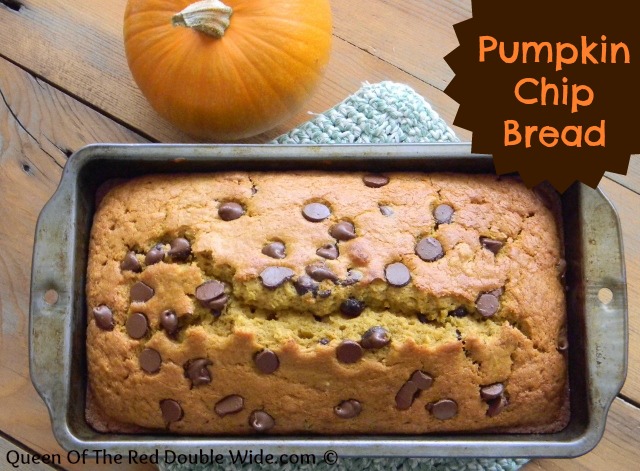
and Pumpkin Chip Bread/Muffins