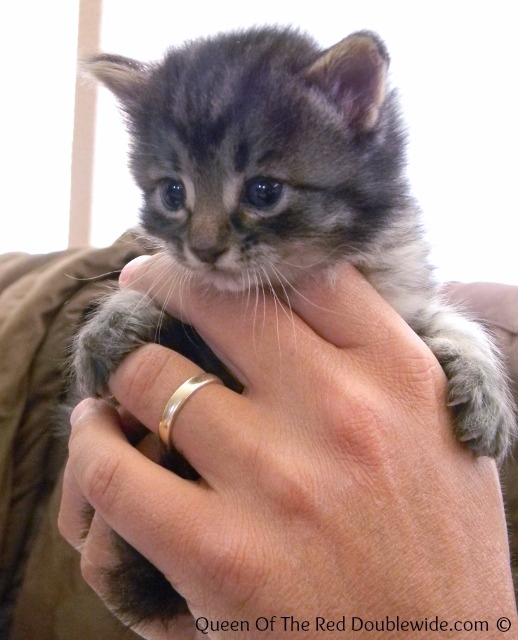
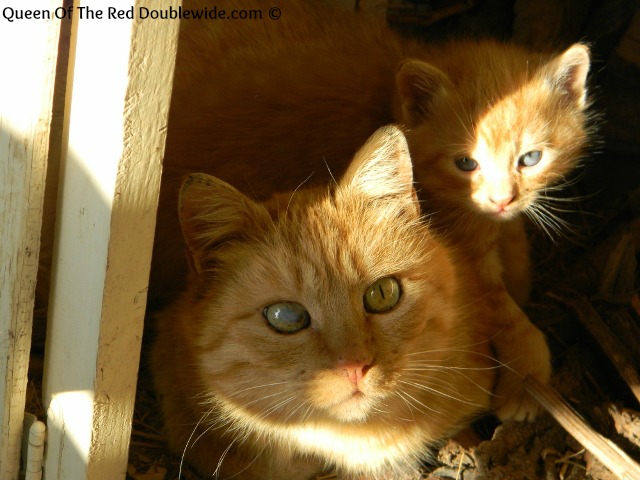
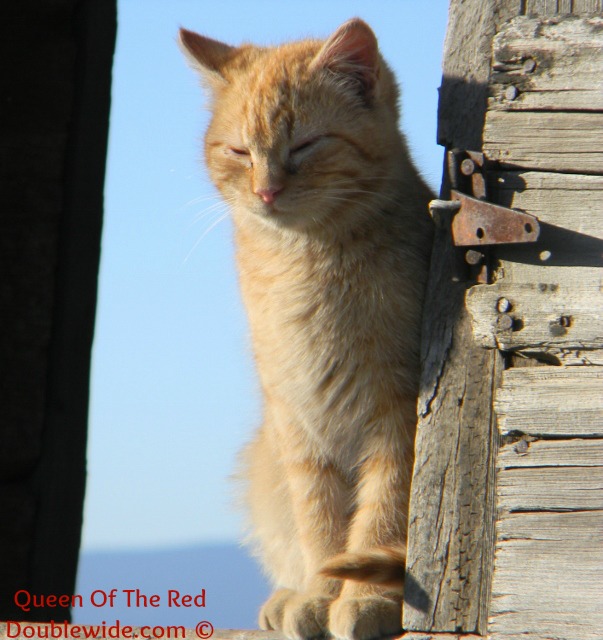
With the exception of our barn cat incident, we have had an uneventful chicken raising experience, up until a couple weeks ago……
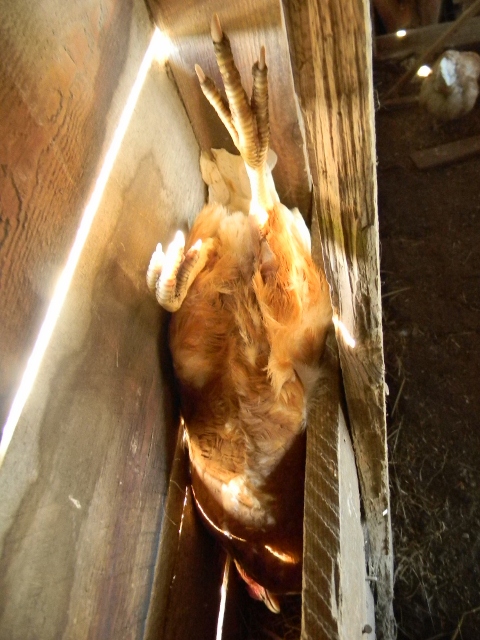
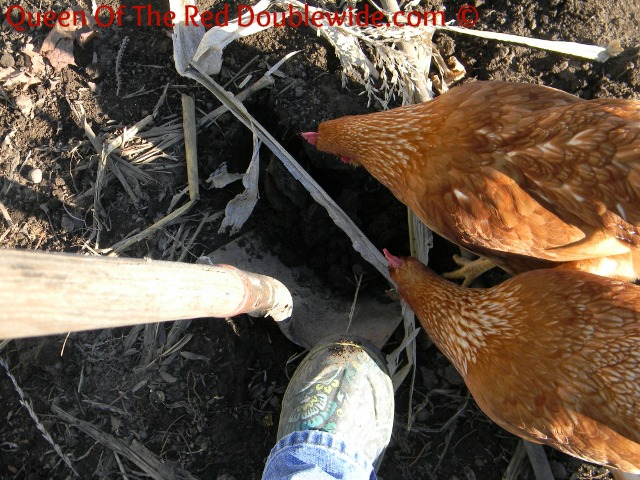
It was dark and VERY cold the night I went out to shut up the coop and realized a chicken was missing. I called for her and looked around with a flash light, but there was not much I could do at that point. So thinking she had found a nice place in the barn to spend the night I shut up the coop and went in. The next morning I fully expected her to be standing at the coop door wanting in,… but she wasn’t… After collecting eggs I started searching, and after about 20 minutes (beginning to worry I’d only find feathers) there she was! She was stuck behind some chain link gates that were leaning against a rock wall, alert but making no sound. Just quietly hanging there with one wing above her head and her feet dangling off the ground. I couldn’t get her out by myself, so Digger came out and lifted the gates up while I pried her wing out of the gate. I immediately started inspecting her injuries when my husband politely asked me to move out from between the rock wall and the stack of gates he was balancing for her retrieval.
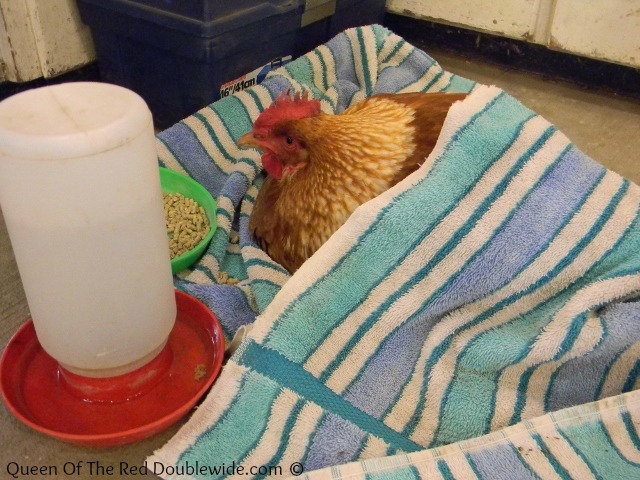
Day One: Chicken Hospital
She was very cold but alert. One of her legs wasn’t working so she couldn’t stand at all, and the one wing seemed tender. We took her into Diggers shop and set up a “chicken hospital”, and she immediately started eating and drinking. As cold as she’d been I figured when she warmed up she would bounce right back. But that was not the case.
 Later that day in the nice warm shop, she wasn’t looking so good. We tried to get her to walk by tempting her with scratch. She really wanted it and would try to stand, but would just flop over, and then give up. In spite of all this, she LAID AN EGG that afternoon!?
Day Two: Discussions
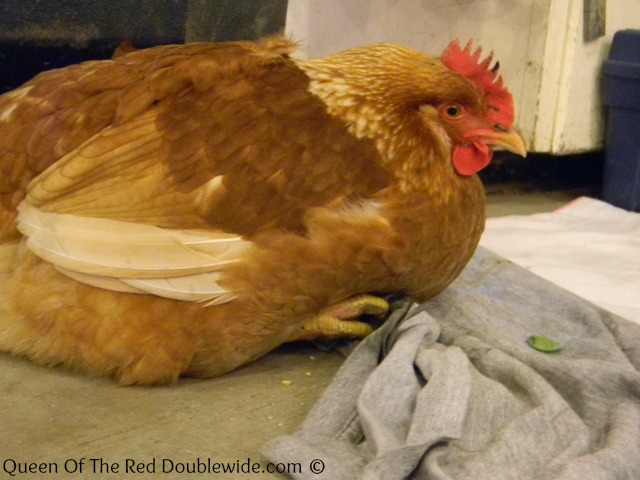
She still wasn’t looking good the next morning….maybe worse. She was now sitting on the floor with one leg strait out in front of her and the other stretched out behind her. It looked painful and she was not even trying to get up. Digger and I had a few discussions that day that sounded about like this:
Digger: “Do you want me to wring her neck?”
Me: “Well, I don’t know……..let’s see how she’s doing later today”
Digger: “Just let me know, I’m not sure I like having a chicken in my shop”
A few hours later…….
Me: “She doesn’t look so good, maybe we should put her out of her misery”
Digger: “She’s still alert and she doesn’t look like she’s giving up, maybe we should give her a couple days?”
It went back and forth like this all day.
Day Three: Stinky Chicken
By day three she was not so affectionately being called “Stinky”. This was Diggers idea…. (He was the one stuck working in the shop with her.) Lets just say the name suited her well! She spent most of the day sleeping, yet seemed alert and very interested in whatever nibbles were presented to her. Despite not being able to move, she managed to lay another egg, but still wasn’t looking so good. The discussions continued until that evening when Digger paused to tell her she was going to be soup if she didn’t buck up soon, (the smell was getting to him). As if on cue, she pulled her legs up under her body and tried to stand. I guess she didn’t want to be soup.
Day Four: No Chicken Soup
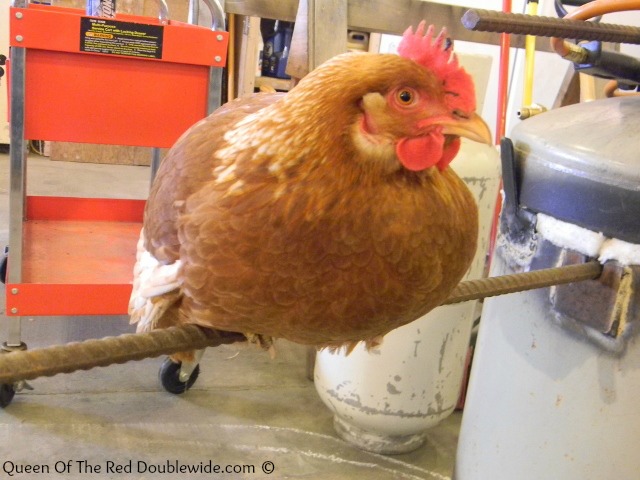
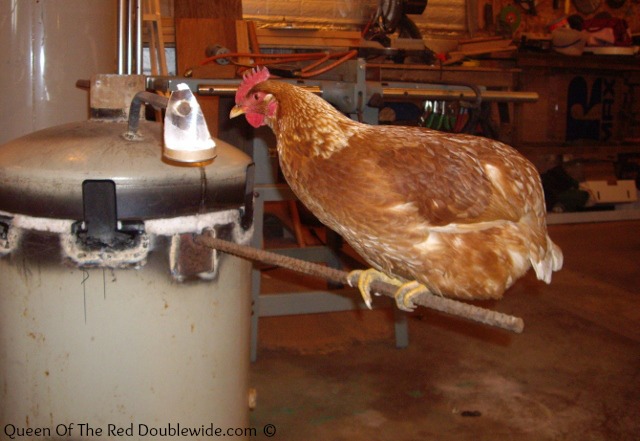
A good day! She kept her legs under her and even took a couple steps. Digger managed to get her to roost for a couple of minutes on the handle of his forge. It was hard for her to grip and balance, but she managed it. It was amazing how amiable she was to all our fussing and fiddling with her. I was finally convinced that she was going to make it, so I put my soup recipes away. 😀
Day Five
She was now standing up and taking very slow, careful steps, but still sleeping most of the day. Digger did the math and realized the replacement value of all her eggs should she die would be well over $200.00, but was still anxious (to put it mildly) to get her healthy and OUT of his shop!
Day Six
Slowly getting better, walking a little more. When it got dark out she started looking up for a roost. (It’s a wonder how she knew it was getting dark with the shop lights on for hours after sunset, and only two small windows she couldn’t even see.) She hopped up on a little tool box wanting to get higher but had to settle there for the night. It was nice to see her trying to act like a chicken again.
Knowing she couldn’t go back with the other girls until she could balance on a roost all night, we kept encouraging her rehabilitation. Digger would place her on the handle of his forge several times a day, and even shaped a tin to hang from a higher handle that she could only reach from the “roost”. She became very determined to stay up there when a pinch of scratch was dropped in the tin.
 Day Seven
It was a nice day out so we took her outside to get some fresh air!! The other hens seemed happy to see her. She hobbled around and nibbled at grass but was soon worn out.
Day Eight
Spent most of the day outside. She couldn’t keep up with the rest of the girls but was VERY happy to be outside. 😀 It’s absolutely unbelievable how fast she is healing!!
Day Nine
It snowed out and she was not fond of the idea of being outside. So she spent the day hanging out with Digger and playing around in the shop. Well, maybe I should say “pooping around the shop”. The name Stinky is still very appropriate!
Day Ten
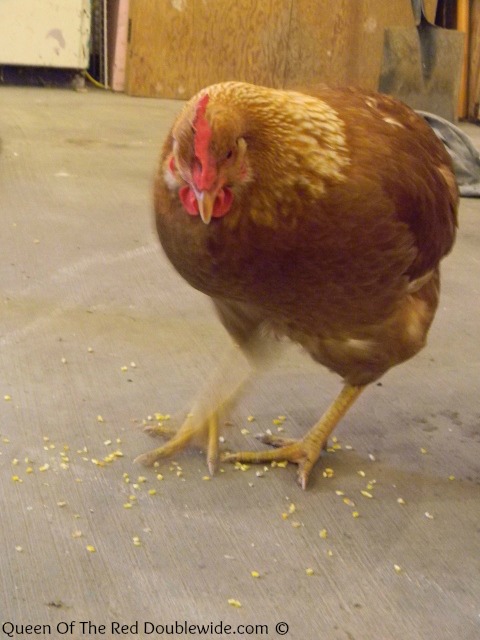
The sun was shining bright and I went to the shop first thing to see if she wanted to go out. She was waiting right by the door and quickly walked out with barely a limp!! She still couldn’t manage to get up on the roost that evening so we brought her in to the shop for ONE more night. Digger wasn’t to happy when she hopped up on the counter knocking a bunch of stuff on the floor and of course pooped on his bench! No more nights in the shop for Stinky. 😀
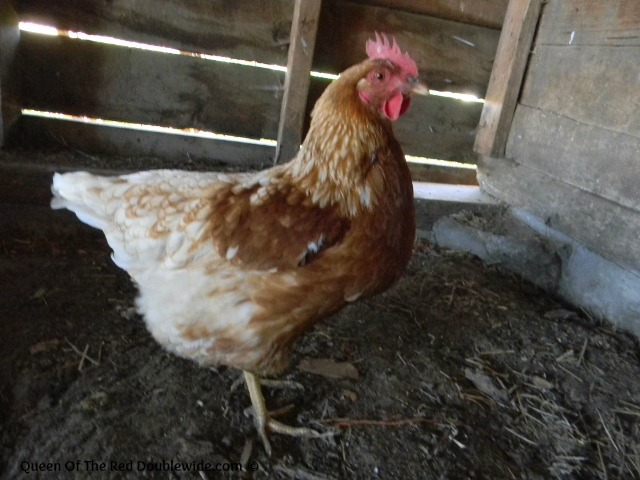
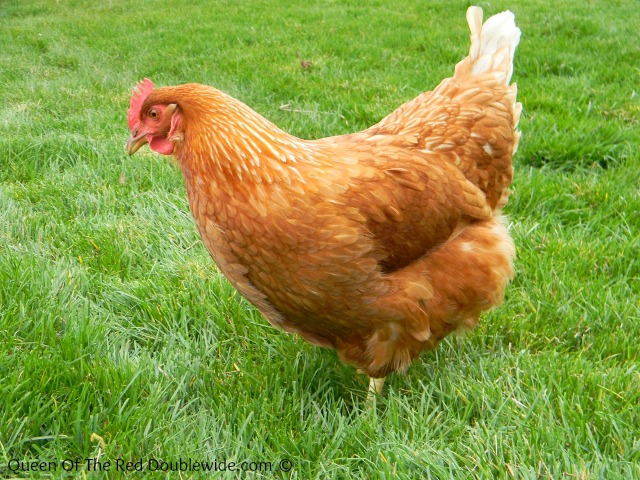
Day Eleven: Back With the Flock
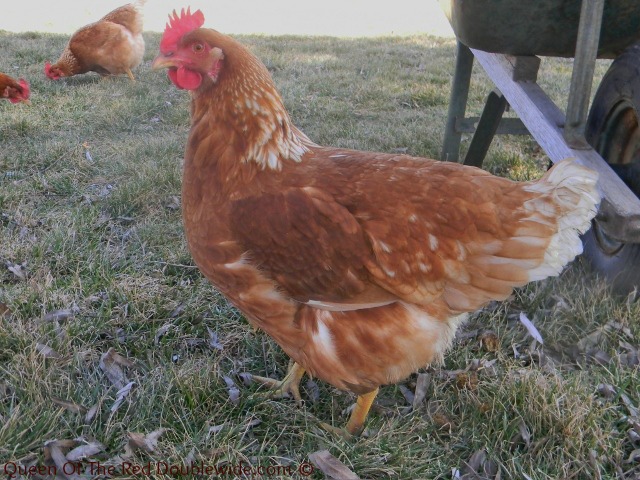
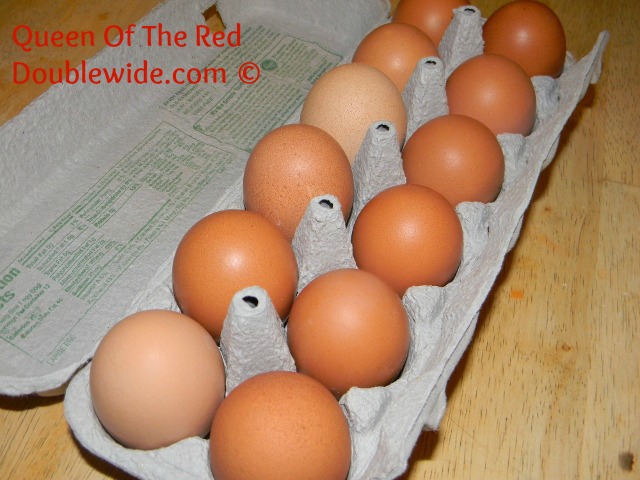
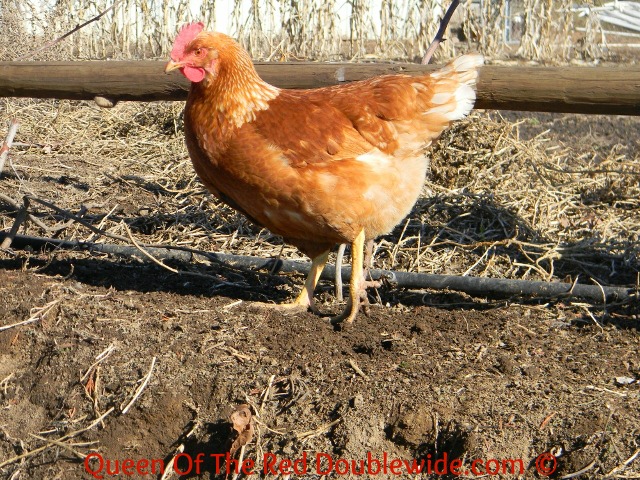
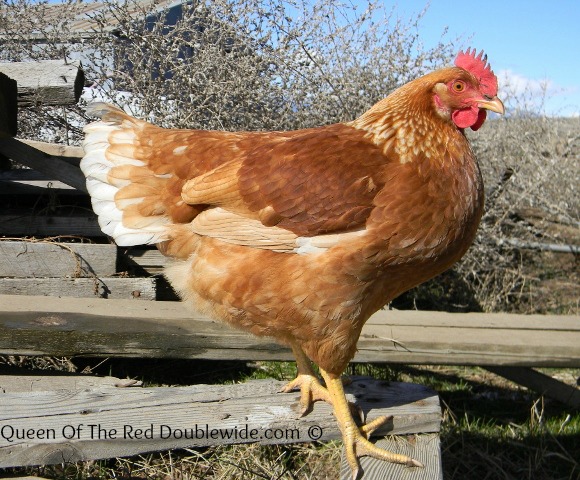 Back with the flock and laying eggs!!
Digger now officially has his very own chicken….whether he likes it or not! She follows him around outside and if the shop doors are open, guess who walks right in and makes herself at home. 🙂 I’m so glad we didn’t put her in the crock pot!! Think of all those eggs she’s still going to lay, and the wonderful story we have to tell of a sweet, determined chicken named Stinky!

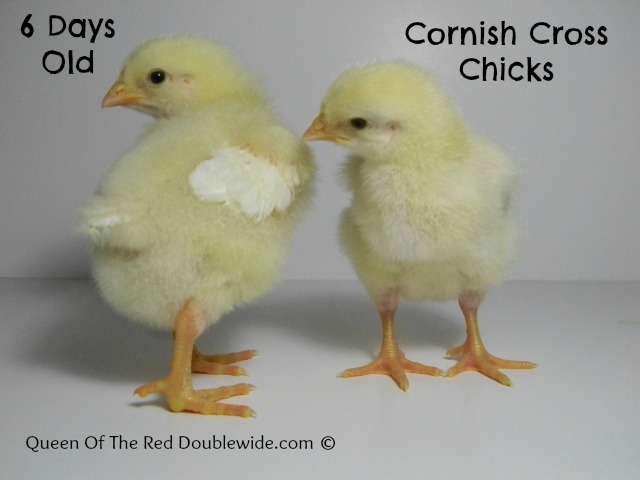
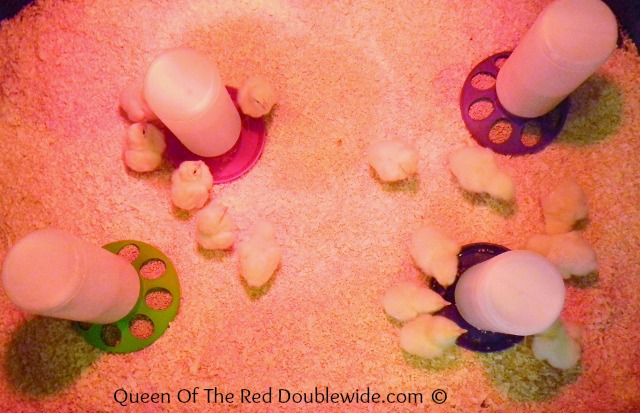
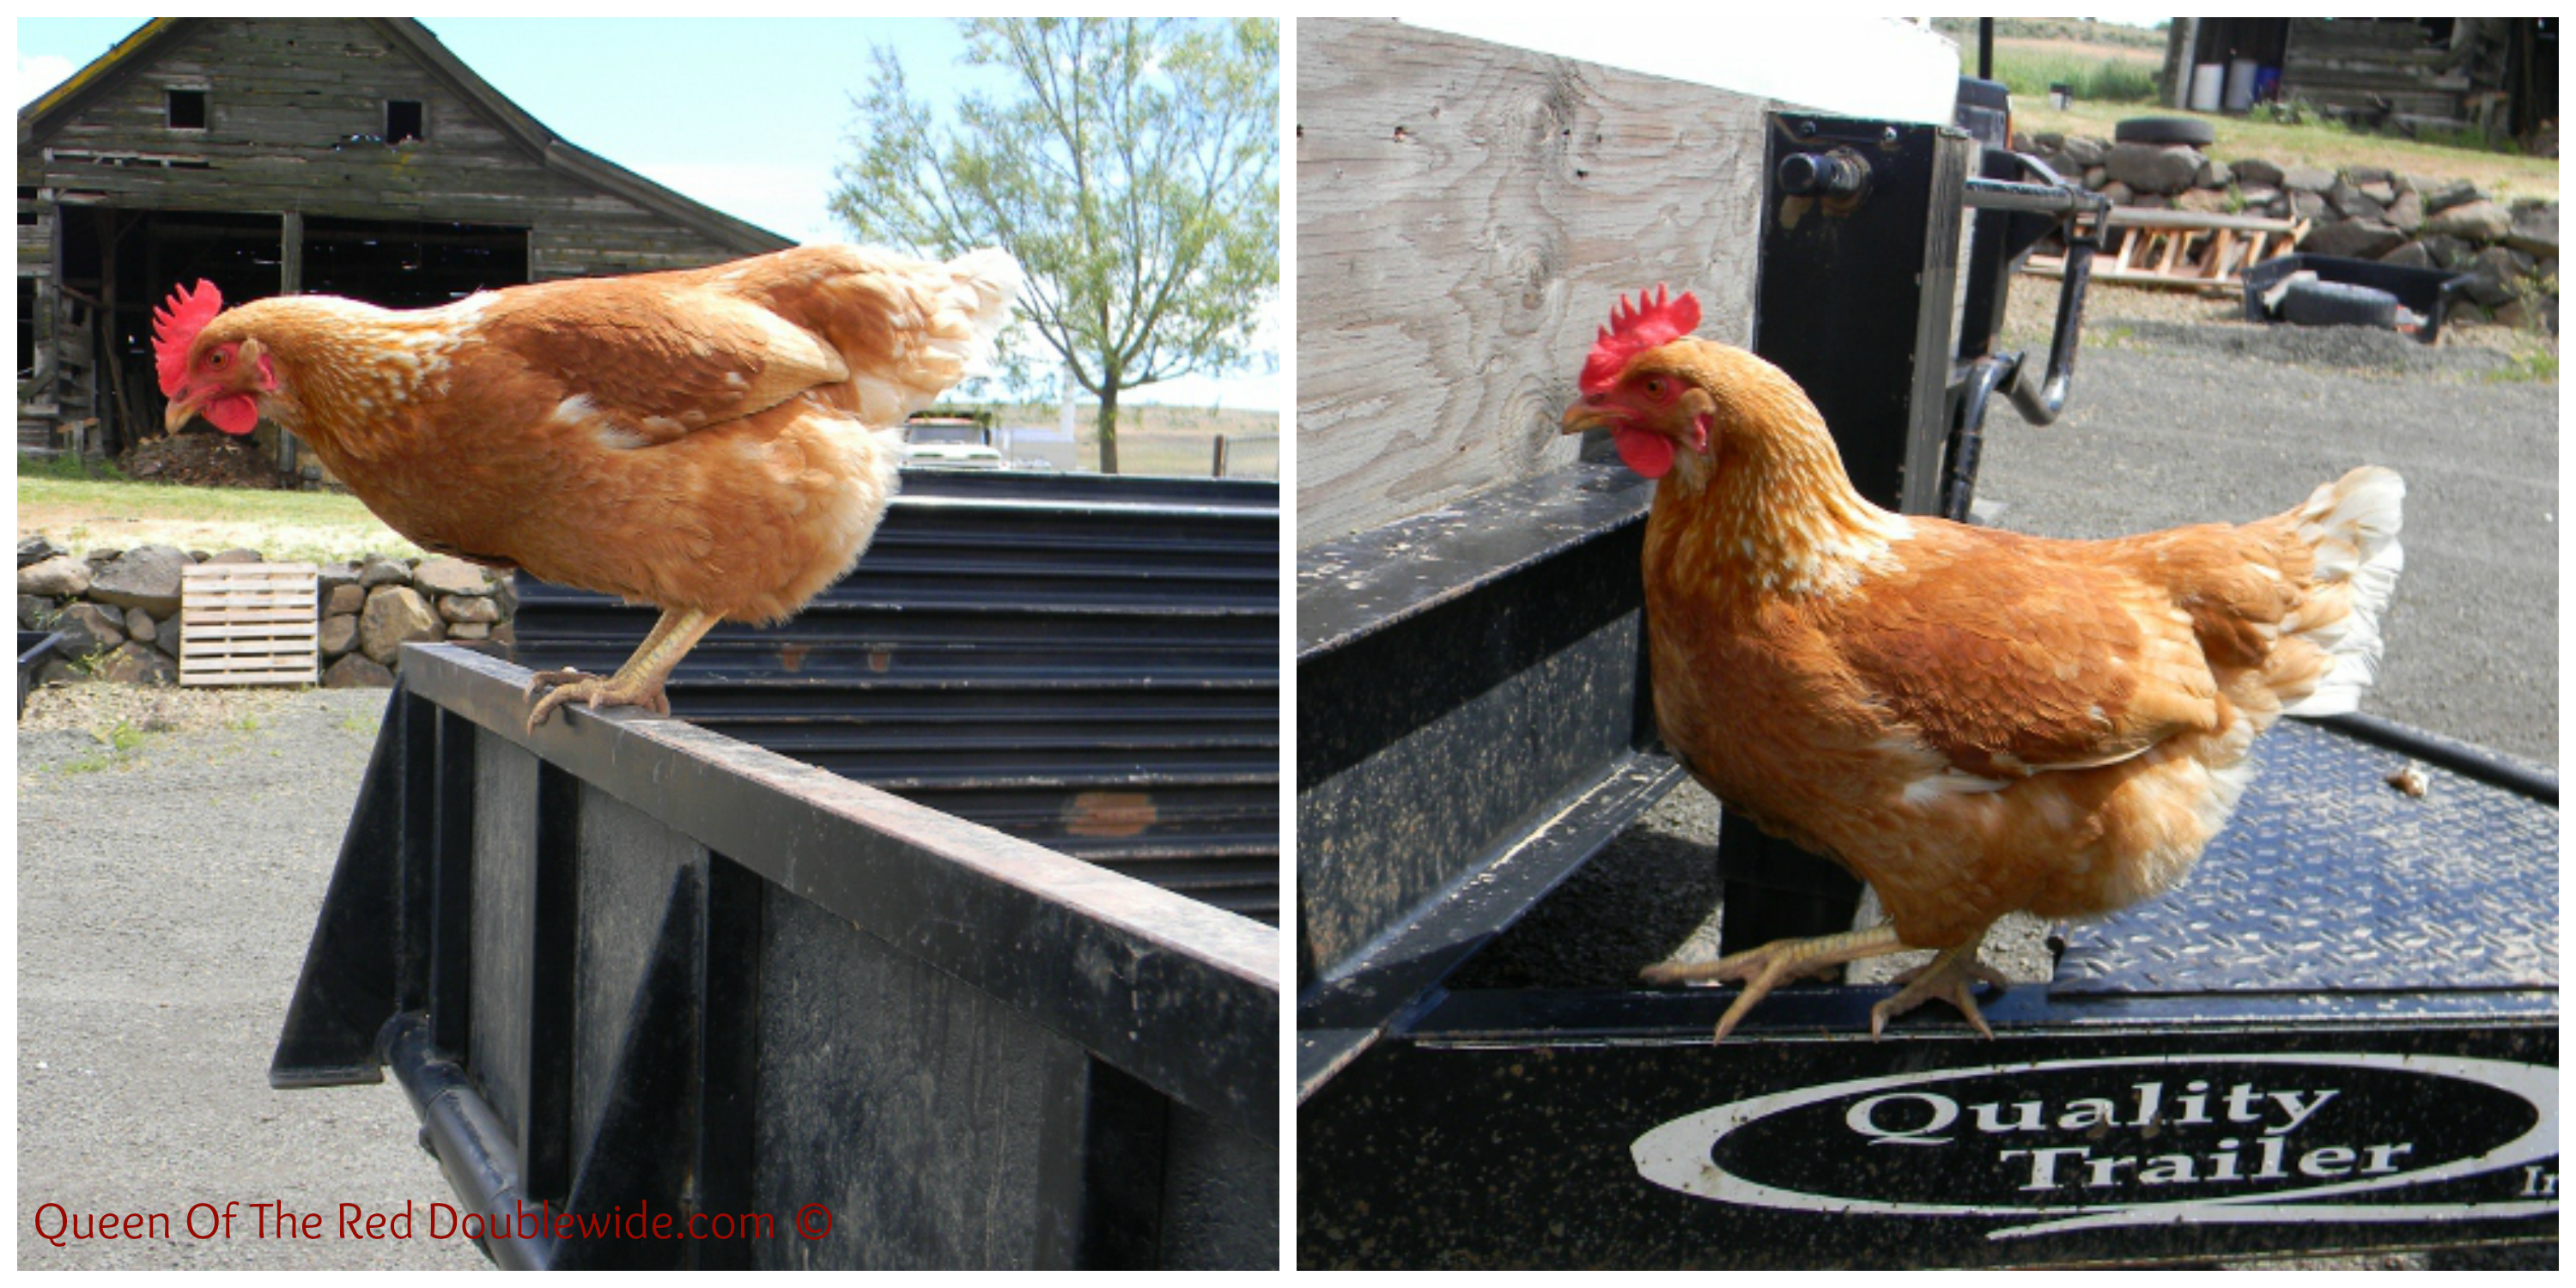
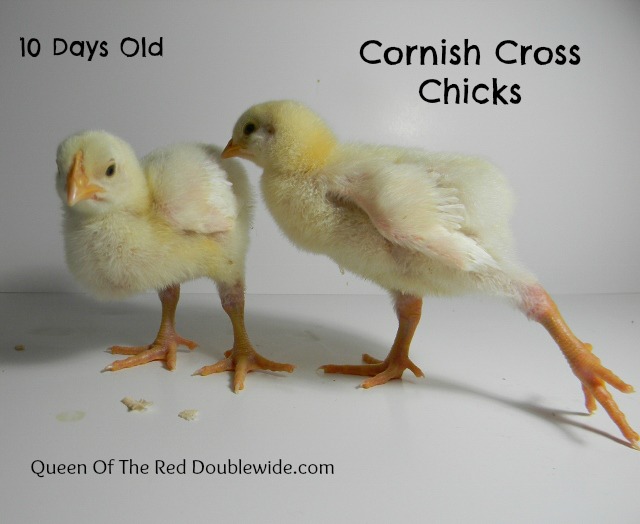 Some of them are a little bigger then others, which is what I expected when I ordered a “strait run” (some male some female). I got a strait run so they would vary in weight and we could pick the right chickens at the right weight for my girls 4-H projects.
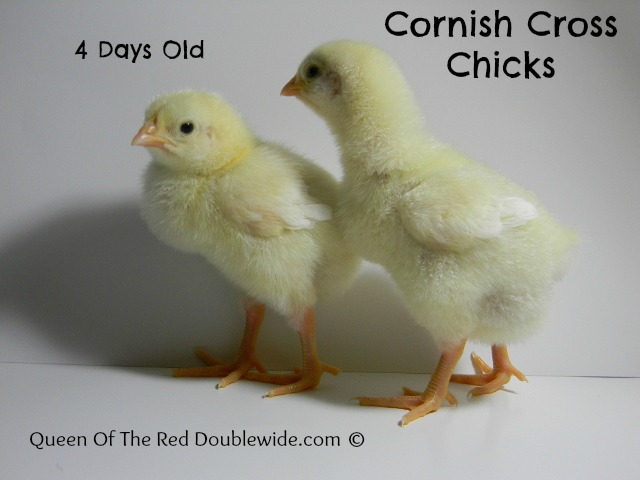
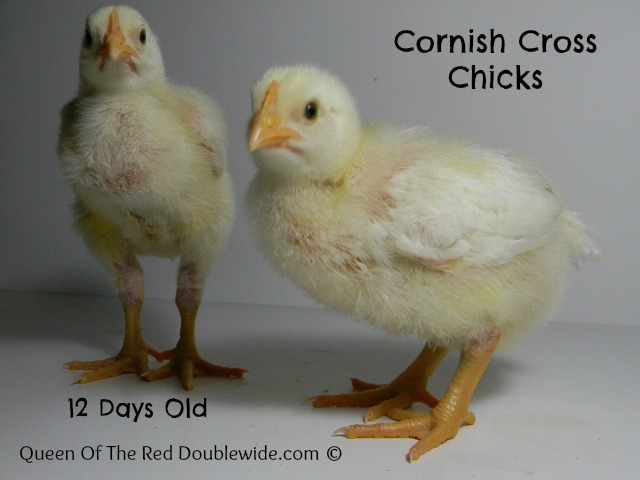 As you can see they are starting to out grow some of their cuteness! Oh well, I didn’t get them to be cute…..right?
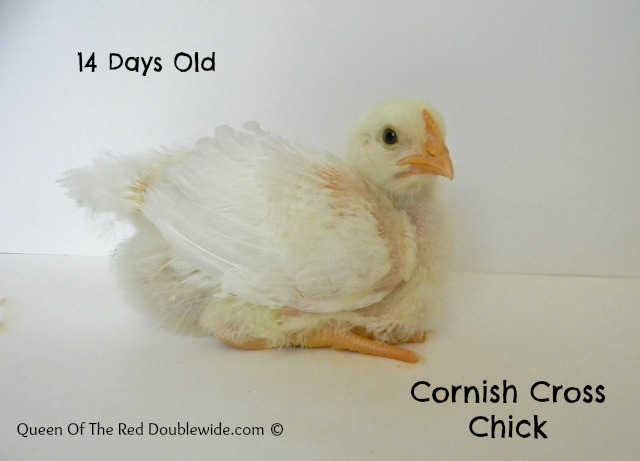 We enjoy watching and laughing at them running at each other and flapping their wings. They are pretty comical!


")
")
 (1280x960)")
")
