Homemade Ranch Seasoning Packets

ranch mix-1 (640x320)

This recipe has been moved to our new blog: SufficientAcres.com

Click here or on the pictures to take you to the recipe!

DSCN6282 (567x640)-1

To make ranch dressing: Add 1 homemade ranch seasoning packet to 1 cup of buttermilk and 1 cup of mayo.  Stir well with a whisk and refrigerate for a couple hours before serving.  If you don’t have buttermilk , mix together 1 cup of milk and 1 tablespoon of lemon juice or vinegar and let it sit for 5 minutes, use that instead of the buttermilk.  (I have been meaning to try this with plain yogurt instead of mayo but haven’t yet.  If you try, it let me know how it turns out!)

For ranch dip: Add 1 homemade ranch seasoning packet to a 16oz container of sour cream (2 cups) mix well and refrigerate for a couple hours before serving.

Hope you enjoy these as much as we do!!  Have a Blessed Day 😀

Homemade Microwave Popcorn

DSCN6036 (640x480)-1Sunday night is popcorn night at our house!  When we started our journey to a more frugal and healthier life style, microwave popcorn was one of the first things to go.  I’d bought an air popper a while back (in a moment of nostalgia) but barely used it.  My husband didn’t like the air popper popcorn, and I had to agree.  For some reason it seemed soggy and wanted to melt between your teeth instead of having that nice crunch.  I thought we were stuck with soggy popcorn because I refused to buy the bags of chemicals again.  Then a friend told me that you can put popcorn in a paper bag and microwave it.  How brilliant!

DSCN6053 (640x480)-1This is sooooo much cheaper and healthier than store bought microwave popcorn, it has that wonderful crunch and you can control the amount of butter and salt it has on it.  I’m ditching my air popper, and freeing up some space in my cupboard!

All you need is a paper bag, 1/4 of a cup of popcorn kernels, butter, and salt or what ever seasonings you like.

DSCN6057 (640x480)-1Put 1/4 of a cup of popcorn kernels into a paper bag and fold down the top.  Place the bag right side up in a microwave for ABOUT 2 minutes.  I set the timer for 2 1/2 minutes and listen closely.  When the popping slows down to 3 to 4 seconds between pops I stop the microwave.  Microwaves are different so times will vary.  Pour your popped corn into a bowl and season (we like Parmesan cheese on ours).  You can use the same bag to pop more than one batch if you want more popcorn.  So simple, yummy, healthy, and cheap. 😀

Happy Popcorn Night!

Homemade Frozen Hash Browns

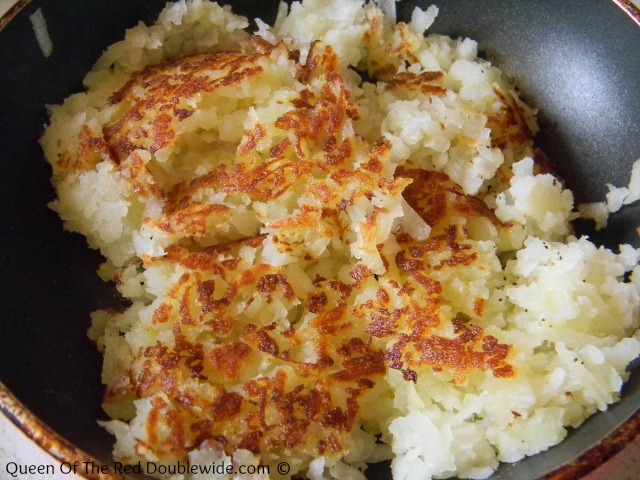
I attempted making hash browns several times after I got married, but they didn’t turn out so good.  Gray, mushy, and gross would describe them very well.  I gave up and started buying frozen hash browns.  Then I read that you should bake the potatoes first and then grate them up and fry them.  Why didn’t I think of that??

So now when we have baked potatoes for dinner I bake way more than we need and put the left overs in the fridge over night.  In the morning I peel them, grate them, and fry them in olive oil or butter.  Yummm! no more grey, mushy, hash browns!!

DSCN5856 (640x480)-1Last week I bought a 50 pound box of huge baker potatoes for 10 dollars. 🙂

DSCN5835 (640x480)-1
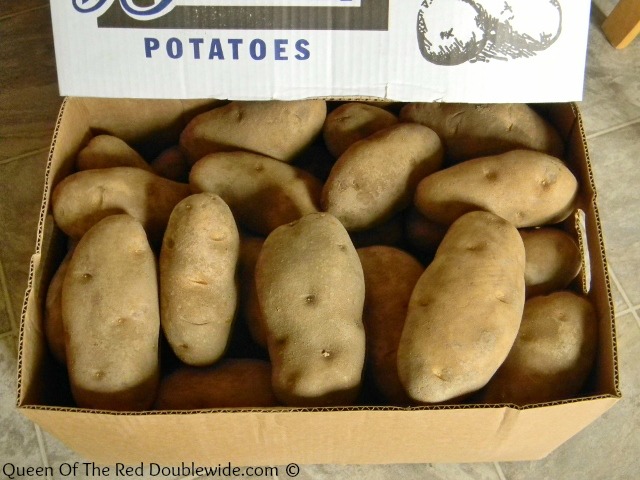
I don’t think we can eat all these before they go bad so I decided to freeze my own hash browns.  I figured this would be good practice for this fall when my garden gives me tons and tons of potatoes!! (hopefully)

After a little trial and error (and some potato therapy) I ended up with perfect frozen hash browns. 🙂

Here’s what to do:

Start with potatoes that are roughly the same size so they take the same amount of time to cook.

Wash them, poke them with a knife a couple times, (to avoid explosions) then place them directly on the rack in an oven that is preheated to 350 degrees.

These HUGE baker potatoes took 1 hour and 20 minutes to cook completely.  Regular size potatoes will take from 45 to 60 minutes to cook.  I found out by my third batch that if you under cook them a little they will grate MUCH easier, and ultimately found that cooking these big guys 55 minutes was about right.

When they are done, set them on the counter to cool.  When they’re cool enough to handle put them in the refrigerator until cold. (over night works well)  We tried to grate the first batch when they were still a little warm and ended up with mush.   🙁

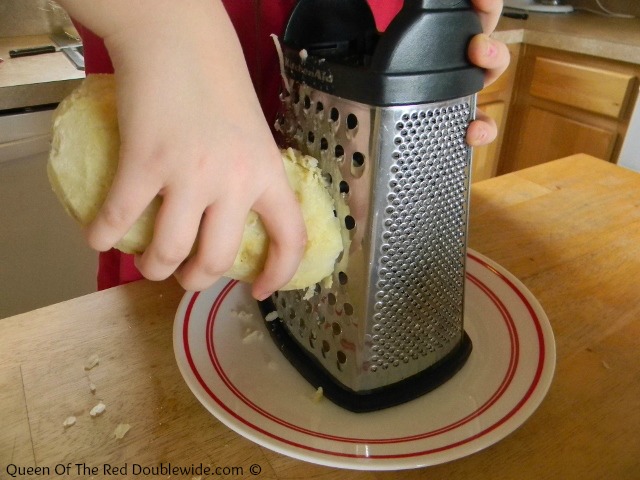
Now that you have cold, slightly under cooked baked potatoes, it’s time to peel.

DSCN5850 (640x480)-1
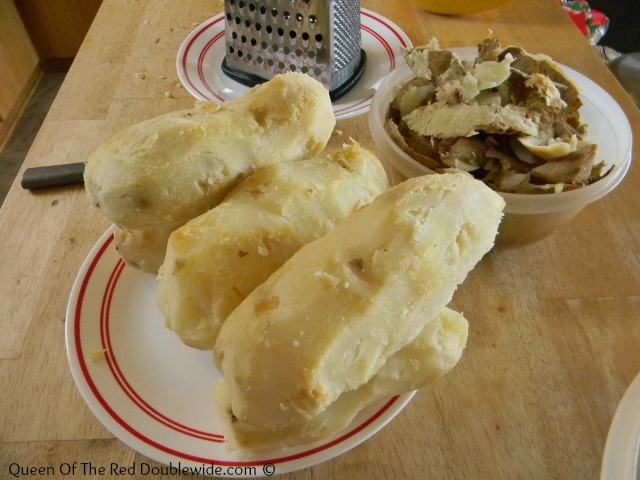
We grate them with a cheese grater.

DSCN5851 (640x480)-1Now take your nicely grated potatoes and sprinkle them on a greased cookie sheet.
If you skip this step and put them directly into freezer bags you will end up with a solid brick of smashed potatoes.  Don’t put to many on the tray or they will stick together as they freeze, and you want to be able to easily break them apart.

Note: If you’re having a bad day or feeling a little frustrated, then go ahead and pack them on the cookie sheet.  When they’re frozen solid take them out of the freezer, get a big metal spatula, (hammer, pickaxe, or splitting maul are all acceptable) and goggles, then start hacking and hacking at the potatoes to break them up.  After the hash browns are evenly dispersed in your hair and around the kitchen, take a deep breath…..potato therapy! (Disclosure – I am not a doctor or a therapist of any kind, I only share tips that work for me.)DSCN5866 (640x480)-1
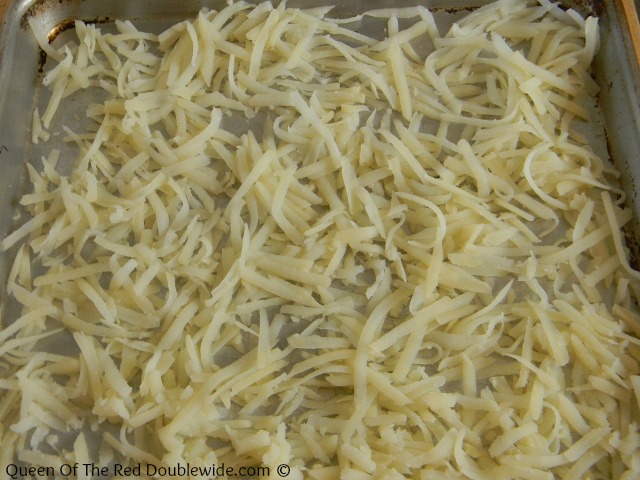
Place them in the freezer until frozen through.  This takes about an hour and a half.

Break them apart, scoop them into a labeled freezer bag, and store in the freezer.

DSCN5869 (640x480)-1
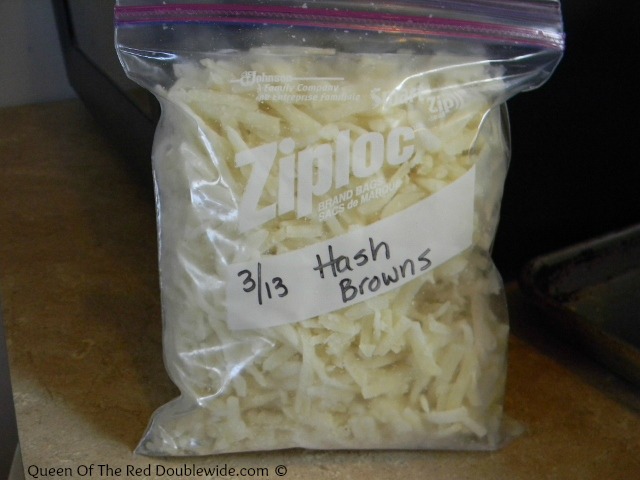
There you have it!  Homemade frozen hash browns ready for breakfast or any recipe that calls for frozen hash browns! It sounds time consuming, but it’s mostly time spent doing other things (there’s always plenty to do) while the spuds are cooking/cooling/freezing etc…

Homemade Honey Whipped Cream Cheese

We have been making lots of muffins and quick breads lately.  What goes better with a nice warm muffin than cream cheese?  Honey whipped cream cheese of course!!

This is a great recipe to let the kids help with, it’s very simple.

All you need is an eight ounce package of cream cheese, softened and 3 to 4 tablespoons of honey (depending on how sweet you want it).  Whip the cream cheese in a mixing bowl (I used my KitchenAid).  When it’s nice and smooth gradually add the honey.  Keep whipping until it’s light and fluffy.

DSCN5571 (640x480)-1             This is honey whipped cream cheese on a Chocolate Chip Banana Muffin.

If you don’t want a sweet whipped cream cheese just substitute milk instead of honey.

DSCN5542 (640x475)-1This is Whipped Cream Cheese on Applesauce Raisin Quick Bread.

You can also use maple syrup instead of honey.  Either way this spreadable cream cheese makes any breakfast bread even yummier!  I was thinking of trying in on french toast next time?

This is a lot less expensive than a tub of whipped cream cheese at the store especially if you buy a generic brand package of cream cheese. 🙂

Homemade Whole Wheat Biscuits

Our family has been a “biscuit from a can” kinda family for 11 years.  They are pretty good….well,  If you don’t think about what a home made biscuit tastes like, and if you don’t read the ingredients on the can.  Yep, I looked…..then, I said “yuck!”  Then I started experimenting.

This is what I came up with:

DSCN5130 (640x480)-1Light, Fluffy, Healthy, Yumminess!!

Start by stirring together the flour, baking powder, cream of tarter, and salt.

Then cut in the butter until crumbly. Here’s a little tip…instead of standing at the counter (forever) with a fork to cut in the butter.  I put mine in my kitchen aid and let it mix for a minute (I cubed the butter first).  It worked l great, but be careful not to over mix!  Over mixing equals tough biscuits.

DSCN5117 (640x480)-1Combine the egg and milk; stir it into crumb mixture until moist.  Turn onto a floured surface and knead about 10 times.  Then roll out to 1/2 inch thickness and cut biscuits out with a cup or cookie cutter.

This is the fun part!

DSCN5121 (480x640)-1Bake at 450 degrees for 10 to 15 minutes.

This made about 16 biscuits.

No more biscuits from a can for us!!

5.0 from 1 reviews
Homemade Whole Wheat Biscuits
 
Author:
Ingredients
  • 3 cups whole wheat flour
  • 4½ teaspoons baking powder
  • ¾ teaspoon cream of tarter
  • ½ teaspoon sea salt
  • ¾ cup cold butter
  • 1 egg
  • 1 cup milk
Instructions
  1. Mix together first four ingredients then cut in butter until crumbly.
  2. Combine the egg and milk; stir into crumb mixture until moistened.
  3. Turn onto a floured surface; knead about 10 times then roll out to ½ inch thickness.
  4. Cut out biscuits with a cup or a round cookie cutter and place on a baking sheet. Bake at 450 degrees for 10-15 minutes.


Related Posts Plugin for WordPress, Blogger...