It’s already that time! Getting ready for school is bitter sweet for me. I hate to think that summer is almost over but I love the planning and decorating and excitement of a new school year! This year I’m also consumed with creating my own preschool curriculum and slowly but surly it’s coming together.
This is the latest addition to my preschool curriculum!
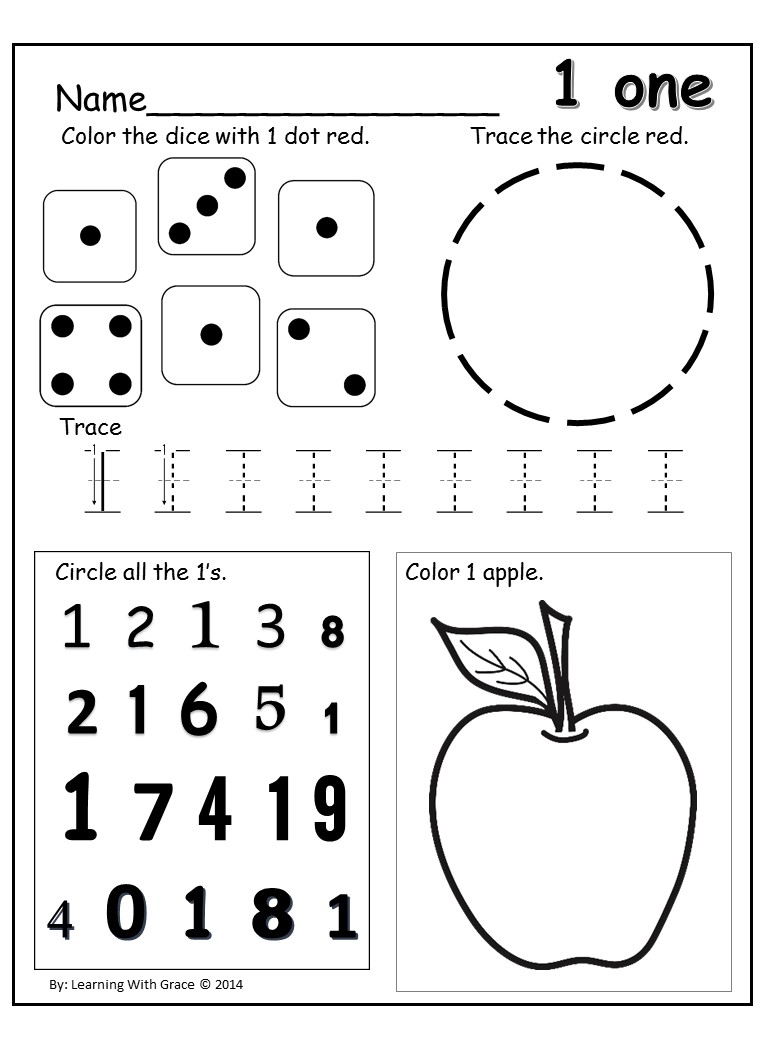
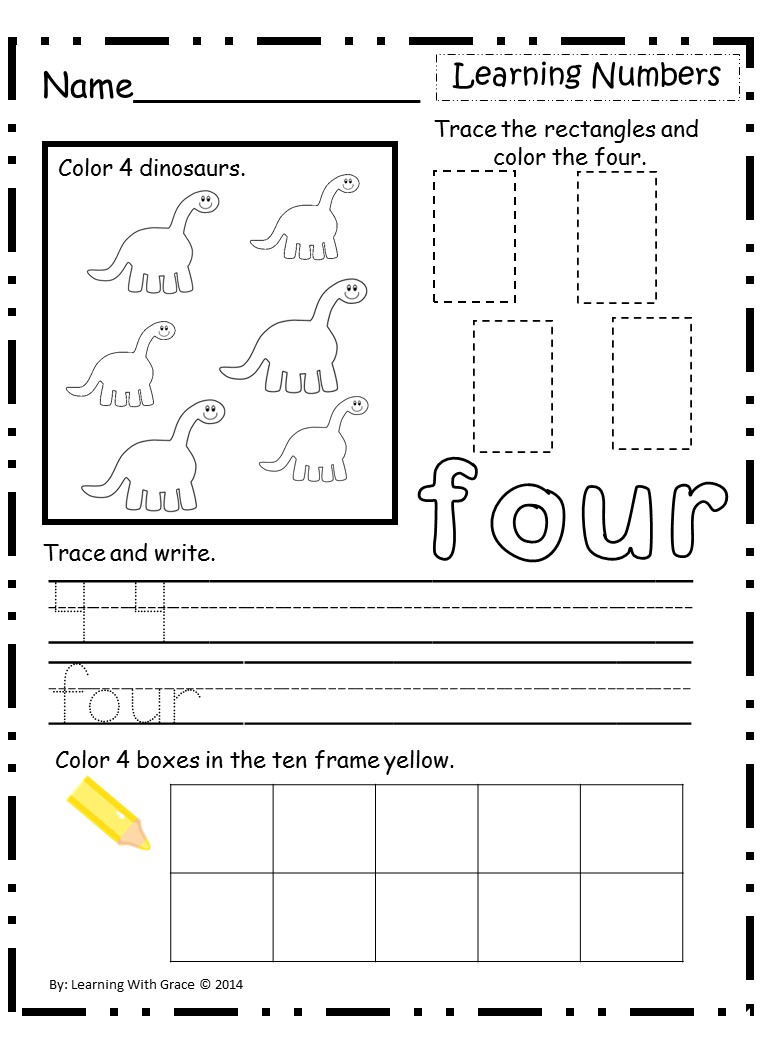
It includes 34 worksheets to help preschool and/or kindergarten students with counting, number recognition, writing numbers and number words, and each sheet incorporates shapes and colors. Ten of these worksheets are cut and paste number review sheets. Below are examples of each kind of worksheet.
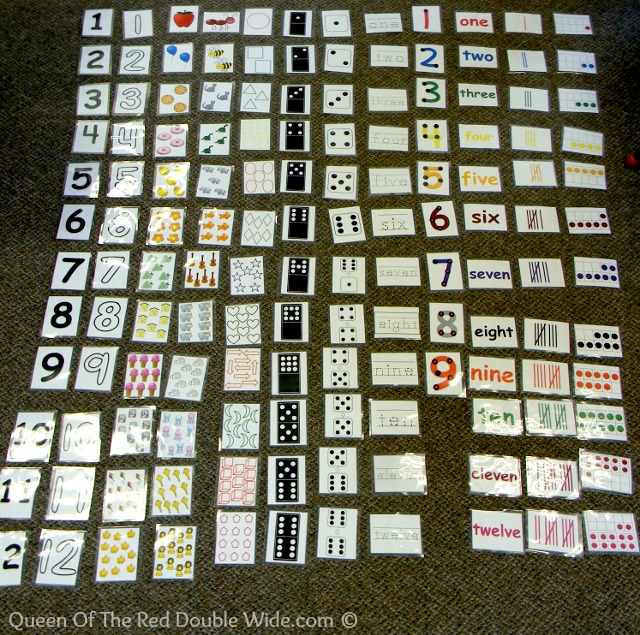
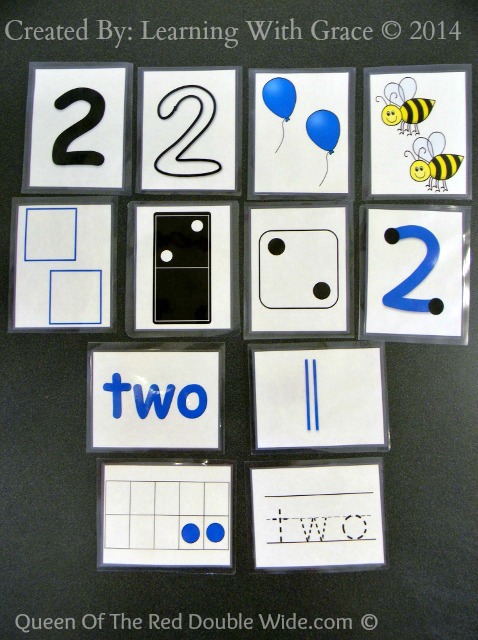
This packet also includes 141 3.5″x5″ flash cards. Each number from 1 to 12 is represented in 12 different ways. There are soooo many fun ways to use these. As you can see I laminated them and we use dry erase markers on some of them. They can be used in centers or for sorting in many different ways.
This is a close up sample of the 12 ways each number is represented. I made these to fit in with all my preschool curriculum. On the week we are learning number 2 we are also working on the color blue, the shape is a square and the letter is B, that’s why there are 2 Bees and 2 Balloons. The ways students can sort these flash cards is endless (almost). 🙂
You can visit my TPT store to purchase this packet. It is on sale for the rest of August and through September. Best of luck to all of you getting ready for a new school year!!
July was full of nice weather, many trips to the pool, and a more relaxed schedule than the past few months. On the 7th I officially became a mother-in-law and a grandma!! I couldn’t feel more blessed. 🙂 I’m so glad Jade and his family live close and we get to see them almost everyday! Dusty turned 18 on the 29th….wow that went FAST!
Thanks for stopping by, I hope you enjoy my photos from July.
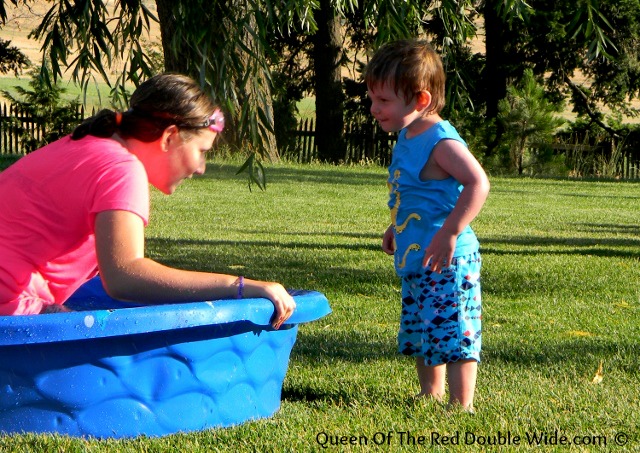
Mr. Busy playing in the water and laughing at his Aunties!
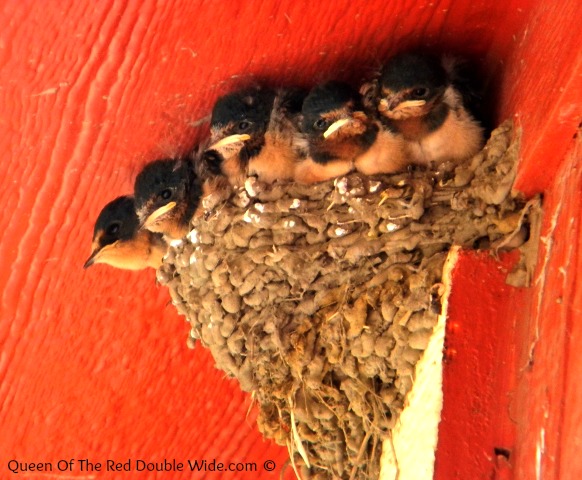
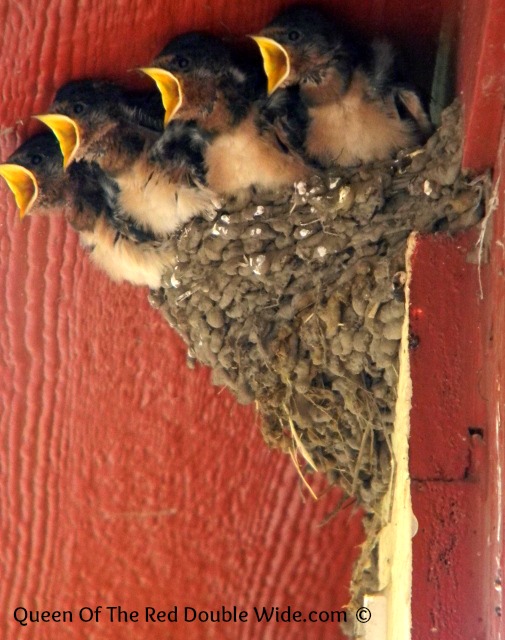
A pair of swallows built a nest above my kitchen window. I wasn’t thrilled at first considering the mess, but it was so fun to watch them grow. Four babies quickly grew up in this tiny nest with mom and dad swooping in and out all day long to feed them, (that’s either mom or dad on the far left).
Like all babies they grew up too fast, and now are flying around catching bugs. Now I need to wash the bird poop of the side of my house and kitchen window. Oh joy!
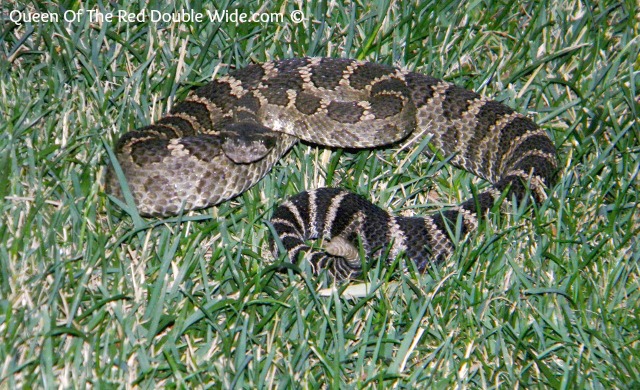
Two rattle snakes in one week is enough for me!
The bird whisperer! Hahahahaha
Mary’s sweet little bantam.
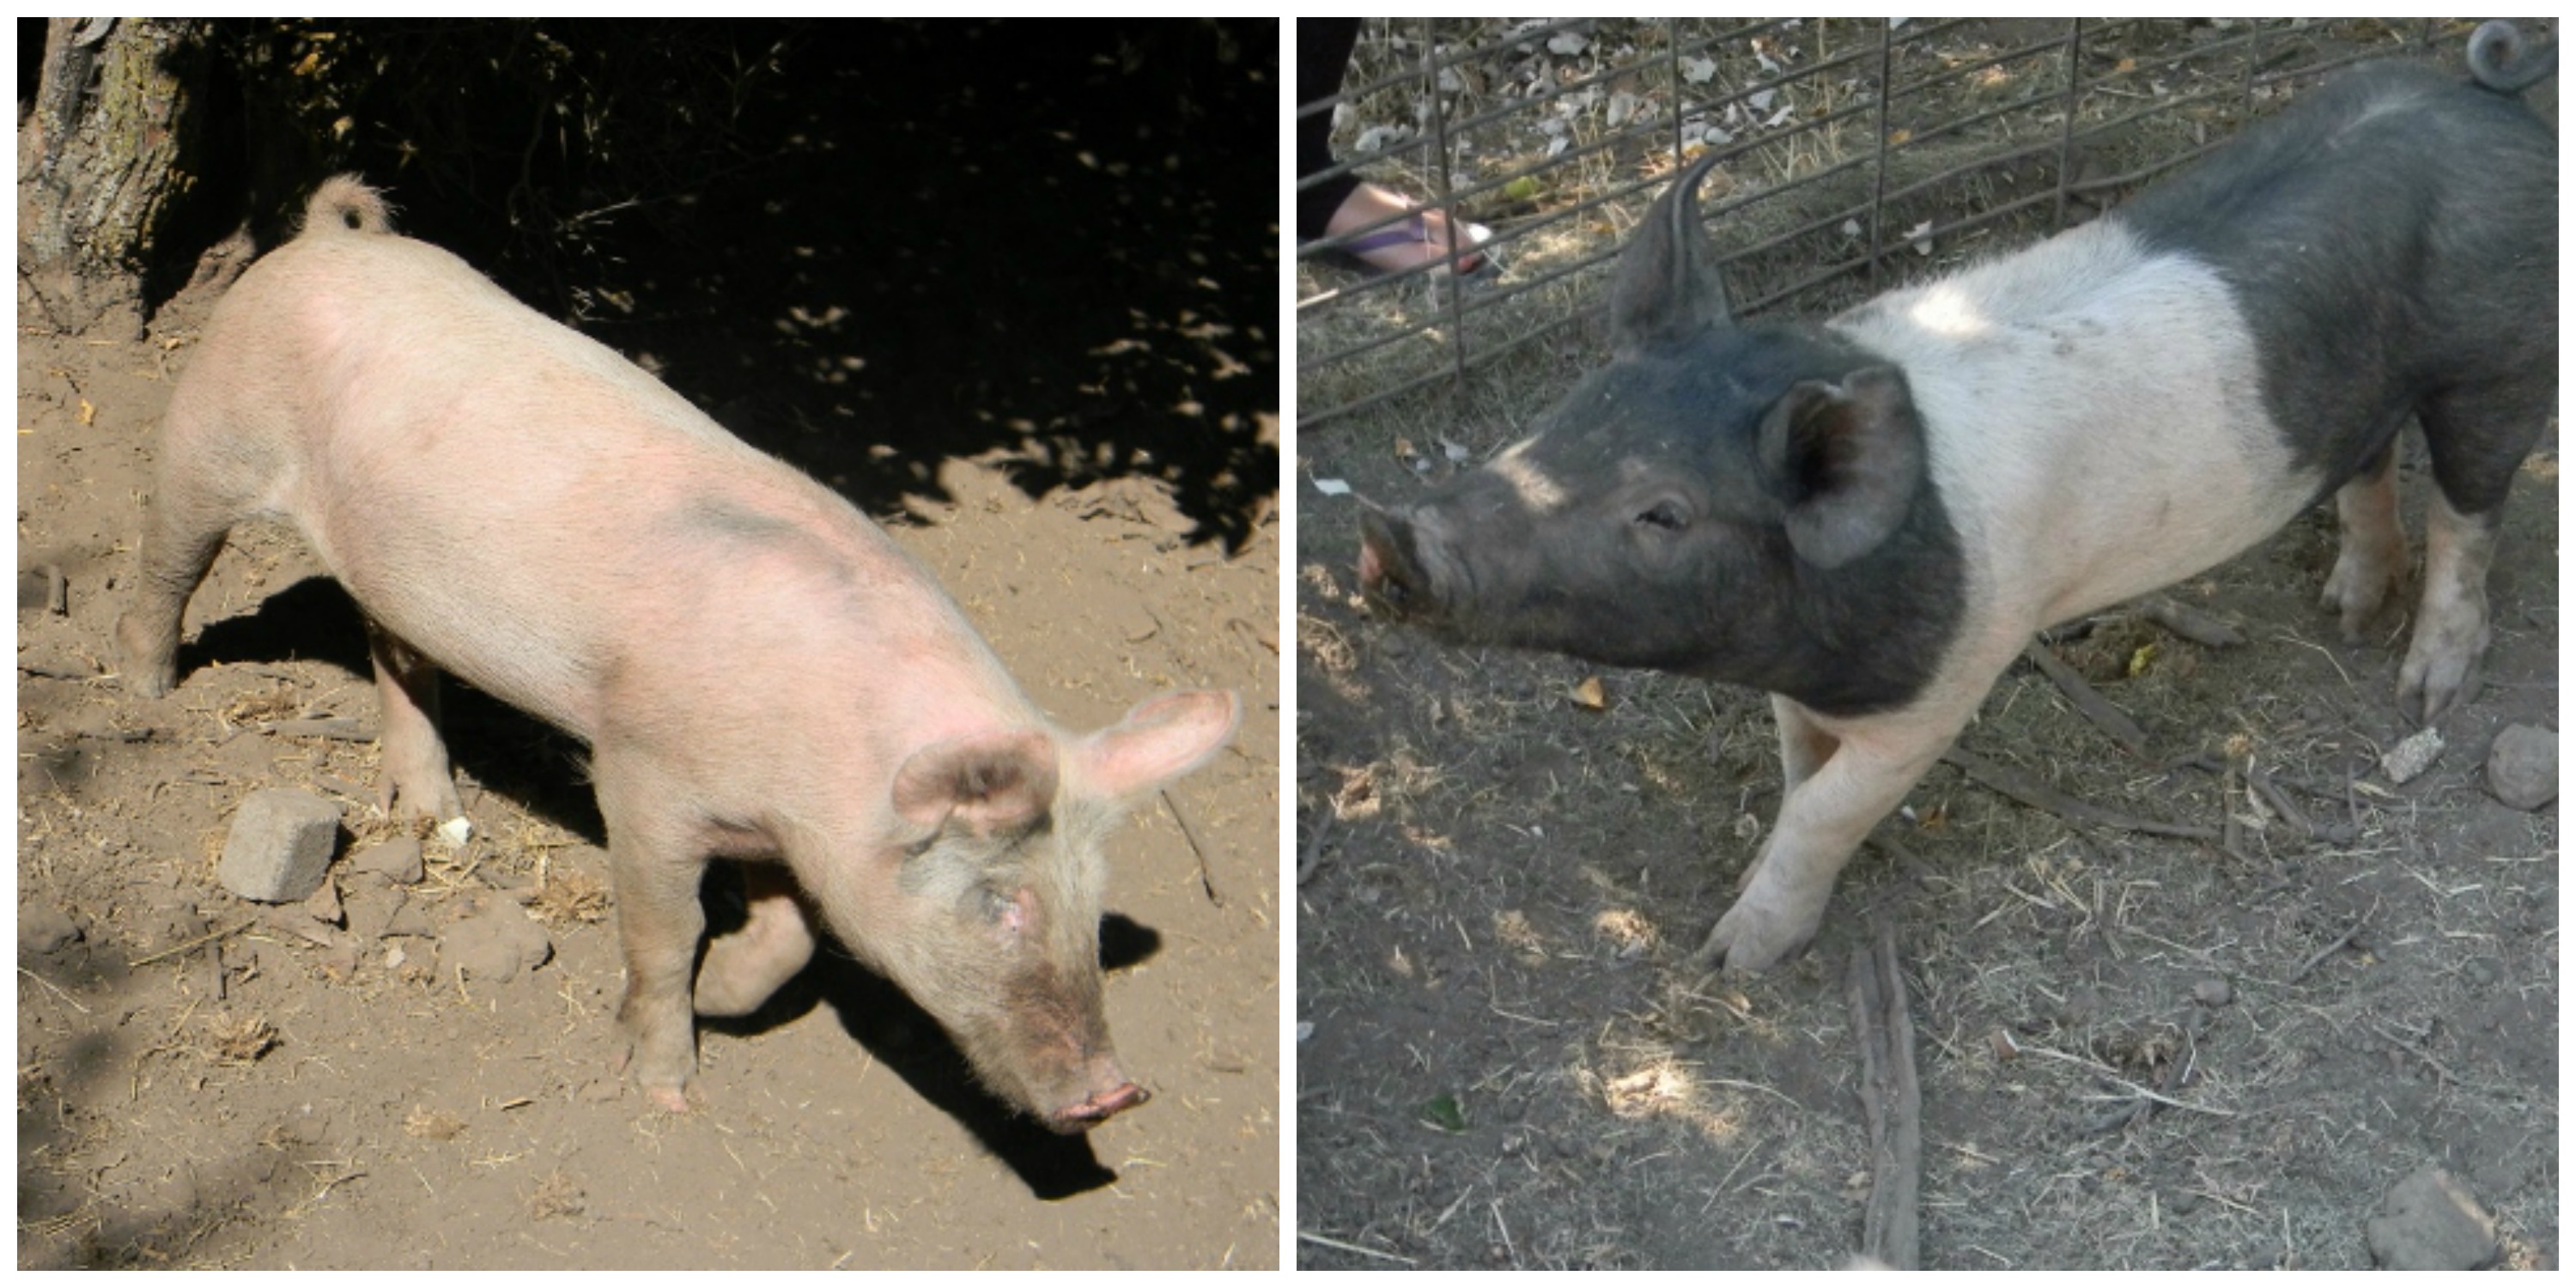
Bacon and ham!
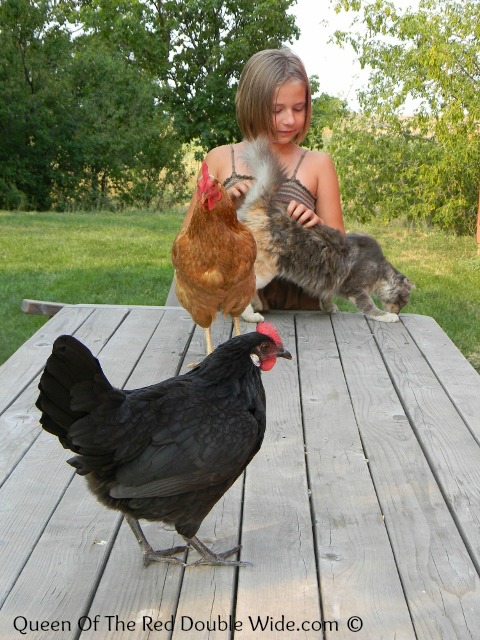
Jo was supposed to be practicing for the fair with her little black hen. It didn’t take long for her other 2 favorite, spoiled pets (Stinky and Boots) to realize they wanted to be on the table so they could get some attention too!
Peaches are my very favorite fruit…..I think?? I love all fruits…well pretty much I love all food. Lets just say if I made a list of my favorites, peaches would be right at the top. There’s nothin like sweet, peach juice dripping down your chin on a nice, warm, summer day. 😀 We are lucky enough to live very near some large peach orchards and it’s peach season!! I tried this recipe last year and absolutely LOVED it. I’ve been waiting for fresh peaches just so I could make this cobbler again. 🙂
Here’s how to make Deeeelicious Peach Cobbler: Peel and slice your yummy fresh peaches and put them in a bowl with 1/2 a cup of sugar and the almond extract. Set that bowl aside and pour your melted butter into a 2 quart baking dish. Set that dish aside as well and in another bowl stir together flour, baking powder, salt and remaining sugar. Then add the milk and stir well.
Now pour the batter evenly over the butter, do not stir. Then top it off with the peach mixture. Now bake at 350 degrees for 50 to 55 minutes. So easy!
This is wonderful warm from the oven with some whip cream or vanilla ice cream!
Author: Queen Of The Red Doublewide adapted this recipe from Taste Of Home
Ingredients
4 cups of peeled sliced peaches
¾ cup of sugar - divided
½ teaspoon almond extract
½ cup butter - melted
¾ cup all-purpose flour
2 teaspoons baking powder
pinch of salt
¾ cup milk
Instructions
Mix together the peaches, ½ cup of sugar, and extract; set aside. Pour melted butter in a 2 quart baking dish. In a bowl combine flour, baking powder, salt and remaining sugar; stir in milk. Mix well and then pour it evenly over the butter (do not stir). Top with the peach mixture. Bake at 350 degrees for 50-55 minutes.
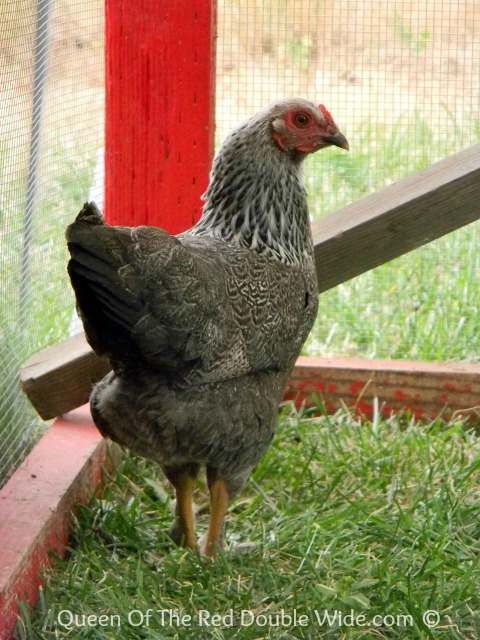
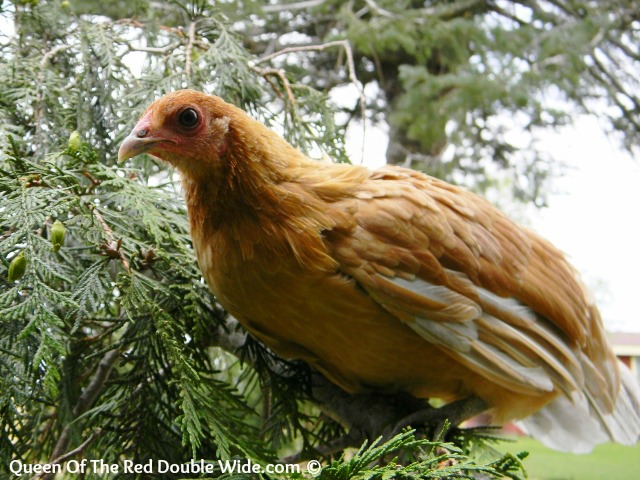
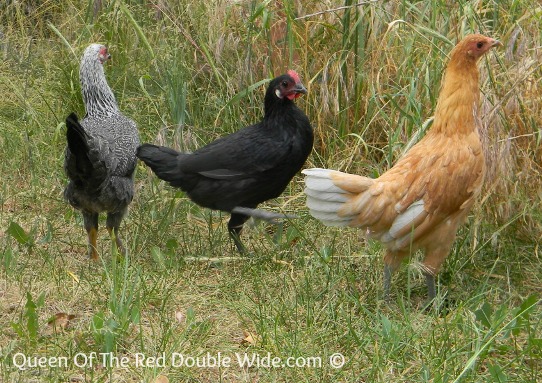
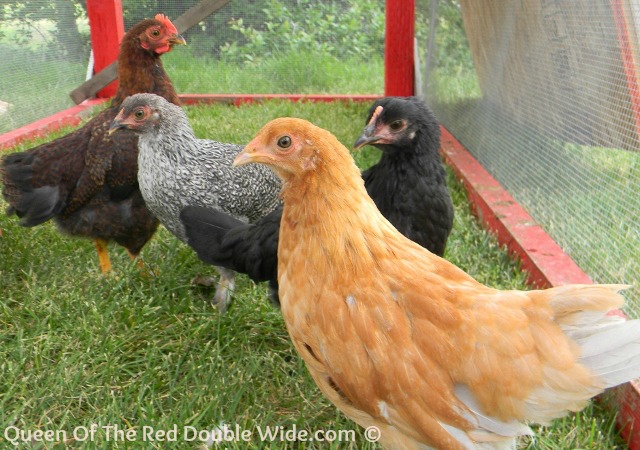
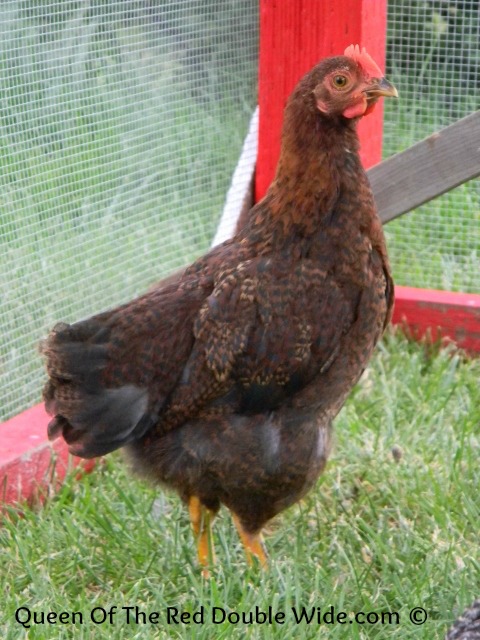
Back in April the girls picked out 4 bantam chicks at the feed store. Oh what cute little fluff balls they were! (click here to see pics) Those chicks are now four months old and will be going to the fair next month. I didn’t want more than one rooster and that’s what we ended up with. He is a very handsome (obnoxious) little guy and the three little pullets are just adorable and sweet. The only problem we have is we’re not sure what breeds they are. So I’m going to share some pictures and if anyone out there knows what breed they are the girls and I would LOVE to here from you. I did do a little research and I have a few guesses but I would like to know for sure. It would be great to have the correct breeds to write on the entry forms for the fair!
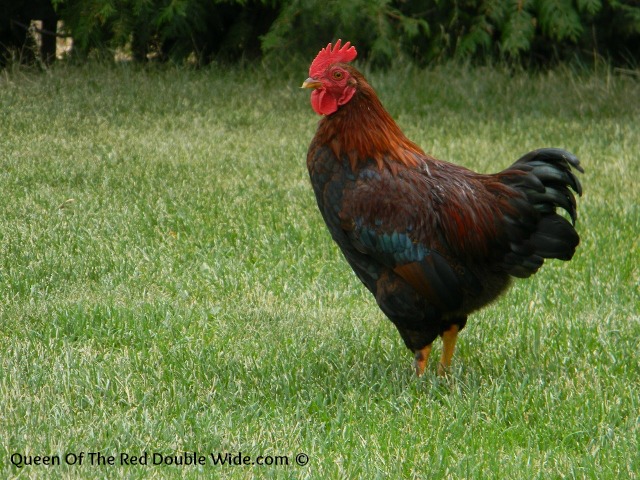
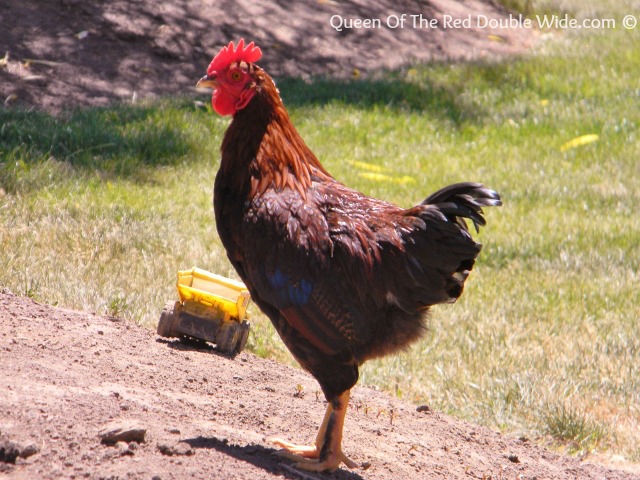
Meet Chocolate…..better known as Little Pecker.
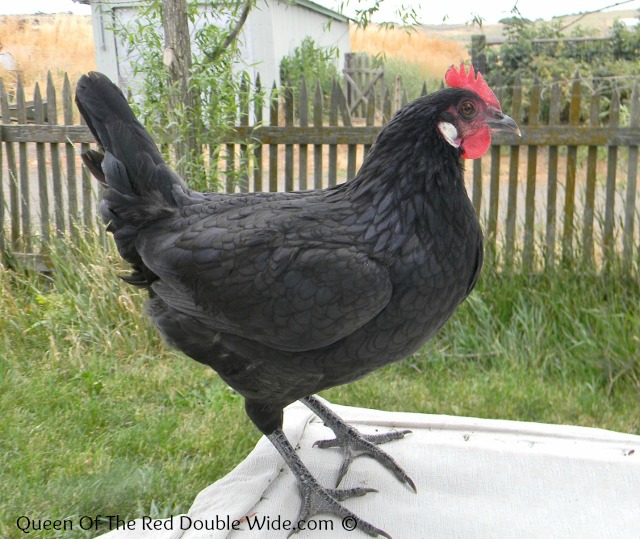
This is Tiny, she is so very sweet.
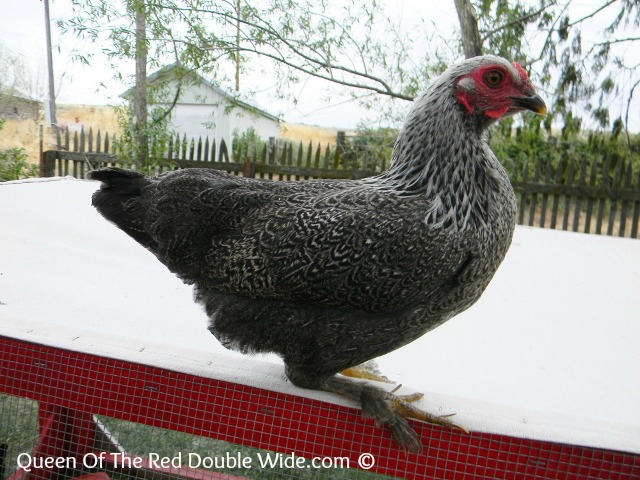
This is Rayven, she is very gentle and just beautiful!
This is Peep, she is loud and can fly farther than any of our chickens!
I’ve been a bit obsessed with school stuff this summer. I guess it’s my only excuse for not blogging as much as I should and/or want to! So, I’m going to share with you what I’ve been up to lately.
I decided a while back that I wanted to start creating my own work sheets for preschool. I could never find exactly what I was looking for, and making my own sounded like fun. I recently acquired all the resources I need to do this and guess what!? It IS fun. 🙂
The first thing I made are classroom helper signs and weather station printables that can be laminated and used how ever you please. The weather station printables would work in a classroom or homeschool setting.
If you click here it will take you to my Teachers Pay Teachers store and you can print these out for free! I will soon have more products to add to my TPT store. 🙂 If you are a homeschooler or teacher of any kind, Teachers Pay Teachers.com is an AWESOME resource! It’s free to join and there are TONS of inexpensive and free resources!
I have also been working on redecorating and reorganizing my classroom. I will share some pics soon!
There are TONS of different recipes for laundry soap out there, I have tried a few and this one is my favorite. I’ve been using this for a year now and one batch lasts 3 months for (on average) 5 people. It’s really easy to make and cheaper than buying it.
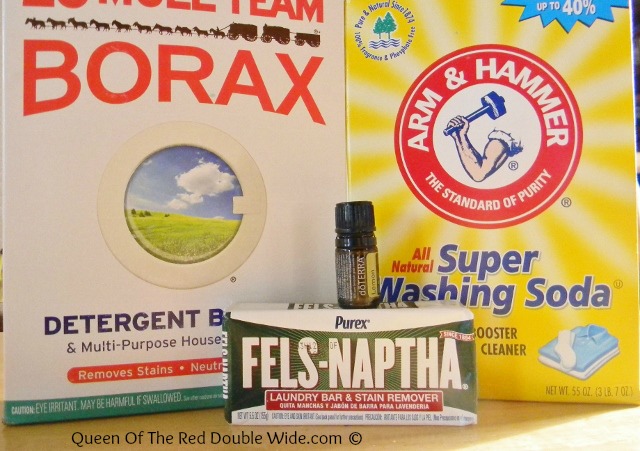
You will need Borax, Washing Soda (not baking soda), Fels-Naptha soap, water and essential oils (optional). I found all of these items (except the essential oils) at Fred Meyer near the laundry soap.
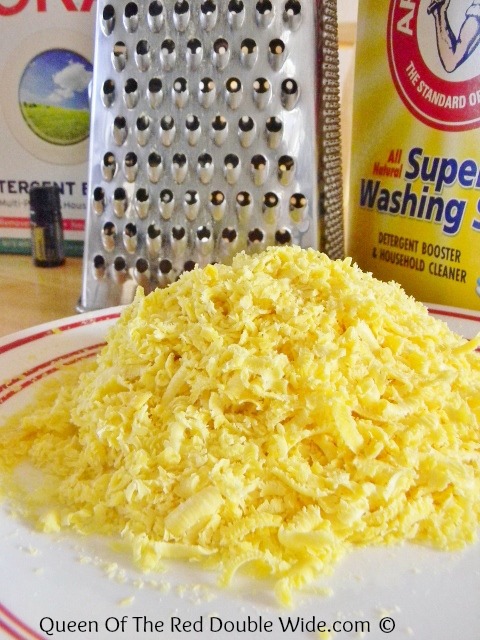
Start by grating the bar of soap.
Then melt the grated soap in a large pan with 1 gallon of water on medium low heat. Don’t let it boil just heat it up, stirring often until all the soap has melted.
When the bar soap is melted add the borax and washing soda and stir until the borax and washing soda have dissolved. Then pour the soap into a big bucket (I use a 5 gallon bucket) and add 2 gallons of cool water to the bucket and stir. Now is when you add the essential oil of your choice. I like lemon or sweet orange.
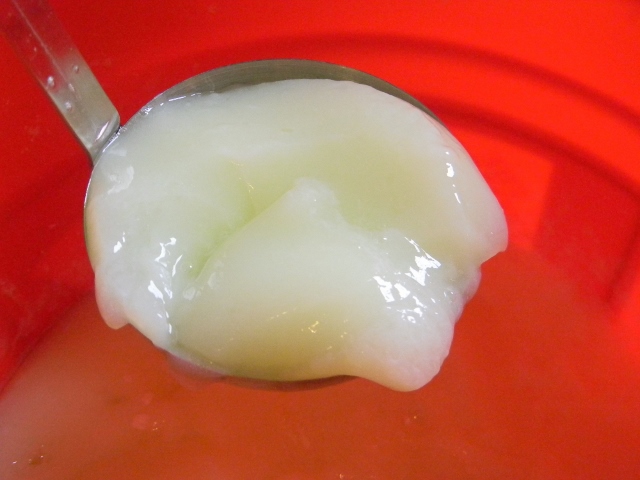
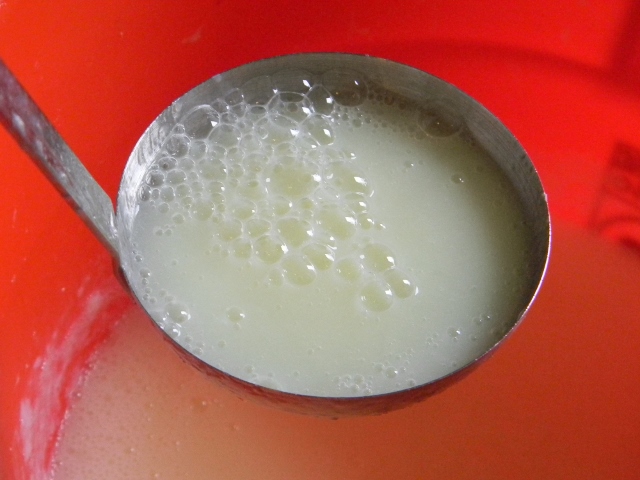
Stir it up again and let your concoction set over night. The soap will gel up and separate over night. It will look something like this:
I like to use an immersion blender to make it nice and smooth.
You can funnel the soap into smaller containers or I keep it in the bucket and use a long handled ladle to scoop half a cup of detergent per load of laundry. If the soap sits for a while it will separate again so remember to stir between each use.
This detergent works in any washing machine. I have a high efficiency washer and this soap is safe to use in it.
Start by grating the bar of soap. Then melt the grated soap in 1 gallon of water on medium low heat. Do not boil and stir often. When the soap has melted add 1 cup of borax and 1 cup of washing soda and stir until dissolved. Pour your soap mixture into a big bucket (something that holds more than 3 gallons) and add 2 more gallons of water. Now add an essential oil of your choice if you would like and stir well. Let it set over night. It will gel up and separate over night so stir and stir or use an immersion blender to make it nice and smooth.
What a month! I have been so very neglectful of my blog. We didn’t finish up school until the 17th and that came with recitals, programs, and graduations! The girls performed at each event and did an awesome job! Mary’s vocal lessons are done for the summer…phew! Now that school has ended and summer has begun the pace around here has slowed down a bit, so maybe I can get some blog time back in my schedule!
The girls are enjoying NO SCHOOL!
The Bantam hens went on a little adventure out of their pen, but the big hens were not very nice so they quickly went back in.
This is the little rooster, and he’s not nice to the little hens either. He gets let out during the day and has turned into quite a nuisance, but he’s very entertaining!
Little Chef was gone last week to camp, so Jo and I got to spend lots of time together! One of her favorite places is the pool. 🙂
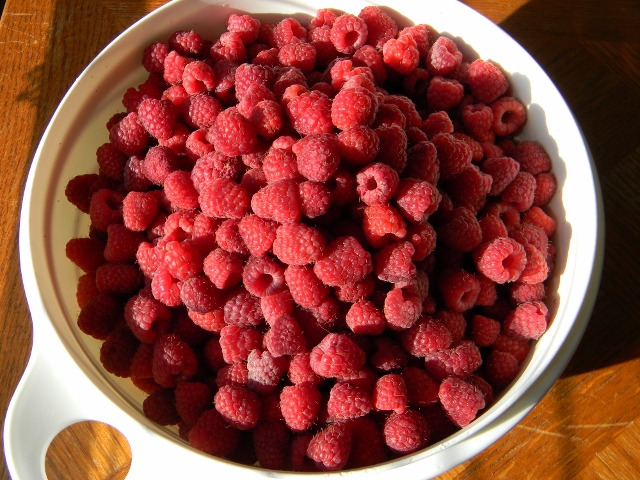
The raspberries are just now starting to ripen and there are TONS of them!
I did not get a garden in this year. 🙁 I was heart broken at first, but this will leave me much more time to focus on school and cleaning up around here. We’ve been so busy that many things have been neglected inside and out.
I said last month that April was a busy month…….HA! May was stupid busy! When I think back it’s all just a blur. I’m not complaining at all though it was a great month. Good thing I managed to get a few pictures taken so I can recall a few details. The biggest change we’ve had around here lately comes in a small, but VERY busy package. Jade’s girl friend moved to town and ended up getting two jobs very quickly, that was a very good thing, but that meant she also needed a baby sitter for her 16 month old son. Did I mention he’s busy? I teach a preschool and kindergarten class everyday so you would think that this shouldn’t have been much of a change…..oh how I have forgotten how having a mini person around keeps you on your toes!! What a joy he is and I’m even starting to get use to the grandma jokes. 😉
Hope you enjoy these photos from May.
Here is Mr. Busy Himself!
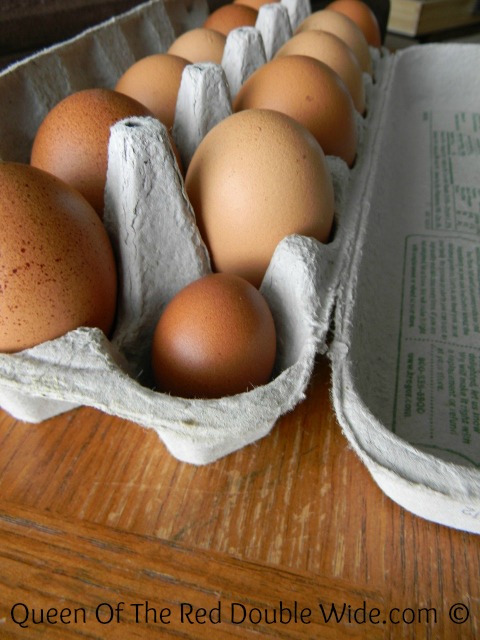
One of our regular sized hens laid a mini sized egg. Jo was fascinated by it and had me fry it up for her for dinner. 🙂
Our four bantam chicks grew a lot during May.
It turns out that one of them is a rooster and he thinks he’s pretty hot stuff. His crow is getting a little better as time goes on.
We went to our local tractor pull and saw some pretty cool old tractors.
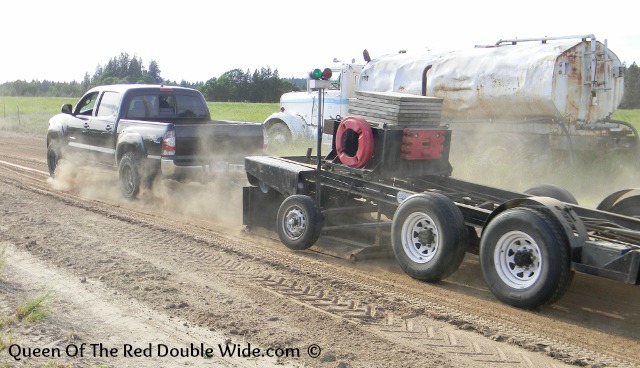
After all the tractors were done pulling it was time for the pickups. Digger and Jade both entered their pickups. It was supposed to be Digger’s 79 Ford against Jade’s 84 Dodge but they didn’t have time to finish getting Jades pickup ready so he decided to enter his 2010 Toyota. It was a grudge match between old and new….or maybe I should say old and young! 😉
The old WON…by five feet!
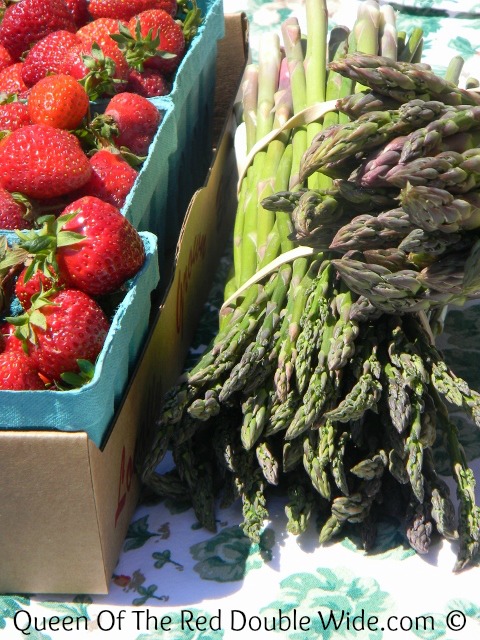
Some goodies we got at the farmers market! My mom had given us some home grown rhubarb so Little Chef made a couple strawberry rhubarb pies for her dad.
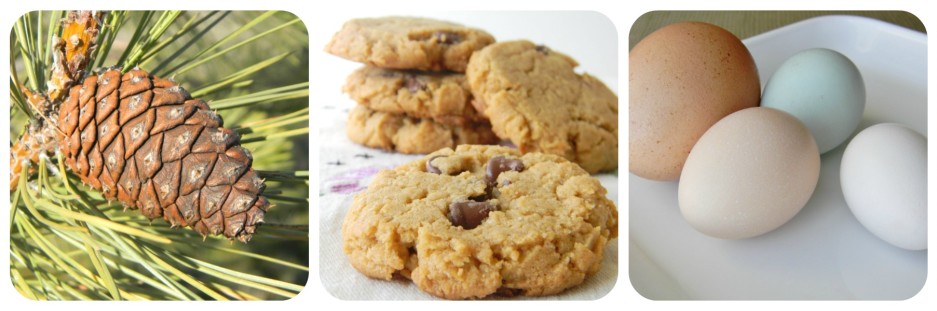
These are beyond a shadow of a doubt the BEST peanut butter cookies I’ve ever had!
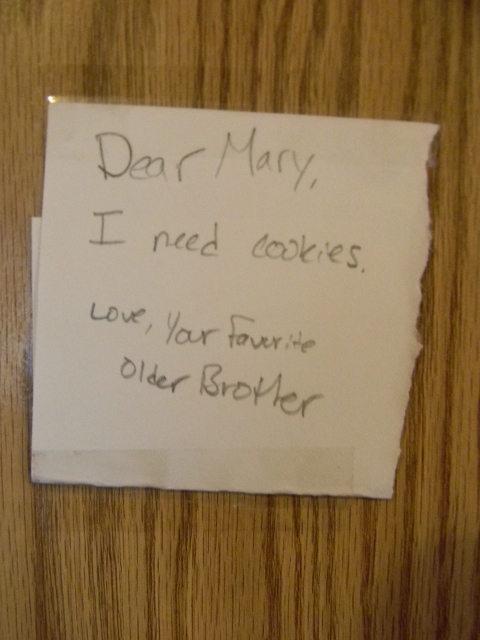
I cannot take credit for finding this recipe, it was all my kids. It all started with this:
Little Chef came home to find this on her bedroom door.
My boys are smart, when they want cookies they know who to ask. The next thing I know, Little Chef is asking if I will show her how to look up cookies on Pinterest. She wanted to find a “new” recipe. I did, and just like her mama, Pinterest sucked her in and she was there forever looking through thousands of pins of delicious looking cookies. I think her brother became worried that cookies were never going to become a reality. I heard him say something about peanut butter and chocolate chips and bless her cookie lovin’ heart she searched for peanut butter chocolate chip cookies and decided on this recipe.
A little while later I walked through the kitchen and stole a chunk of warm cookie (it was a broken piece and NEEDED to be eaten)……as the sweet, buttery, chocolaty, warm, piece of cookie melted in my mouth. The clouds parted, the sun shone through, the angels sang and my taste buds rejoiced. I think I said something like “Holy cow, those are stinking amazing, I’m NEVER going to be able to stay away from these cookies.” I really didn’t need to worry about that though, they were completely devoured shortly after that by other members of our household.
Author: Queen Of The Red Doublewide adapted this recipe from Mel's Kitchen Cafe
Ingredients
1 cup butter at room temperature
2 cups creamy peanut butter
1 cup brown sugar
1 cup granulated sugar
2 eggs
2 tablespoons of milk
1½ teaspoons vanilla extract
2½ cups all-purpose flour
1½ teaspoons baking soda
1 teaspoon baking powder
½ teaspoon salt
1 cup chocolate chips
Instructions
In a mixing bowl beat together the butter and peanut butter until light and fluffy. Add the sugars and mix well then add the eggs and mix well again. Next add the milk and vanilla stir well. Measure all the dry ingredients into a separate bowl and then add to the peanut butter mixture. Stir just a bit and then add chocolate chips and stir until everything is combined. Let the cookie dough sit for a few minutes to firm up. Preheat oven to 350 degrees. Scoop 1 or 2 tablespoons of cookie dough onto a parchment lined baking sheet a couple inches apart and bake for about 10 minutes. They will look a little under done. If you leave them on the cookie sheet for a couple minutes they will be much easier to remove to a cooling rack.
3.2.1303
Tip: These are amazing cookies anytime but if you want to see the clouds part and hear the angels sing you have to try them when they are still warm. 🙂 The only small draw back to these cookies is that they are pretty delicate, I would not recommend these for baking and shipping in the mail…..they would be awfully tasty crumbs though!