Easy Homemade Pumpkin Puree and Roasted Pumpkin Seeds

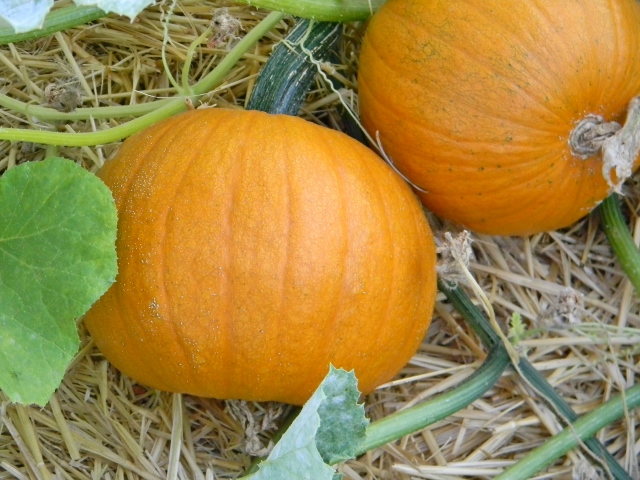
We grew LOTS of sugar pumpkins this year.  I gave away several and we still have about a dozen left for us to enjoy.

Sugar pumpkins growing in the garden

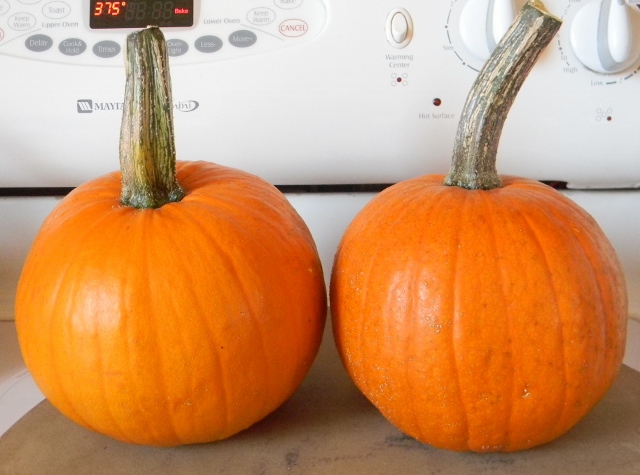
Making your own pumpkin puree for all those fall recipes is great, and you can put left- overs in the freezer for later.  With this easy method of baking the pumpkin you don’t need to worry about loosing any body parts when you cut the pumpkin up because you put the whole darn thing in the oven (pre-heated to 375°) and bake it whole…..

DSCN7315 (640x475)

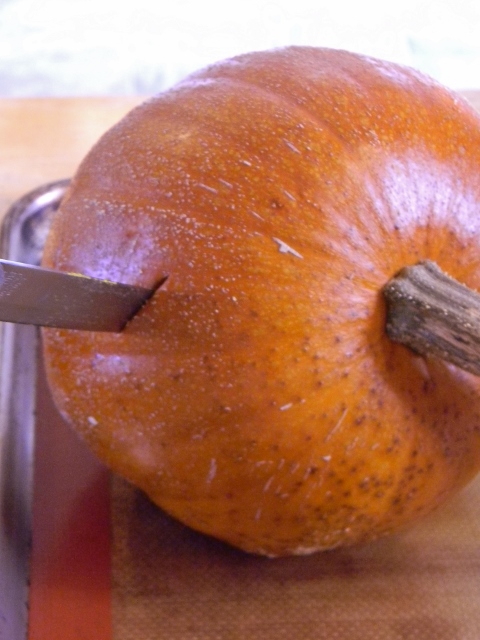
I put the pumpkins on a cookie sheet just in case of any drips.  It will take 30 minutes to 1 hour and 30 minutes to get done.  It all depends on how big your pumpkins are.  You can use the big pumpkins to make pumpkin puree, but the small sugar pumpkins have a sweeter more pumpkiney flavor.  My spell check is telling me that pumpkiney is not a word, but you get my point, right? (pumpkinie, pumpkiny, pumkiney, pumpkinish…..one of these should totally be a word!)  These two took about 45 minutes to get done.  When you can poke a sharp knife into the pumpkin easily, it’s done.

DSCN7502 (480x640)

Let them cool down enough to handle, then peel them.

Homemade Pumpkin PureeEasy Pumpkin Puree


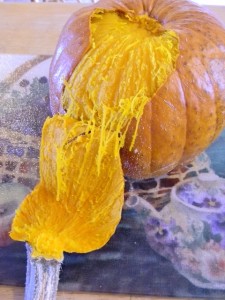
Cut your peeled pumpkin in half, spoon out the “guts” and separate the seeds.

Homemade Pumpkin Puree

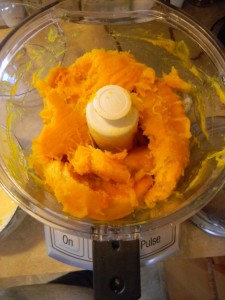
Take the “meat” of your pumpkin and puree it in a food processor or blender.

Homemade Pumpkin PureeHomemade Pumpkin Puree


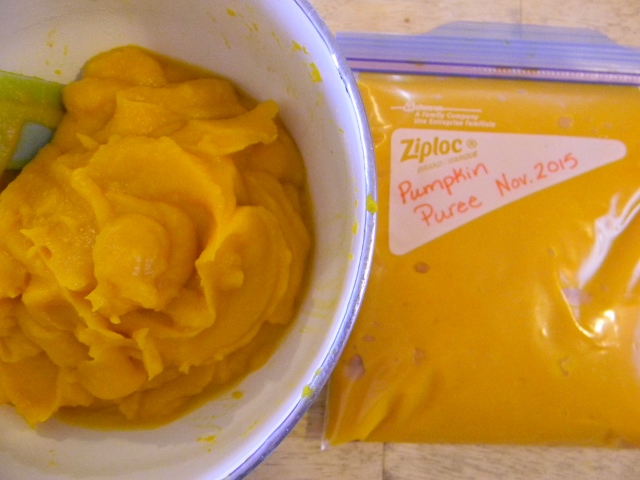
Now you can use it in any recipe calling for pumpkin puree and put any leftovers in the freezer.

homemade pumpkin puree

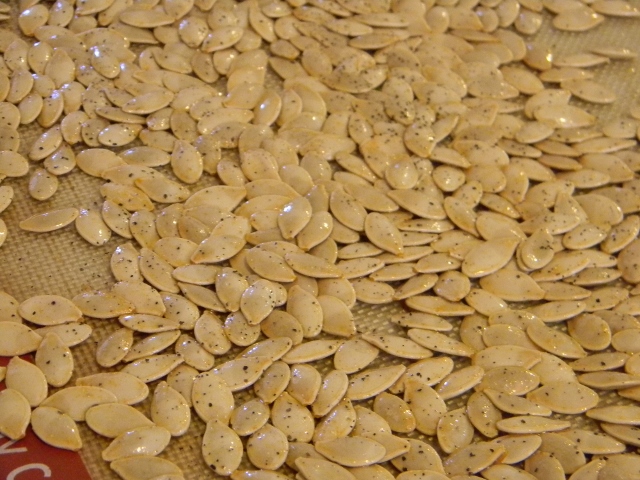
Now, take the pumpkin seeds, rinse them off and dry them.  These two little pumpkins gave me a little more than a cup of seeds, so I added 1 tablespoon of olive oil with 1/2 teaspoon of seasoning salt and 1/2 teaspoon of garlic salt.  I stirred it all together coating all the seeds and poured them on a cookie sheet, then sprinkled some pepper on them.

Roasted pumpkin seeds

Pre-heat the oven to 325° and bake the seeds for 5 to 20 minutes.  Check them every 5 minutes and give them a little stir.  These took about 17 minutes.

roasted pumpkin seeds

This is just a basic recipe for roasted pumpkin seeds so feel free to add any seasonings you like!

A few tips: One 15oz can is equal to 1 3/4 cups pumpkin puree – If you have chickens, feed them the guts and skin from your pumpkin and you will have wasted NONE of your pumpkin!  If you don’t have chickens the compost pile is a great place for the “extras”.

Easy Homemade Pumpkin Puree and Roasted Pumpkin Seeds
 
Author:
Ingredients
  • For Pumpkin Puree:
  • 1 or 2 pumpkins
  • _____________________________________________________________________________
  • For Roasted Pumpkin Seeds:
  • 1 cup of washed and dried pumpkin seeds
  • 1 tablespoon olive oil
  • ½ teaspoon seasoning salt
  • ½ teaspoon garlic salt
  • Black Pepper
Instructions
  1. For the pumpkin puree: Put your whole pumpkin(s) in the oven at 375°. Depending on the size of your pumpkin it will take from 30 minutes to 1 hour and 30 minutes to cook. When you can easily poke a sharp knife in the pumpkin it's done. Let your pumpkin(s) cool until you can easily handle them. The skin will peal off easily, then cut the pumpkin in half and spoon out the guts and seeds. Place the "meat" of your pumpkin in a food processor or blender and puree.
  2. -------------------------------------------------------------------------------------------------------------
  3. For the roasted pumpkin seeds: Pre-heat the oven to 325° Separate the seeds from the guts then rinse and dry the pumpkins seeds. Take your dried pumpkin seeds and stir in the olive oil, seasoning salt and garlic salt. Spread the seasoned seeds out on a cookie sheet and sprinkle a little black pepper on them. Bake the seeds for 5 to 20 minutes. They will burn easily so check on them and give them a little stir every 5 minutes.

Here are a couple recipes that call for pumpkin puree:

Fluffy Pumpkin Pancakes

Pumpkin Pancakes


and Pumpkin Chip Bread/Muffins
Pumpkin Chip Bread


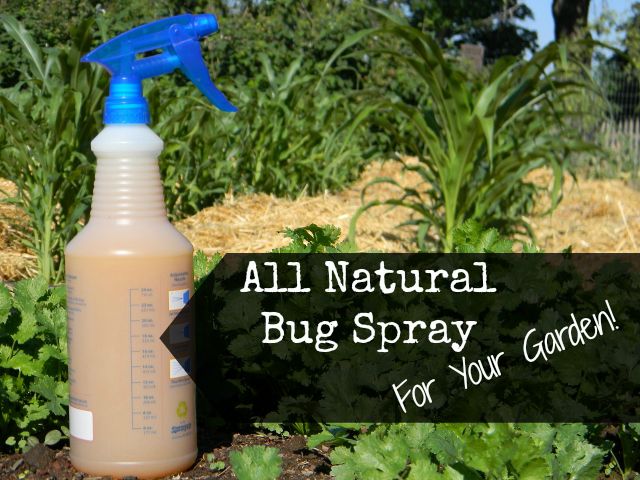
Homemade All Natural Insect Spray For Your Garden

This post contains affiliate links.

garden bug spray

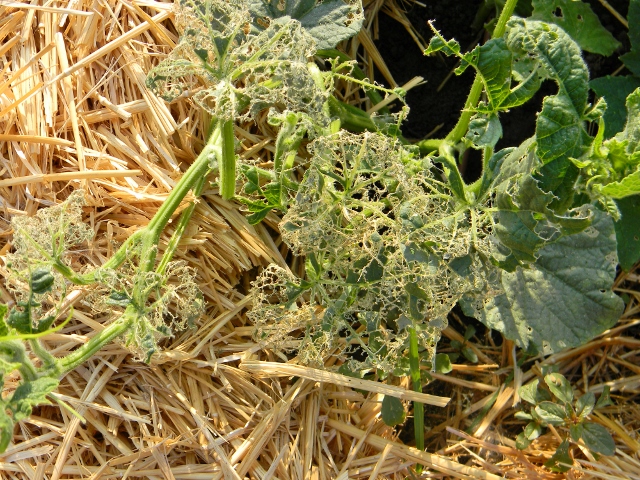
Uuug!  I have never had this much trouble with nasty little insects devouring my garden!  At first I thought it was due to my deep straw mulch.  My husband warned me before I put the straw in the garden that it would create the perfect environment for earwigs.  He was absolutely correct!  The little buggers love to hide in the dark, moist straw during the day and then come out and graze on my veggie plants all night!!  But I can’t blame the whole problem on the mulch.  We have earwigs and ants EVERYWHERE this year.  It’s just simply a bad year for bugs.  (Darn it!)  It’s so frustrating to watch all your hard work slowly disappearing!

DSCN5451 (640x480)

They seemed to like the squash, cabbage and kale the best!  I think most of the damage was done by earwigs, but I have also seen aphids and grasshoppers.

I got on-line and looked up MANY different natural and organic bug sprays.  I came up with my own simple spray that REALLY works!  My plants are looking MUCH better!

DSCN5674 (640x480)

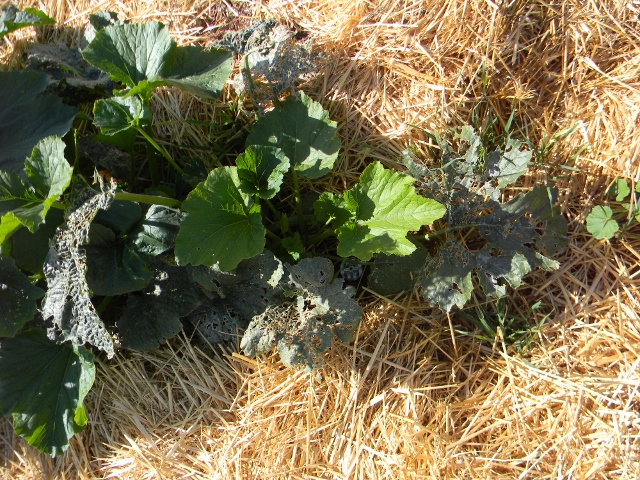
This is an early morning picture and has lots of shadows, but I hope you can see the very bug eaten leaves and then the new growth in the center after I sprayed them!  I still lost some of the little plants that were just to far gone by the time I sprayed them but the bigger plants are recovering nicely.

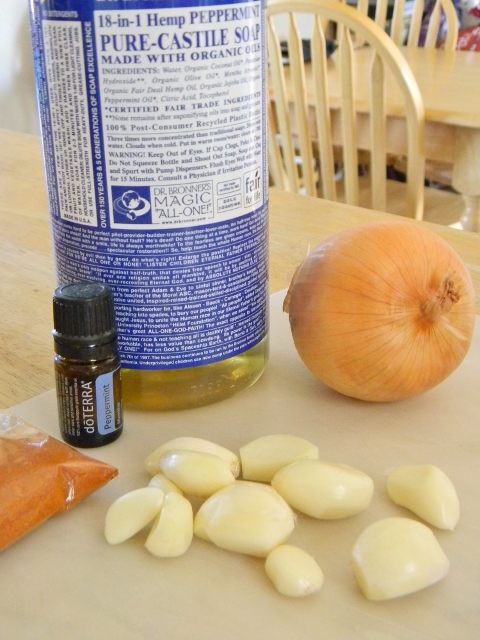
To make this spray I used garlic, an onion, cayenne pepper, peppermint castile soap, peppermint oil and water.

DSCN5264 (480x640)

Start by chopping the cloves from one head of garlic and 1 onion into tiny pieces.  You can use a food processor if you have one.  When you have them all chopped up put them in a pot with 6 cups of water and 1 teaspoon of cayenne pepper powder.  Bring your concoction to a boil then remove it from the heat and let it cool completely.  Strain the liquid into a squirt bottle and add 2 tablespoons of peppermint castile soap and 5 drops of peppermint oil.  Shake it up and you’re ready to spray those nasty pests away.

DSCN5276 (631x640)

Spray early in the morning before the hot sun is out or just before dark.  Be sure to shake well before each use and spray the top and bottom of each leaf.  If you have any left over, store it in the fridge for up to a week.

Homemade - All Natural - Garden - Insect Spray
 
Author:
Ingredients
  • 1 whole head of garlic, peeled and cloves removed
  • 1 good sized onion, peeled
  • 1 teaspoon cayenne pepper
  • 6 cups of water
  • 2 tablespoons peppermint castile soap
  • 5 drops peppermint oil
Instructions
  1. Chop up all the garlic cloves and onion into small pieces.
  2. Put the cayenne pepper, water, chopped onions and garlic into a pot and bring it to a boil.
  3. Remove the pot from the heat and let it cool completely.(over night is good)
  4. Strain cooled liquid into a squirt bottle and add the castile soap and peppermint oil.
  5. Shake well.

I’ve only had to spray my garden twice, but we only had rain once and we don’t water with sprinklers, so you may have to spray more often if the leaves are getting washed off.  Try to avoid spraying directly on the part of the plant you are going to eat.

This post was shared at: Our Simple Homestead Blog Hop

Homemade Liquid Laundry Detergent

There are TONS of different recipes for laundry soap out there, I have tried a few and this one is my favorite.  I’ve been using this for a year now and one batch lasts 3 months for (on average) 5 people.  It’s really easy to make and cheaper than buying it.

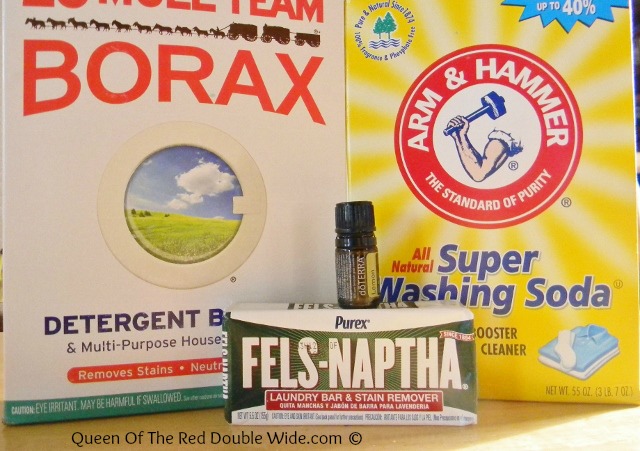
You will need Borax, Washing Soda (not baking soda), Fels-Naptha soap, water and essential oils (optional).  I found all of these items (except the essential oils) at Fred Meyer near the laundry soap.

Ingredients for Laundry Soap

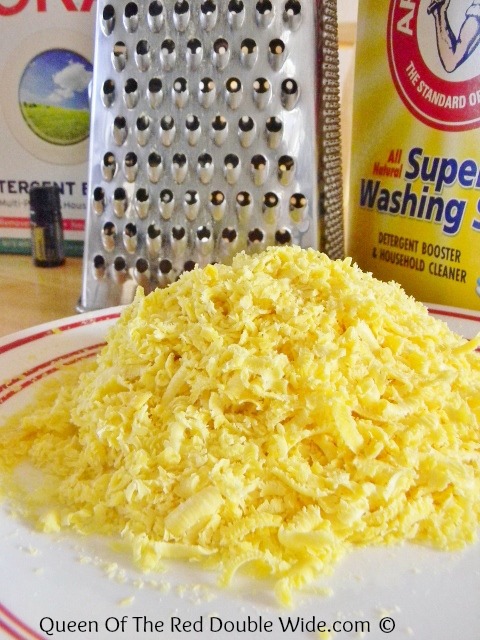
Start by grating the bar of soap.

Grated soap for laundry detergent

Then melt the grated soap in a large pan with 1 gallon of water on medium low heat.  Don’t let it boil just heat it up, stirring often until all the soap has melted.

Laundry Soap

When the bar soap is melted add the borax and washing soda and stir until the borax and washing soda have dissolved.  Then pour the soap into a big bucket (I use a 5 gallon bucket) and add 2 gallons of cool water to the bucket and stir.  Now is when you add the essential oil of your choice.  I like lemon or sweet orange.

Lemon Essential Oil for Homemade Laundry Soap

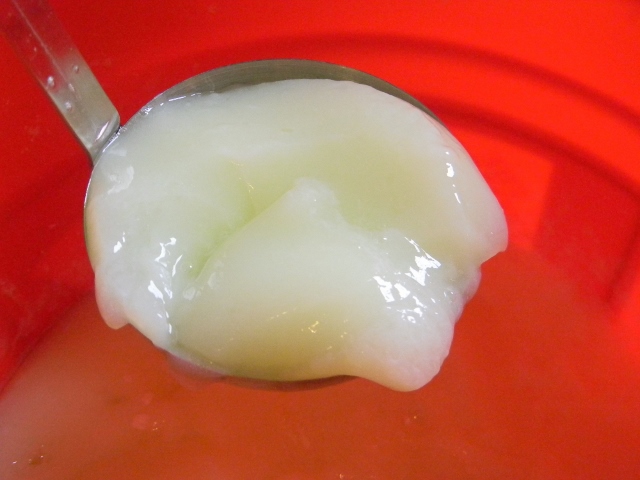
Stir it up again and let your concoction set over night.  The soap will gel up and separate over night.  It will look something like this:

DSCN2678 (640x480)

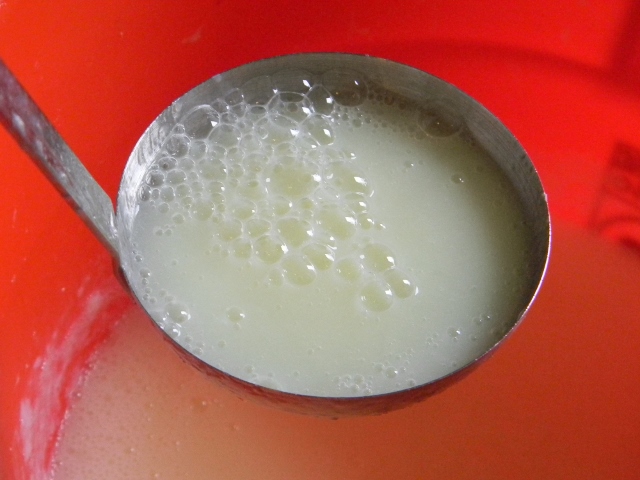
I like to use an immersion blender to make it nice and smooth.

DSCN2686 (640x480)

You can funnel the soap into smaller containers or I keep it in the bucket and use a long handled ladle to scoop half a cup of detergent per load of laundry.  If the soap sits for a while it will separate again so remember to stir between each use.

This detergent works in any washing machine.  I have a high efficiency washer and this soap is safe to use in it.

4.5 from 2 reviews
Homemade Liquid Laundry Detergent
 
Author:
Ingredients
  • 1 bar of Fels Naptha Laundry soap
  • 1 cup of Borax
  • 1 cup of Washing Soda
  • 3 gallons of water
  • 10-20 drops of essential oil (optional)
Instructions
  1. Start by grating the bar of soap. Then melt the grated soap in 1 gallon of water on medium low heat. Do not boil and stir often. When the soap has melted add 1 cup of borax and 1 cup of washing soda and stir until dissolved. Pour your soap mixture into a big bucket (something that holds more than 3 gallons) and add 2 more gallons of water. Now add an essential oil of your choice if you would like and stir well. Let it set over night. It will gel up and separate over night so stir and stir or use an immersion blender to make it nice and smooth.
  2. Use ½ a cup per load of laundry.


This post was shared at: Clever Chicks Blog HopThrifty Thursday


Easy Homemade Tartar Sauce

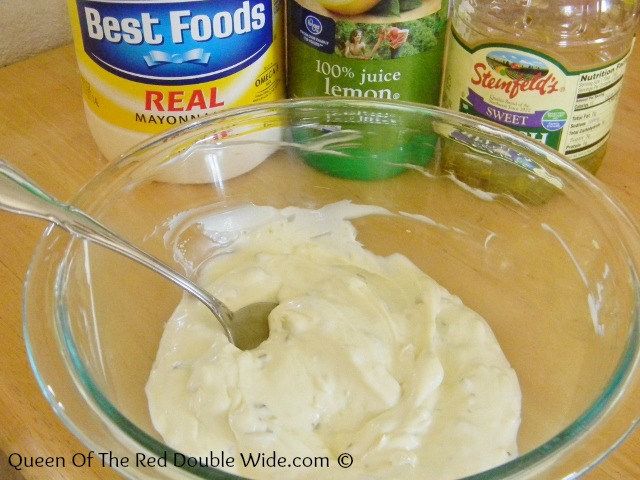
Fish and tartar sauceWe don’t have fish too often, but when we do I like to have tartar sauce to serve with it.  A couple years ago I realized it was rather stupid to keep buying bottles of tartar sauce, use them once and place them in the fridge for next time.  “Next time” usually didn’t come until it was to late to salvage the rest of the bottle or it had been long lost in the depths of the refrigerator.  So I found this easy homemade tartar sauce recipe and we have been using it ever since.

Easy Homemade Tartar Sauce
 
Author:
Recipe type: Condiment
Ingredients
  • 1 cup of mayo
  • 2½ tablespoons sweet relish
  • 1 tablespoon lemon juice
Instructions
  1. Put all the ingredients into a bowl and stir.

Tartar SauceIt tastes WAY better than store bought and if we have any leftover I add a little ketchup and it makes a WONDERFUL dipping sauce for fries, tater tots, or pretty much anything you would use ketchup on.  We put it on hamburgers the other night…..yummm!

Fry SauceA great tasting, easy, tartar sauce with no waste!

Chicken Noodle Soup With Homemade Noodles

I’m excited to share this one with you!  I’ve made chicken noodle soup many, many times but this one is by far my favorite.  I think it’s the homemade noodles and homemade chicken stock…..yummmmm!

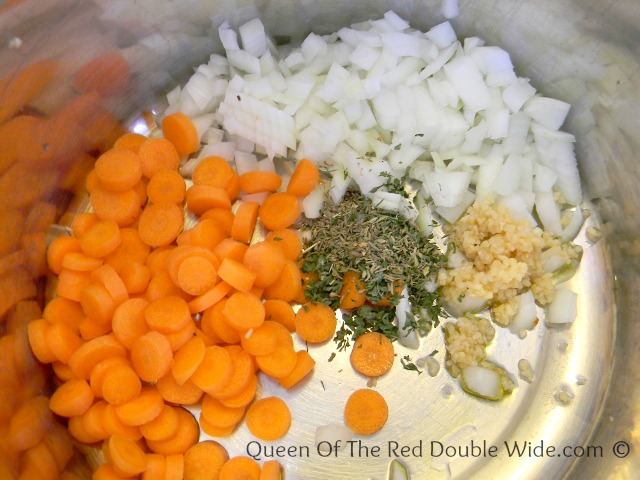
Chicken Noodle SoupStart out by chopping up a medium sized onion and a cup of carrots.  Add them to a big pot with olive oil, minced garlic, parsley, basil, and thyme.  You can add celery too, somebody in our house doesn’t like celery so I leave it out.

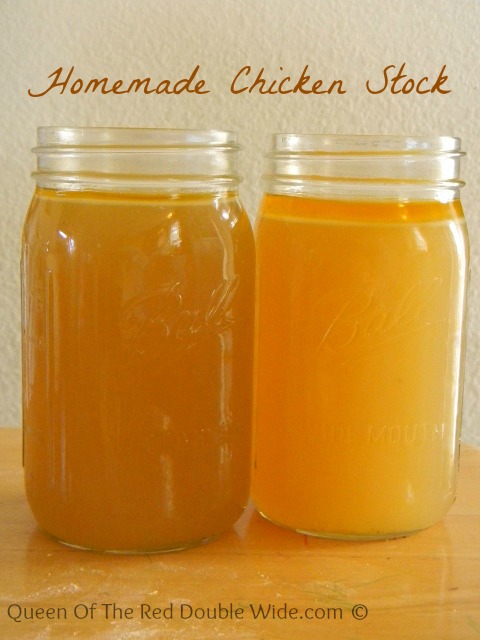
SoupSaute for a few minutes until the onions are cooked.  The carrots will not be done yet, but they will finish cooking in the stock.  It will smell amazing!  Add the chicken stock, shredded chicken, salt, and a bay leaf to the pot.

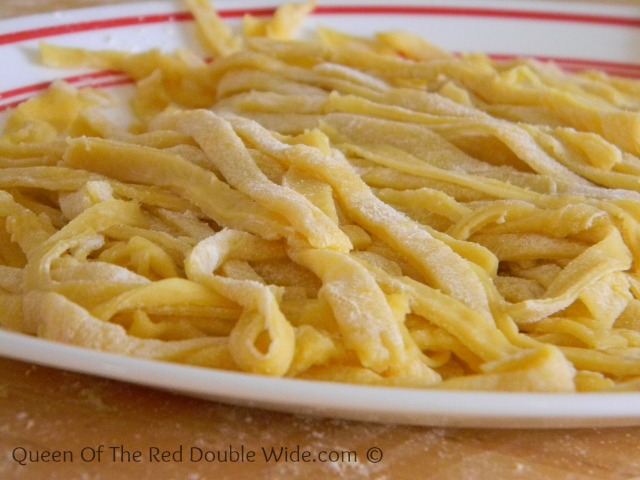
Chicken StockLet it simmer for a half hour or so, while you make the noodles.  Here is the recipe for homemade egg noodles.  I use about half of that recipe in this soup.

Egg NoodlesAdd the noodles to the simmering pot, the fresh noodles will cook in just a couple minutes.  If you made your noodles ahead of time and added them dry, it will take a bit longer.  When the noodles are done remove the bay leaf, add salt and pepper to taste and your soup is ready to serve!

Chicken Noodle Soup With Homemade Noodles
 
Author:
Recipe type: soup
Serves: 4
Ingredients
  • 1 medium sized onion, chopped
  • 1 cup chopped carrots
  • ½ teaspoon dried thyme
  • 2 teaspoons dried parsley flakes
  • ½ teaspoon dried basil
  • 3 minced garlic cloves
  • 1 - 2 tablespoons olive oil
  • 2 quarts chicken stock
  • 1 bay leaf
  • 2 cups shredded chicken
  • ½ teaspoon salt
  • homemade egg noodles
  • salt and pepper to taste
Instructions
  1. In a big pot saute onion, carrots, thyme, parsley, basil, and garlic in the olive oil until the onions are cooked through.
  2. Add the chicken stock, shredded chicken, bay leaf, and salt to the pot and simmer while you make the noodles. (let it simmer for at least a ½ hour)
  3. Add the fresh noodles or dry noodles that you made ahead of time to the simmering pot and let the noodles cook thoroughly.
  4. Remove the bay leaf and add salt and pepper to taste.


chicken soup with homemade noodlesThis makes a hearty meal for four people. I usually double it and enjoy leftovers. 🙂

How To Freeze Waffles, Pancakes, And French Toast For Easy Weekday Breakfasts

This is the easiest thing EVER.  Why have I not been doing this for years!?!?  I love easy, yet healthy breakfast foods.  The kind that I don’t have to worry about on weekday mornings.  Lately when I have the time, I make a HUGE batch of fluffy whole wheat pancakes, or waffles and then freeze whatever is left.  When I have bread that’s getting a little old I make french toast and put it in the freezer.  (sorry chickens no more stale bread for you)

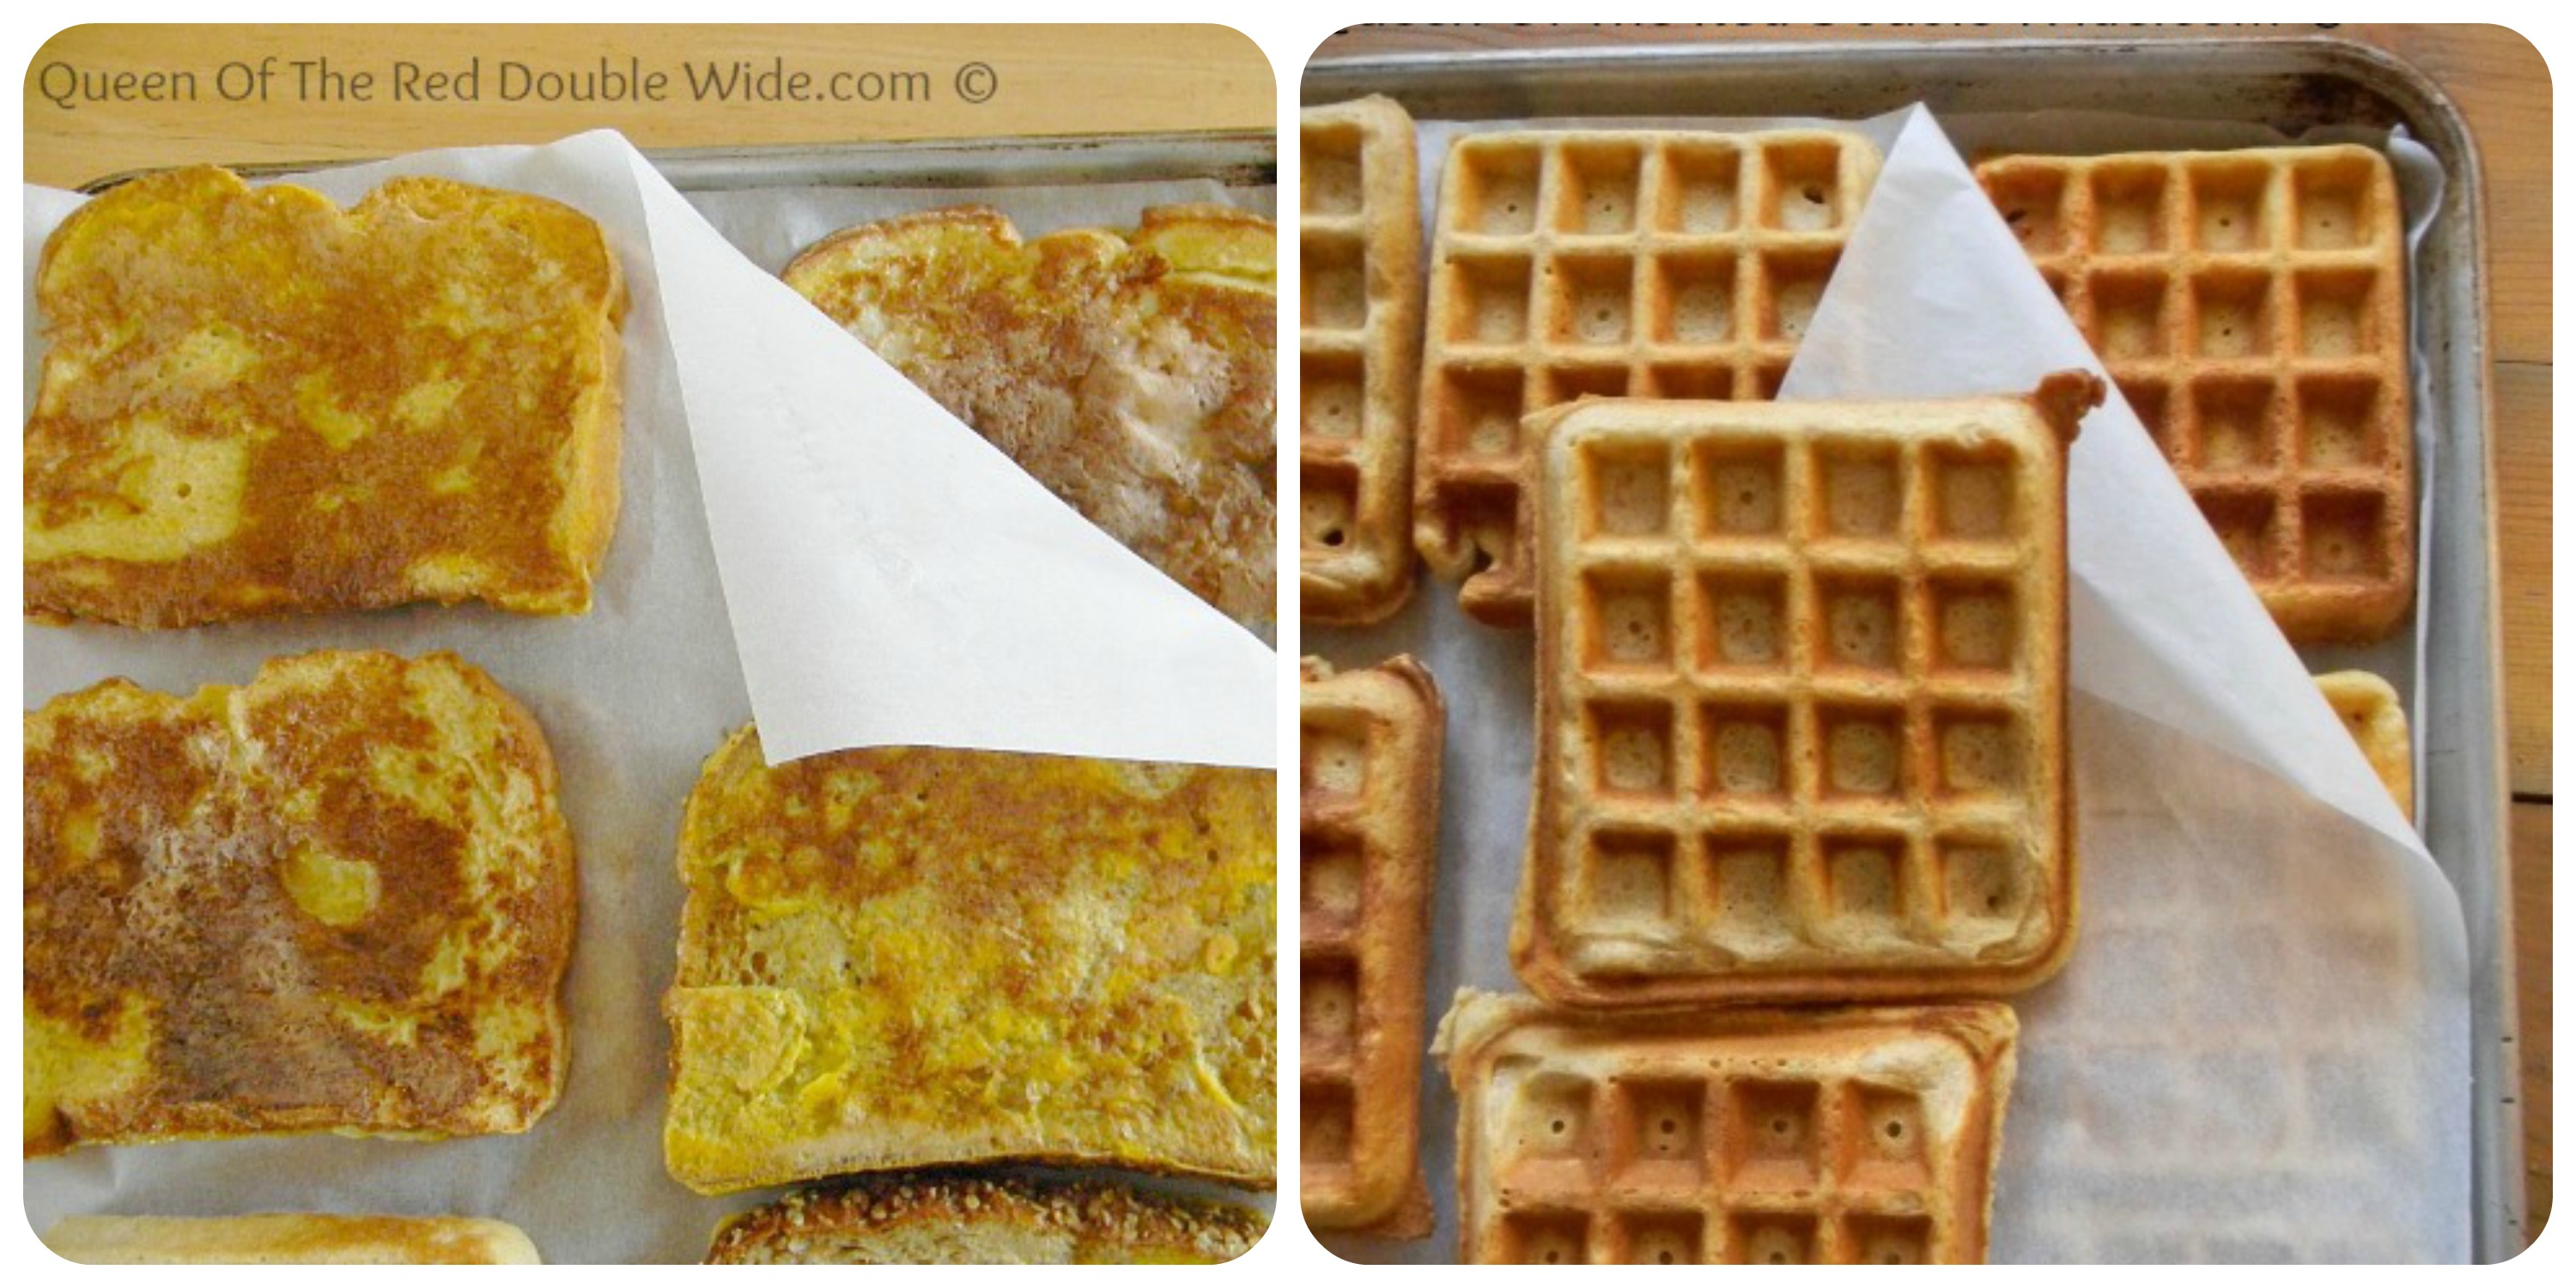
How to freezeThis is how I do it:  Take your cooled off leftover pancakes, waffles, or french toast and layer them on a cookie sheet with parchment paper. (I have gone up to 4 layers)  Try to make sure they are not touching so you don’t have to hack them apart.

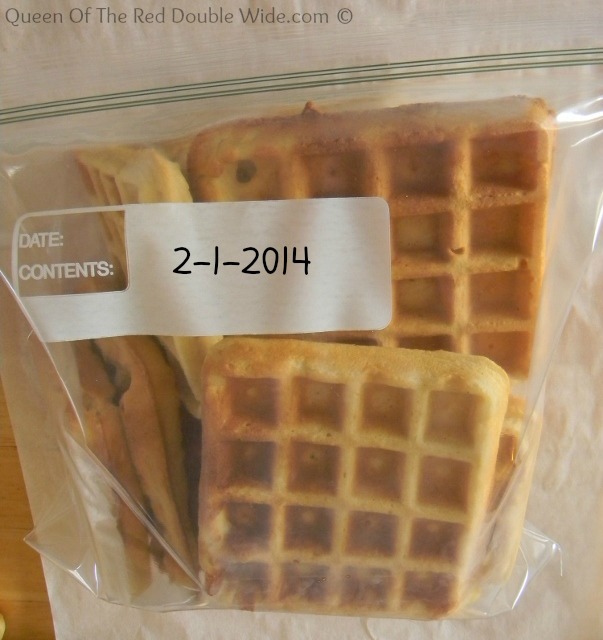
Freezing BreakfastPlace them in the freezer until they are frozen through.  The more layers the longer it will take.  I just leave mine in over night.  When they are frozen through, place them in a dated, resealable, freezer bag and put them back in the freezer.

Freezer WafflesIt’s that easy, and now you have a homemade, fast, healthy breakfast on hand.

To reheat them on those crazy weekday mornings, just pop them in the toaster.  You may have to adjust the timing or temperature on your toaster so they have time to thaw out and toast.  My girls use the toaster for the waffles, pancakes, and french toast, but if you aren’t into crispy pancakes and french toast you can always microwave them for 1 to 2 minutes or preheat the oven or toaster oven to 350 degrees and bake them for 10 to 15 minutes.

It’s sooooo nice to have yummy, healthy options in the morning that don’t come from a box.  🙂

The Best Whole Wheat Waffles

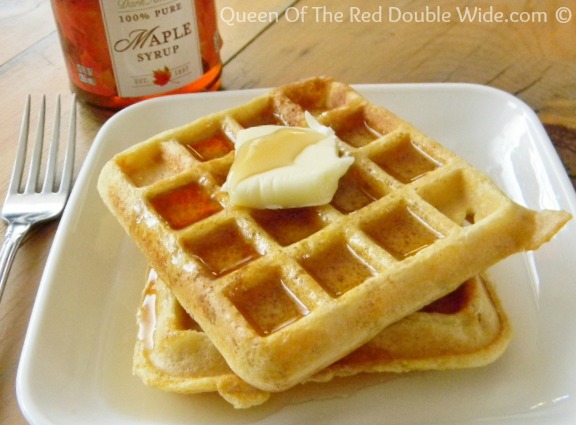
The Best Whole Wheat WafflesBefore a couple weeks ago I had never made waffles from scratch before.  In fact I haven’t made waffles at all for about 10 years.  I had always used a waffle mix before, but after deciding the mix was to expensive and REALLY time consuming for six people, I put the waffle iron up on the top shelf and forgot about it.  Well I tried to forget about it, but the kids would ask every once in a while if we could make waffles and I would distract them with puff pancakes or baked pancakes.  ANYTHING but waffles….I even played with the idea of throwing away the waffle iron so I had a good excuse not to make them. (I know, I’m awful!)  My poor deprived girls wouldn’t even know what a waffle is if they hadn’t spent the night at grandma’s house 🙂  Anyway, in all my brain wracking trying to come up with healthy, easy breakfasts for those busy week day mornings, waffles came to mind.  They aren’t exactly quick, but if I make a quadruple batch on the weekend and freeze them.  Tadah!…I have a from scratch breakfast that we can enjoy on the weekdays and still make it out the door by 7:15.

While I said these are not quick for a weekday morning, they are not at all hard to make and the time consuming part is waiting for the waffle iron to do its job.

Start by separating the eggs.  Mix together the egg yolks, milk, vanilla, and melted butter.  In a separate bowl stir together the flour, baking powder, salt, and sugar.  Stir the dry ingredients into the milk mixture, do not over stir.

Now this is the part that makes these light and wonderful!  Beat egg whites until they are stiff then fold them into the batter.

Waffle batterLet the batter sit for a few minutes while the waffle iron preheats.  Cook the waffles until they are a golden brown.

The Best Whole Wheat Waffles
 
This makes about 12 waffles.
Author:
Ingredients
  • 2 eggs-separated
  • 1½ cups milk
  • ⅓ cup melted butter or coconut oil
  • 1 teaspoon vanilla extract
  • 2 cups whole wheat pastry flour or 1 cup whole wheat and 1 cup all purpose flour (I recommend the pastry flour though)
  • 2 teaspoons baking powder
  • ½ teaspoon salt
  • 2 tablespoons sugar - I use organic sugar or sucanat or you can omit the sugar altogether if you would like.
Instructions
  1. Mix together the egg yolks, milk, melted butter, and vanilla.
  2. In a separate bowl stir the flour, baking powder, salt, and sugar together.
  3. Stir the dry ingredients together with the milk mixture...don't over stir.
  4. Whip the egg whites until they are stiff then fold into the batter.
  5. Let the batter sit for a few minutes while the waffle iron heats up.
  6. Bake waffles as recommend in your waffle maker until golden brown.

These really are the best!!  I’m very glad I dusted off my old waffle iron to experiment (and so are my girls).  😉  We will be making these VERY often to have on hand out of the freezer.

Waffles