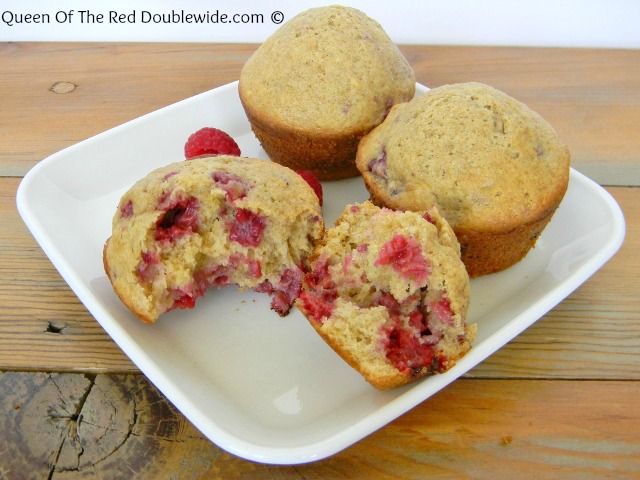
Berries seem to be everywhere right now, and muffins are a weakness of mine so we’ve been eating lots of them lately. A couple weeks ago I shared a Fresh Raspberry Muffin recipe that used our homegrown raspberries. The girls and I made several batches, but now the bushes are pretty much picked clean. Sadly we don’t have any blueberry bushes (yet), but I did find some for a very good price the other day so I bought LOTS! I found this blueberry muffin recipe about a month ago and they looked sooooo delicious I couldn’t wait to try them! I made a few minor alterations to the recipe and oh yum, yum, yum!
In a big bowl stir together the milk (any kind will work), melted butter or coconut oil, egg, vanilla and sugar. Then mix in the flour, baking power, and salt.
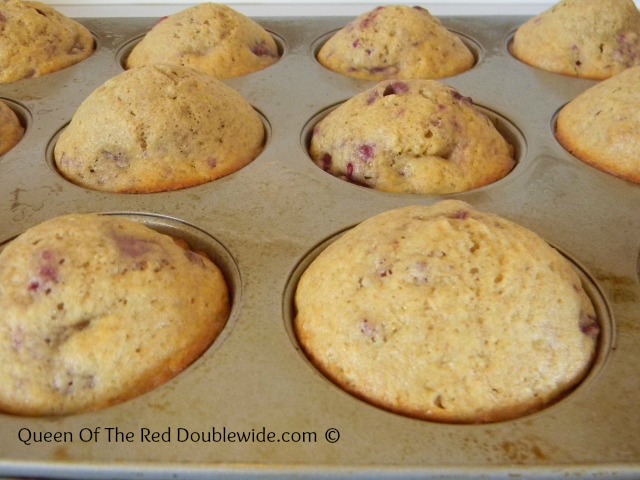
Gently fold in the blueberries. We used fresh berries but frozen would work too. Fill greased muffin tins two thirds full (this makes about 10 muffins). Bake at 375 degrees for 20 minutes.
Author: Queen Of The Red Doublewide adapted this recipe from Angela at Hickory Trails
Cuisine: For breakfast or a snack
Serves: 10
Ingredients
¾ cup milk - any kind of milk will work
¼ cup melted butter or coconut oil or olive oil if you prefer
1 egg
½ tsp vanilla extract
⅓ cup organic sugar or sucanat
¾ cup unbleached all purpose flour
¾ cup whole wheat flour
2 teaspoons baking powder
½ teaspoon sea salt
1 cup blueberries fresh or frozen
Instructions
Stir together the milk, butter, egg, vanilla, and sugar. When it's nice and smooth mix in the flours, baking powder, and salt. Then gently fold in the blueberries. Fill greased muffin tins about two thirds full. Bake at 375 degrees for 20 minutes. This will make about 10 muffins and can easily be doubled if you want more.
3.2.1230
I’m going to make a dairy free version of these for my mom and sister by using almond milk and coconut oil. I love recipes that you can easily substitute ingredients for people with allergies!
This recipe was adapted from Angela at Hickory Trails. She took some amazing pictures of her muffins; you should check out her blog!
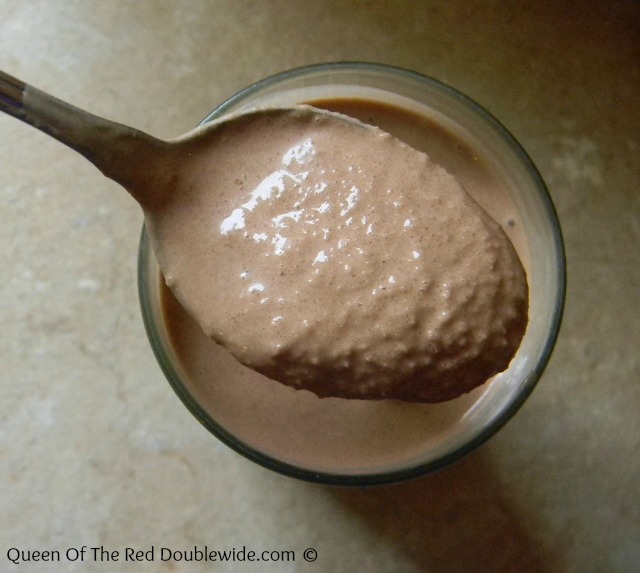
Summer is finally here! We enjoy smoothies all year, but they seem to be especially good on hot days. So to celebrate the beginning of summer I’m sharing one of our favorite smoothies,(the girls have been making these daily!) The best part is I don’t mind them having one everyday, they are a pretty healthy snack, especially if you have organic ingredients. 🙂
This makes enough for one adult size smoothy or two kid size smoothies. The recipe can easily be doubled or tripled.
Author: Queen Of The Red Doublewide
Recipe type: Smoothy
Ingredients
¾ of a cup of milk (any kind of milk)
1 frozen banana
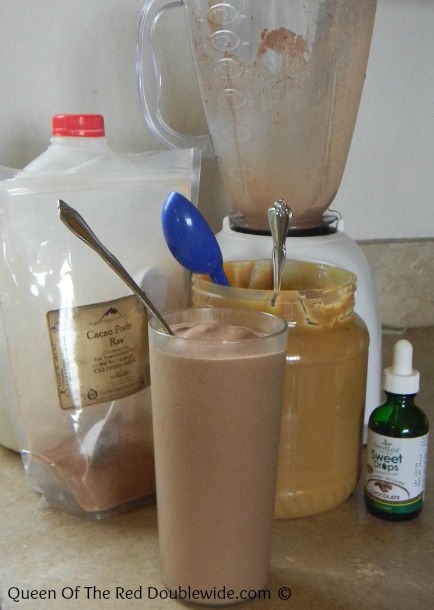
1½ tablespoons cocoa powder
2 ice cubes
2 tablespoons peanut butter
5 to 7 drops of liquid stevia - we use the chocolate flavored (If you don't use stevia any sweetener will work, honey, maple syrup, sucanat ect....)
Instructions
Put all the ingredients in a blender and push the liquify button, blend until you have a nice smoothy consistency. It takes about 30 seconds in my blender.
3.2.1230
This is a very versatile recipe; if you can’t have peanuts just leave out the peanut butter, it’s still yummy. If you need dairy free, you can use a different milk. I have used almond milk and rice milk and both worked great.
An easy, healthy, summer treat with chocolate and peanut butter….how could you go wrong? Yummmm!!
Click here or on the picture to take you to the recipe!
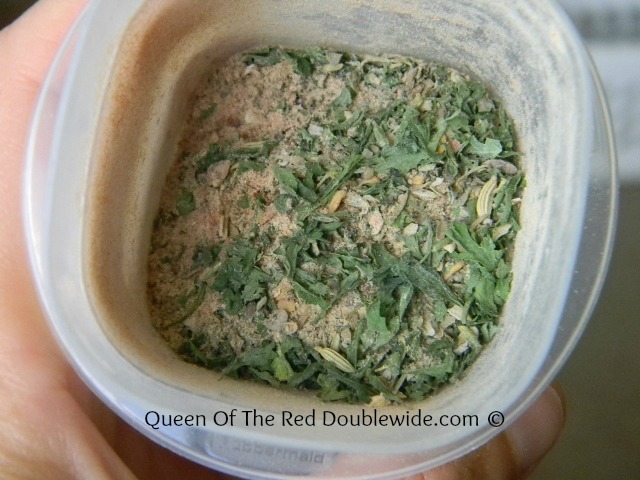
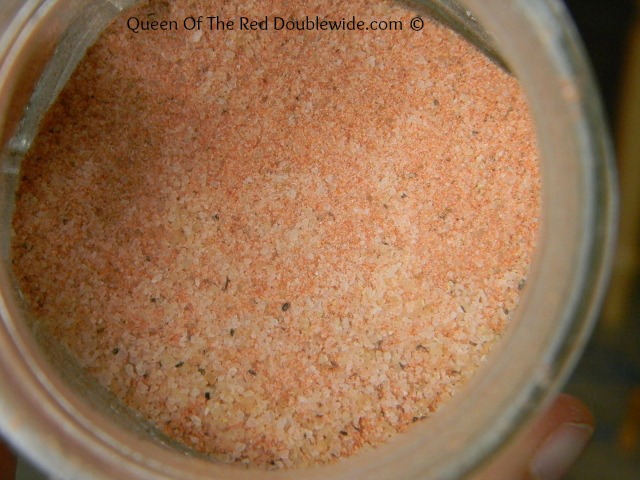
There you have it, homemade seasoning salt! Be sure to shake well before each use. Use sparingly at first, you can always add more but you can’t take it out if you get to much.
This works great on EVERYTHING! Well…..maybe not chocolate cake or ice cream, no definitely not ice cream…but I’m sure it will be great on everything else! 😉
I found this recipe in one of my Taste Of Home cookbooks. I’ve been looking for recipes to use my homemade ranch packets in, so I thought I’d give it a try.
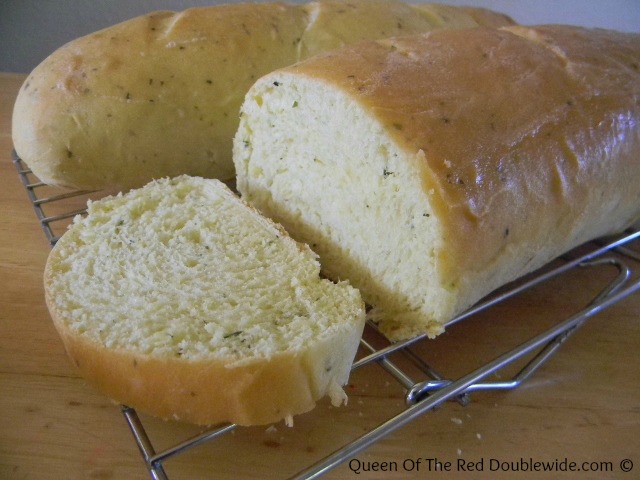
It was a hit!! The first time I made it I sliced it up and made BLT’s with fried eggs and avocado slices. I wish I had taken a picture. They were delicious!
This bread is very tender and has a wonderful ranchy flavor.
Step 1 – Start by mixing the yeast, warm water, and a pinch of sugar in a small bowl. Let it sit for 10 minutes.
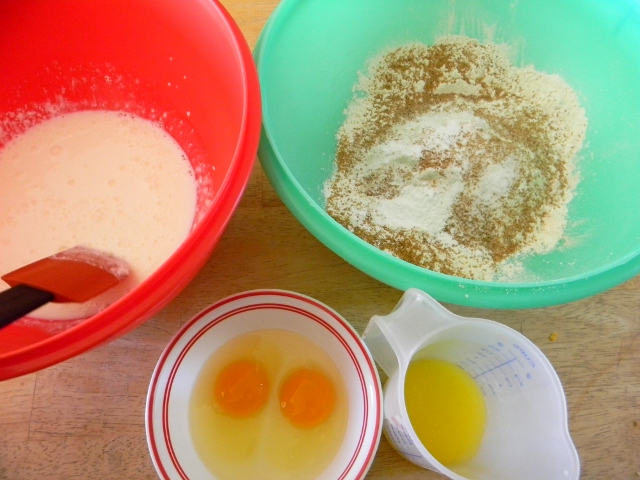
Step 2 – Put the buttermilk, butter, sugar, eggs, ranch salad dressing mix, and salt in a mixer, blend well. Stir in the yeast and water mixture.
Step 3 – Add 2 cups of flour to the mixer and stir until smooth. While the mixer is still mixing add enough of the remaining flour to form a soft dough that pulls away from the bowl. That will be about 2.5 more cups.
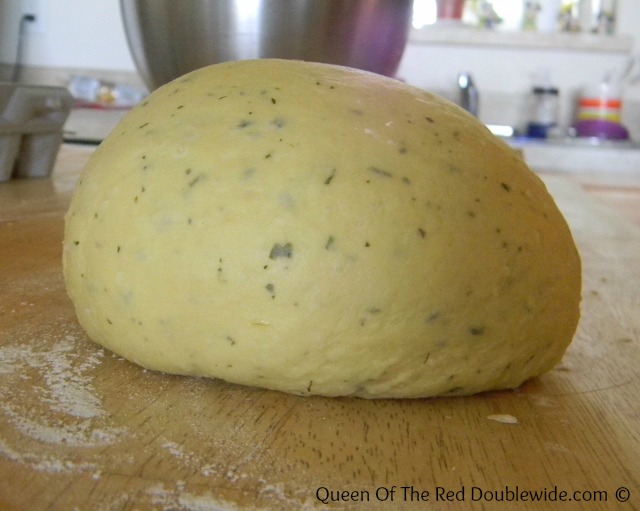
Step 4 -Turn the dough onto a floured surface and knead until smooth and elastic – about 6 to 8 minutes.
Step 5 – Place in a greased bowl, turning once to grease the top. Cover and let rise until doubled – (about 1 hour).
Step 6 – Punch the dough down and divide into 2 pieces. Roll each piece into a 14″ x12″ rectangle.
Roll up each piece starting with the long side. Pinch the seam to seal and tuck the ends under. Place seam side down on a greased baking sheet and let rise until doubled – about 30 minutes.
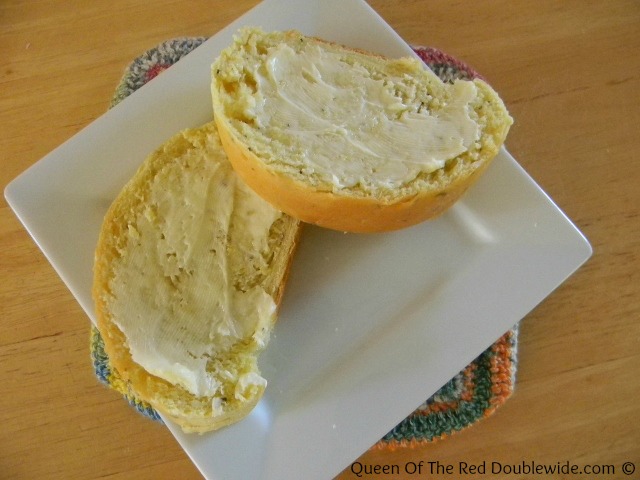
Step 7 – Bake at 350 degrees for 20-25 minutes or until golden brown. Brush with melted butter.
I used this bread to make egg salad sandwiches last night for our Care Group meeting and they were yummy, yummy!
This recipe makes 2 loaves - about 14 slices per loaf
Author: Adapted from Taste of Home by The Queen Of The Red Doublewide
Ingredients
1 packet of active dry yeast - 1 packet equals 2¼ teaspoons
¼ cup warm water 110 - 115 degrees
1 cup buttermilk warmed to 110-115 degrees
¼ cup butter softened
¼ cup sugar
2 eggs
1 packet ranch seasoning mix (try my homemade one it works great!)
1 teaspoon salt
4 to 4½ cups unbleached all purpose flour
Instructions
In a small bowl, dissolve yeast in warm water with a pinch of sugar and let it sit for ten minutes.
Put buttermilk, butter, sugar, eggs, salt and ranch seasoning into a mixer and stir well. Add the yeast and water mixture and stir.
Add 2 cups of flour and mix until nice and smooth, add the next two cups of flour and then add a little at a time until the dough pulls away from the bowl.
Turn onto a floured surface and knead until smooth, about 6-8 minutes.
Place in a greased bowl, cover, and let rise until doubled.
Punch down and divide into two pieces. Roll each piece into a 14"X12" rectangle, then roll up starting with the long side. Pinch the seams to seal and tuck the ends under. Place seam side down on a greased baking sheet, cover and let rise until doubled.
Bake at 350 degrees for 20 to 25 minutes or until golden brown. Brush with melted butter.
These super fluffy, slightly sweet pancakes are absolutely delicious!
Pancakes are another one of those things I have never made from scratch before recently. I always used the mix that you just add water to. It was easy, but if I had known how good from scratch pancakes could taste I would have never bought those mixes!
My first few attempts at “from scratch” pancakes turned out horrible! I wanted healthy (well at least healthier than the store bought mix) but I also wanted yummy…..and I thought for a while there was no such thing! Then I found this recipe and tweaked it slightly. It takes longer than the store bought mixes, but it’s WELL worth it!
Your first step is to combine the milk and vinegar and let it sit for 10 minutes. This will sour the milk but don’t worry, you won’t be able to taste the vinegar, I promise! Mix together the dry ingredients in another bowl.
Then whisk the eggs, melted butter, and vanilla into the soured milk. Pour the milk mixture into the dry ingredients and stir well; it will be thick.
Let the batter sit for 10 minute while the pan heats up. Lots of bubbles will form during that time…DON’T stir the batter again, the bubbles will give you super fluffy pancakes.
Place 1/4 to a half of a cup of batter in a buttered pan at medium low heat. When you see bubbles appear on the surface of the pancake, flip it over and brown the other side. This recipe made 10 – 6inch pancakes. They are very filling; so if you want, you could easily cut the recipe in half if you don’t need that many.
I haven’t tried it yet but I think these would be wonderful with chocolate chips or blueberries!!
Combine Milk and vinegar and let set for 10 minutes.
In a separate bowl mix together flours, sugar, baking powder, baking soda, and salt.
Whisk together the eggs, melted butter and vanilla then pour into the soured milk.
Stir well and pour mixture into the dry ingredients. Whisk until most of the lumps are gone, but don't over beat it. It will be pretty thick, let it sit for 10 minutes. Bubbles will form during that time, don't stir the batter, you want the bubbles.
Gently dip out ¼ to a half of a cup of batter and place it on a buttered grill preheated to medium low heat. When bubbles form at the surface of the pancake turn it over to brown the other side.
Top with butter and syrup or your favorite pancake topping!
Baking bread is a very new adventure for me. It was one of those things on my “I need to learn how to do that” list, but I kept putting it off (and off and off). You would think that on a journey toward frugality and self sufficiency that baking your own bread would be one of the first things to learn. It should be, BUT patience is one of those fruits of the spirit that I’m lacking. The whole kneading and rising thing sounded heavy in the patience area. I guess I’m afraid of yeast, or rather WAS afraid of yeast… Well ok, I was afraid of KILLING yeast. It just sounded so violent. Every time I looked at a bread recipe or any recipe that had yeast, I would think….WOW that’s a lot of instructions and that will take all day long, and I will probably kill the yeast ending up with rocks after slaving in the kitchen all day!! I’m a banana bread and biscuit kinda girl. Mix it up and throw it in the oven, (no patience required) that’s how I roll. 😀
So lets just say that making my first loaf of bread was a big step for me, (okay it was a HUGE step for me). I set aside a whole day to make two loaves of bread because I really believed it would take all day. I took a deep breath, put on my “patience hat” (sorry, I used to be a preschool teacher) and got out my yeast and flour!
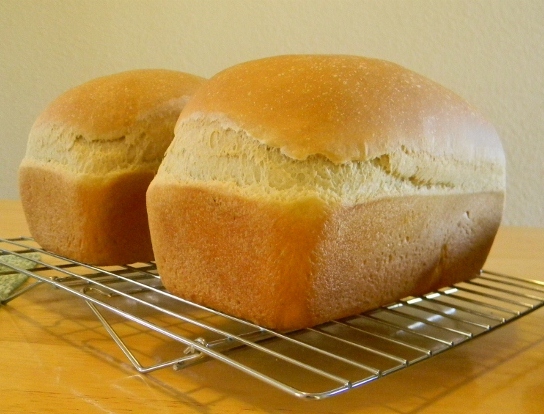
I’m happy to report that my first two loaves of bread were a success, and it didn’t even take all day!! In fact I can’t believe I put this off for so long. It was way easier and less time consuming than I thought. The baking bread made my house smell heavenly and what a sense of accomplishment to pull two plump, golden brown loaves of bread out of the oven just in time for lunch. 😀
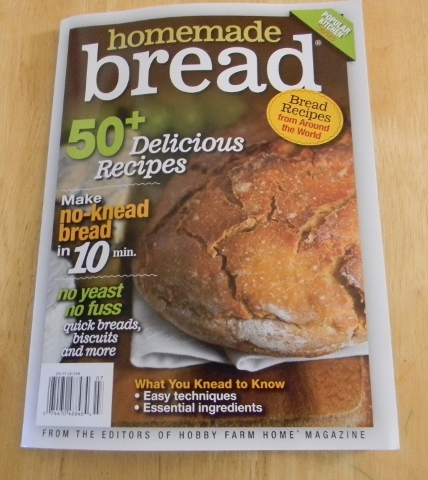
My mother in law gave me this wonderful magazine that’s full of awesome bread recipes with very detailed instructions. I highly recommend it, especially for first time bread makers (you can find it on Amazon). The first recipe in the book is white sandwich bread. It’s a pretty basic recipe and,… well,… my husband eats LOTS of white sandwich bread (I can’t convince him that whole wheat tastes better and is better for him). It’s the recipe I started with, and it turned out so well I thought I would share it with you. I’ve made it several times now and we all like it!
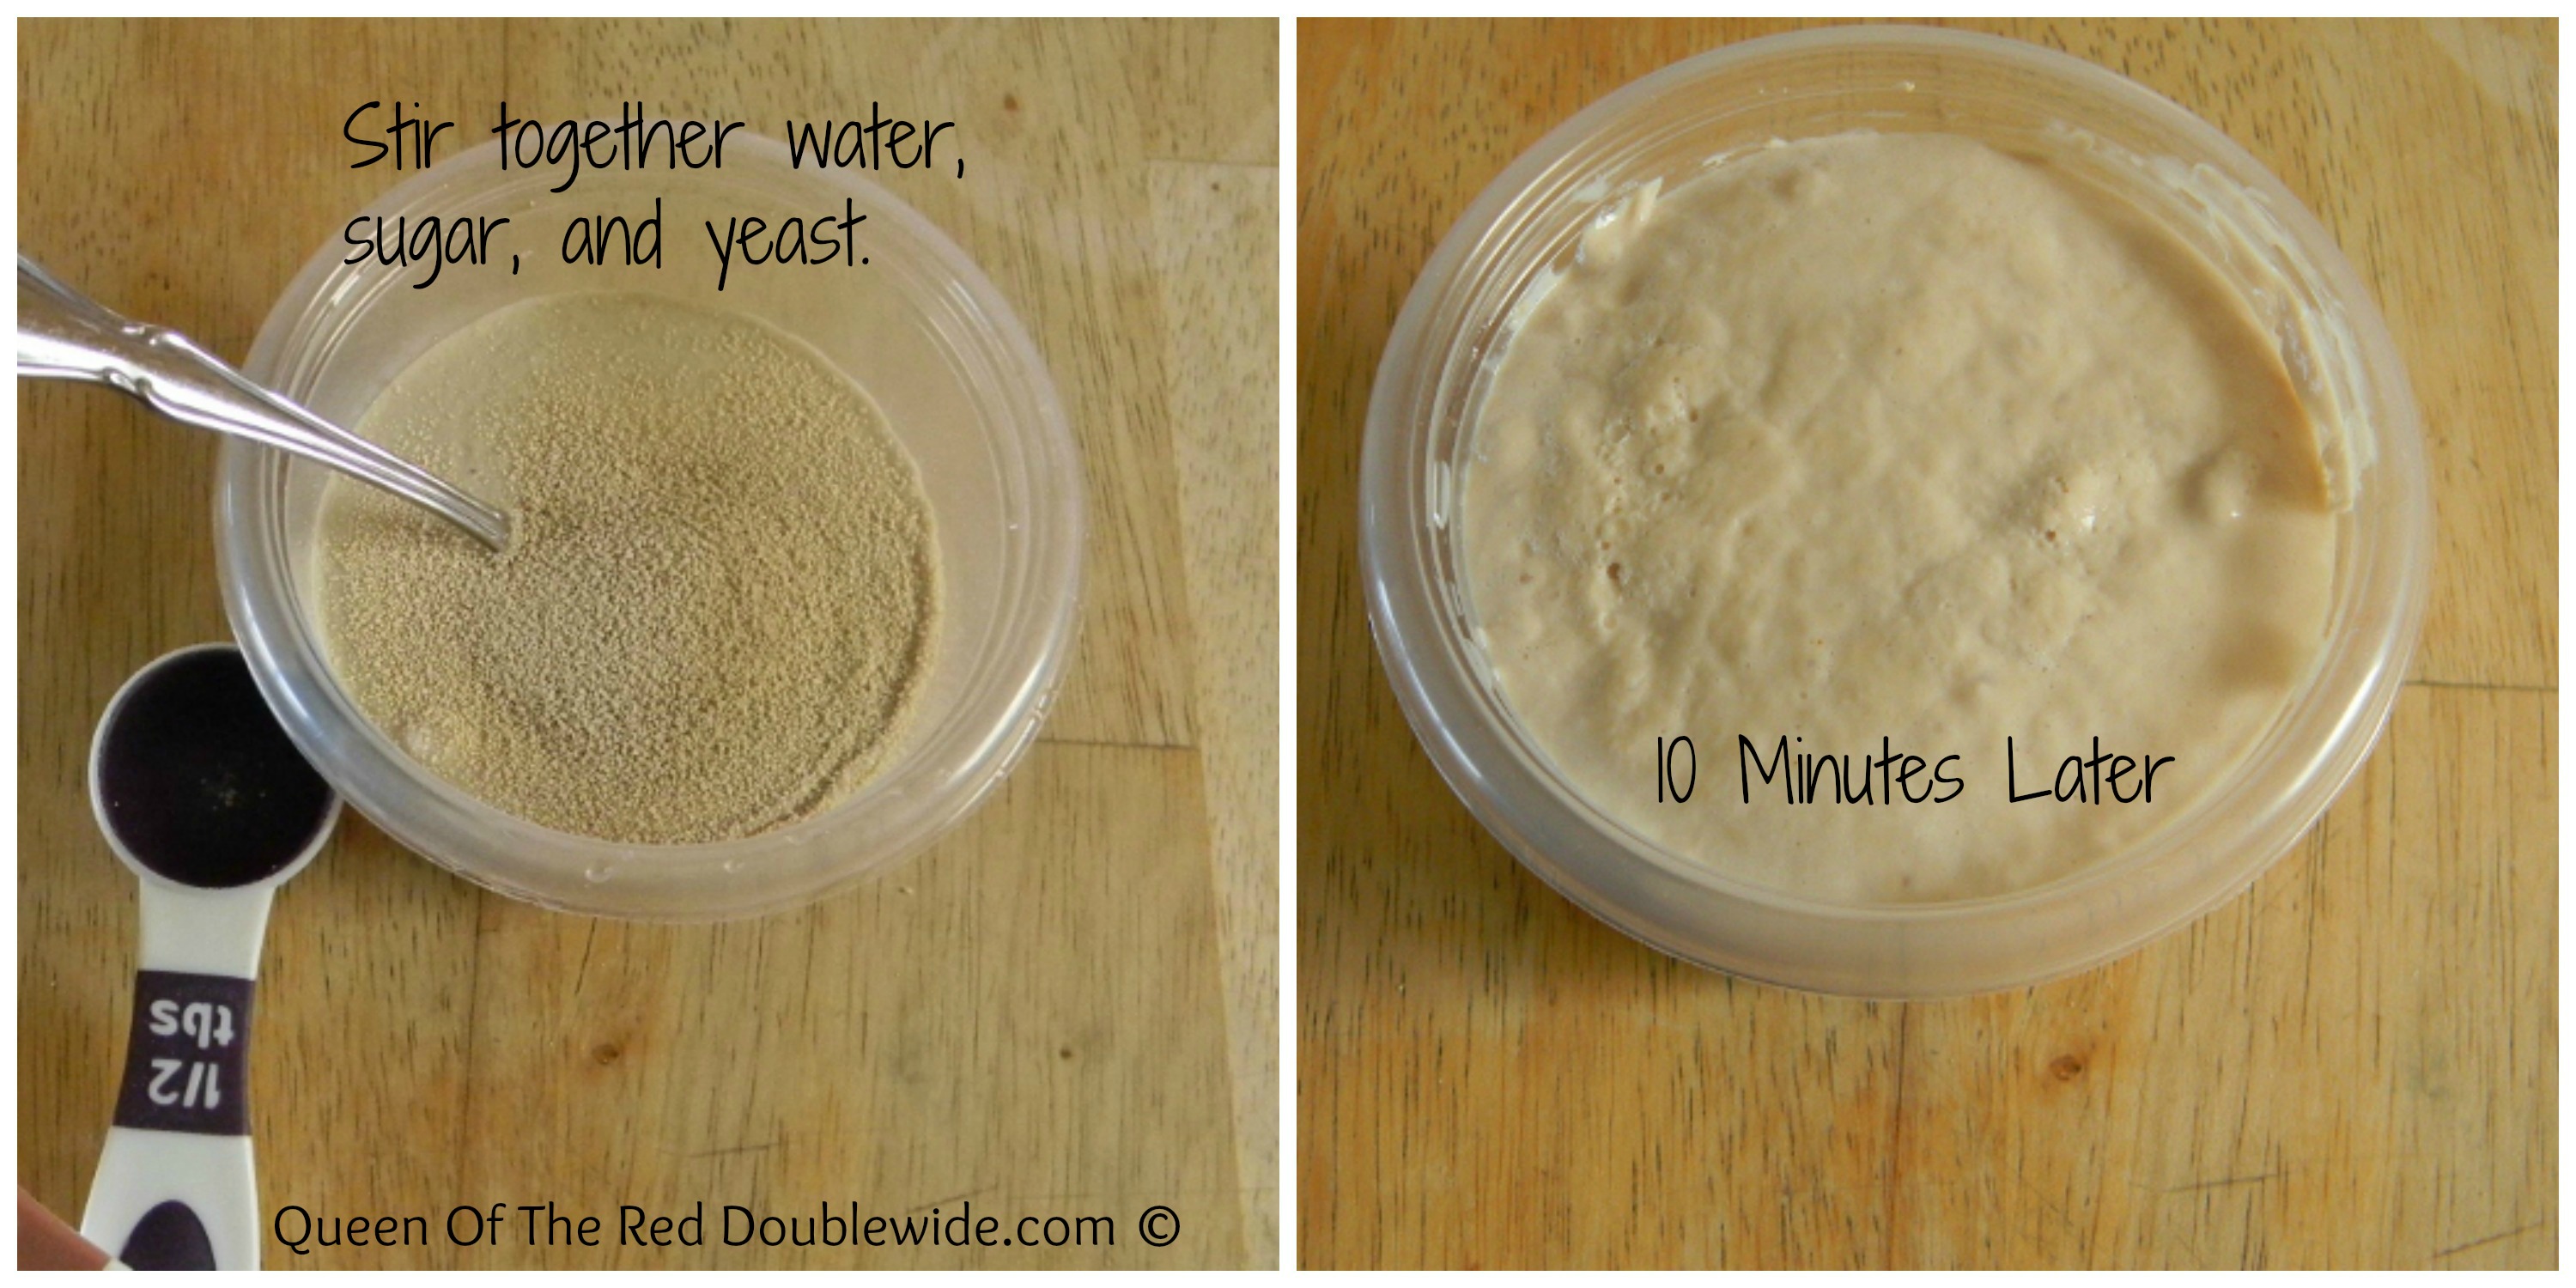
Step 1 – Put 1/2 cup of warm water, yeast and a pinch of sugar to a small bowl. Stir to dissolve the yeast then let the mixture sit for about 10 minutes until foamy.
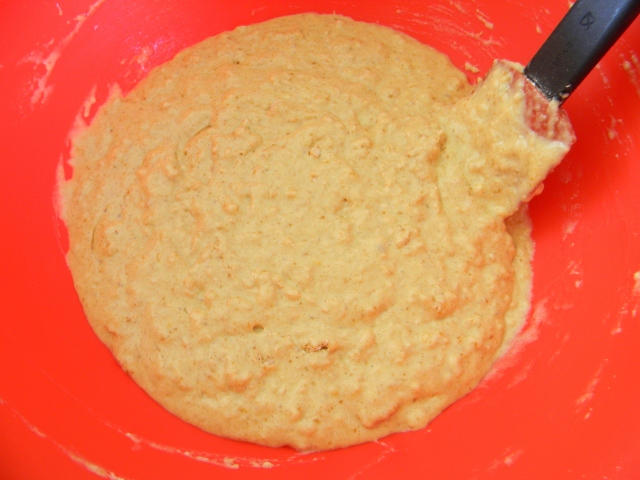
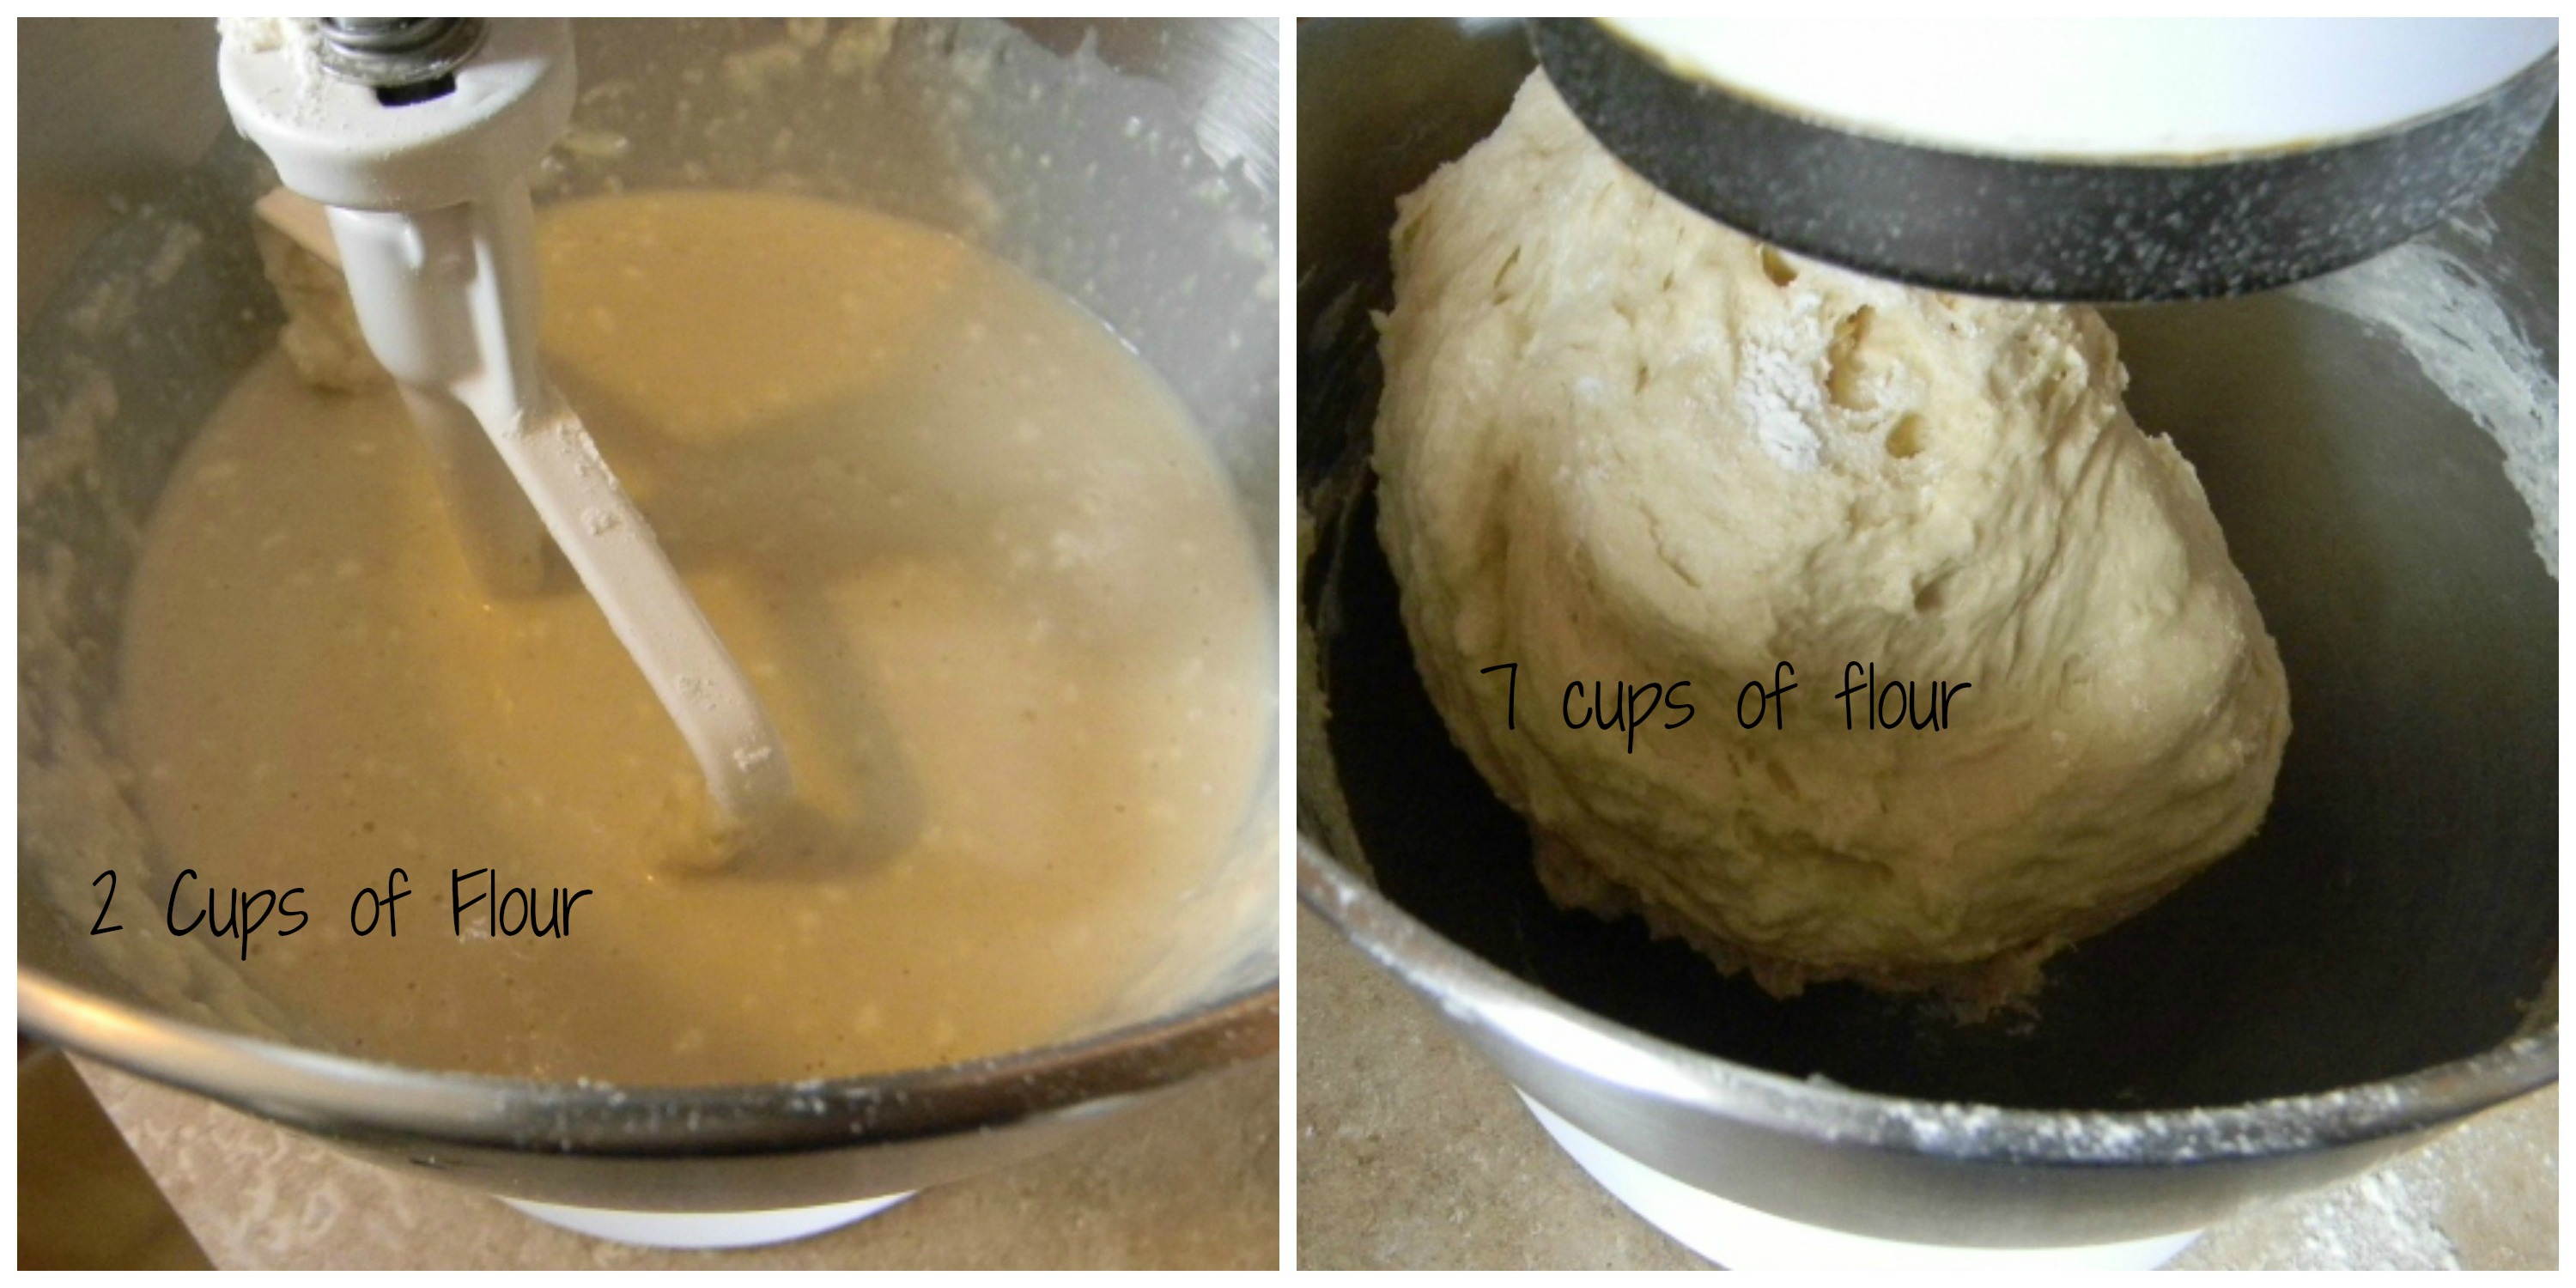
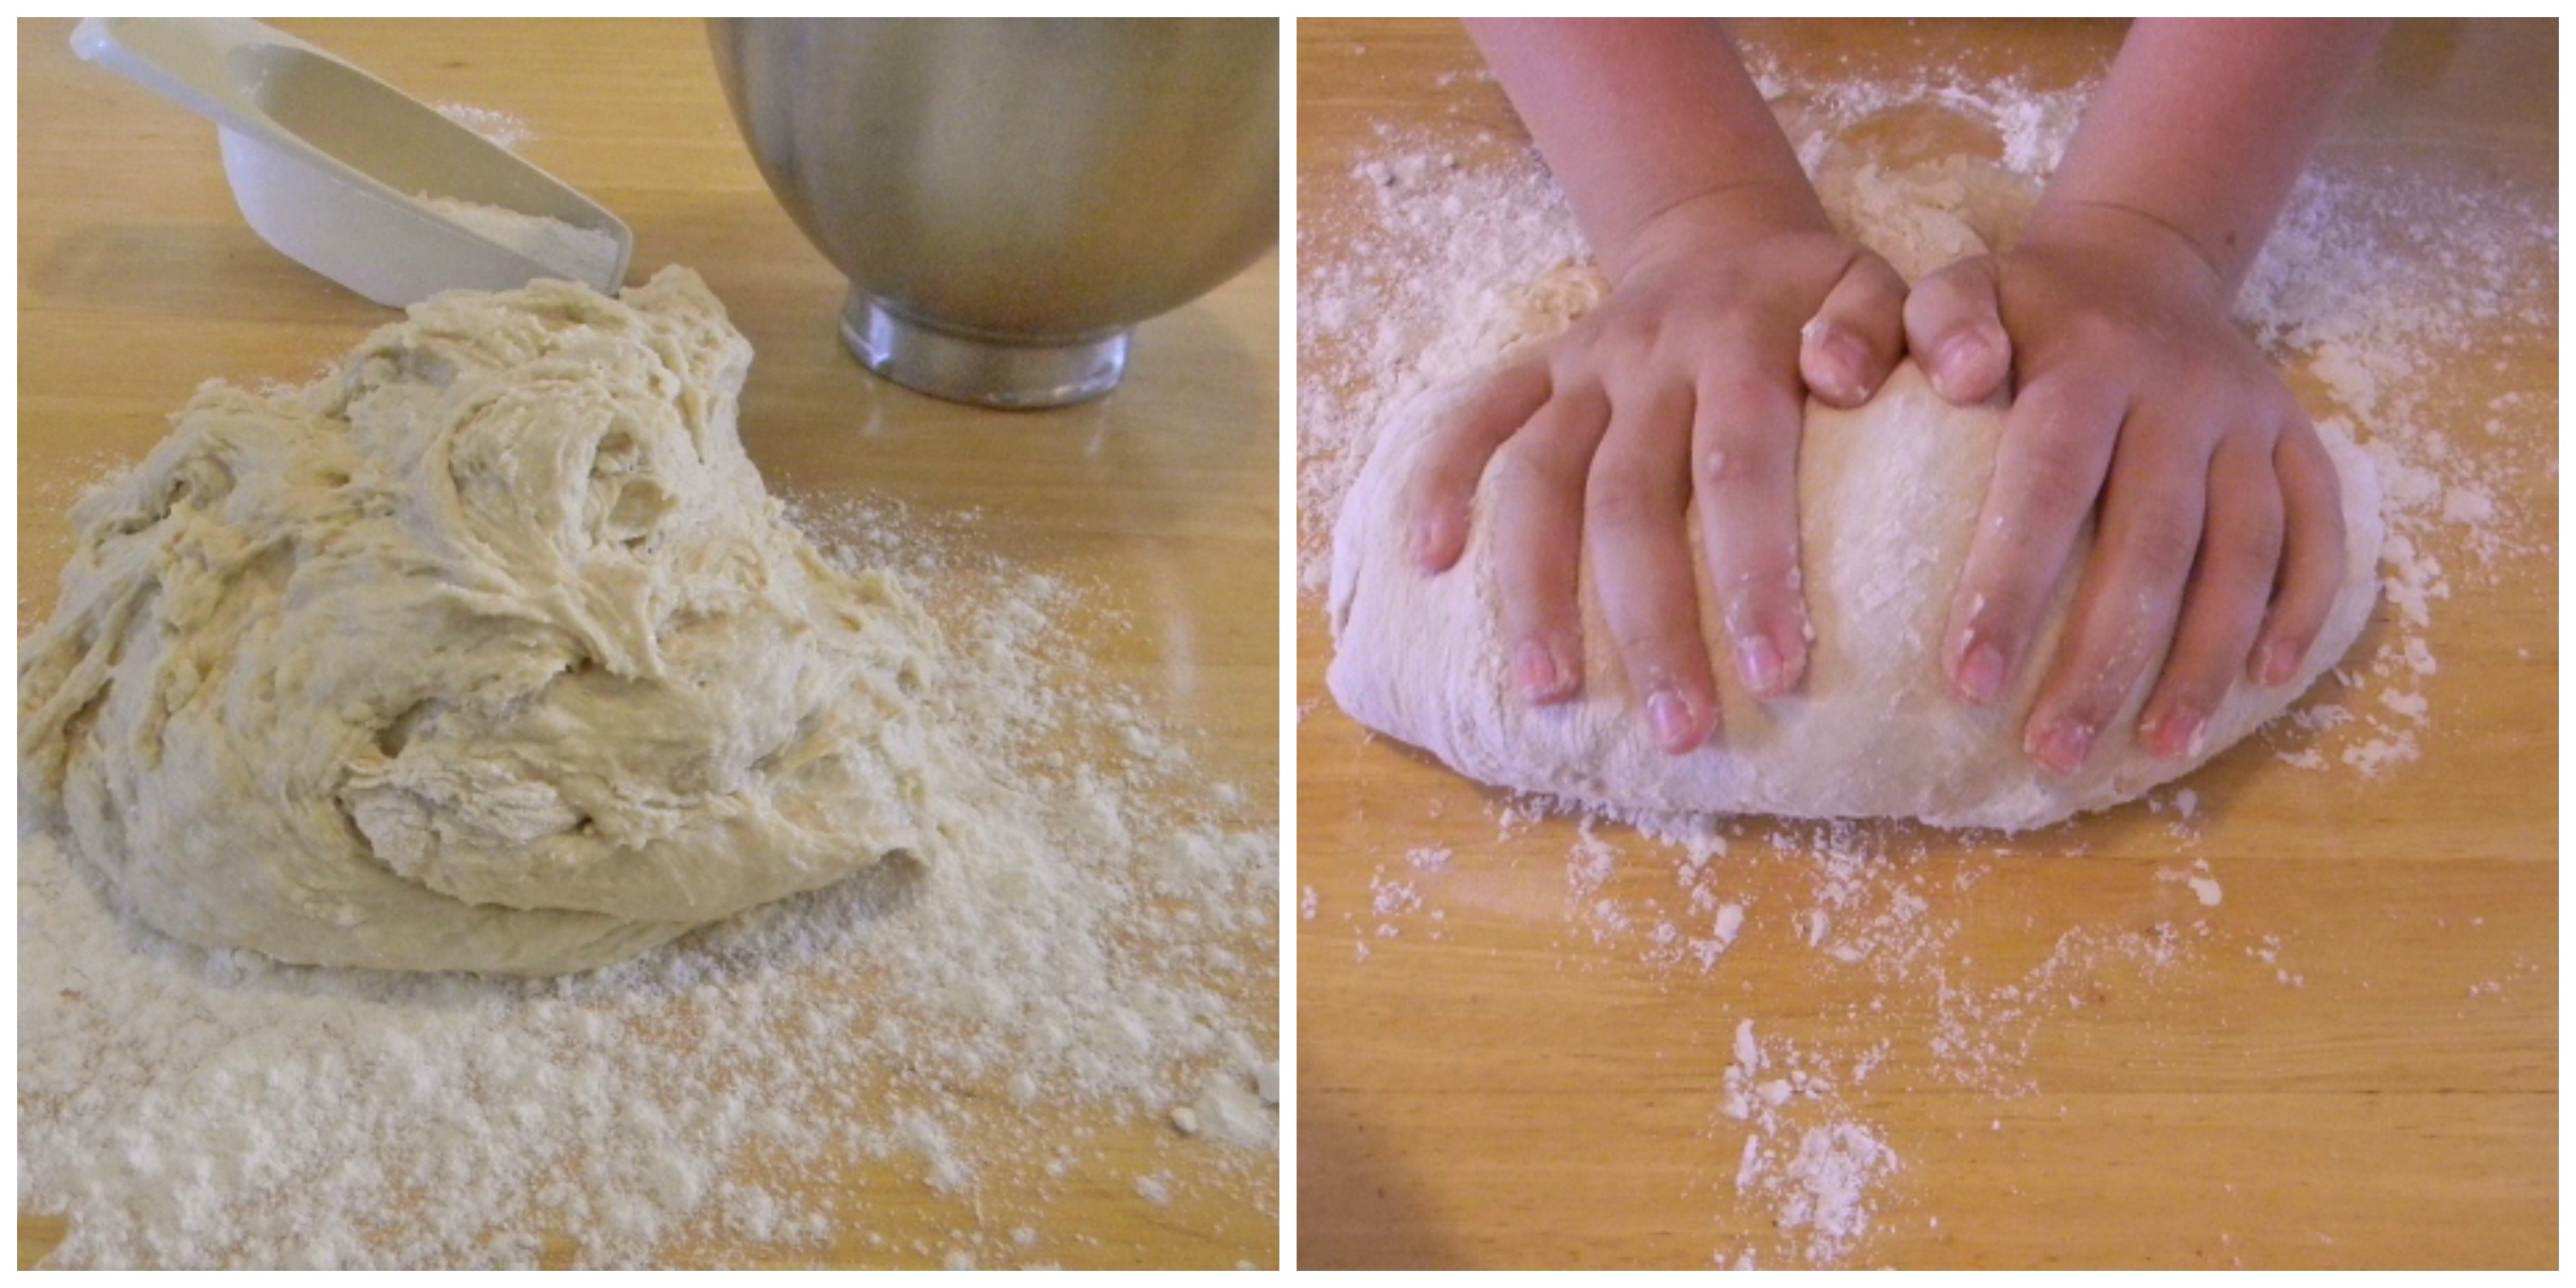
Step 2 – In an electric stand mixer or a large bowl, combine the remaining water, milk, butter, sugar and salt. Add the yeast mixture, and stir until combined. Add 2 cups of the flour, and mix well. Continue to stir the mixture for one or two minutes until smooth and creamy. Add additional flour in 1/2 cup increments, stirring well after each addition until the dough holds together and starts to pull away from the sides of the bowl. Step 3 – Put the dough on a well floured surface, or if you have a dough hook for your stand up mixer you can use that to knead the dough. I think the best part of making dough is kneading with my hands. Knead in the remaining flour, adding a tablespoon or two at a time, until the smooth dough no longer sticks to your hands. It will take about 5 minutes by hand, less if you use the mixer.
My girls love kneading the dough and I’m taking advantage of that while it lasts!
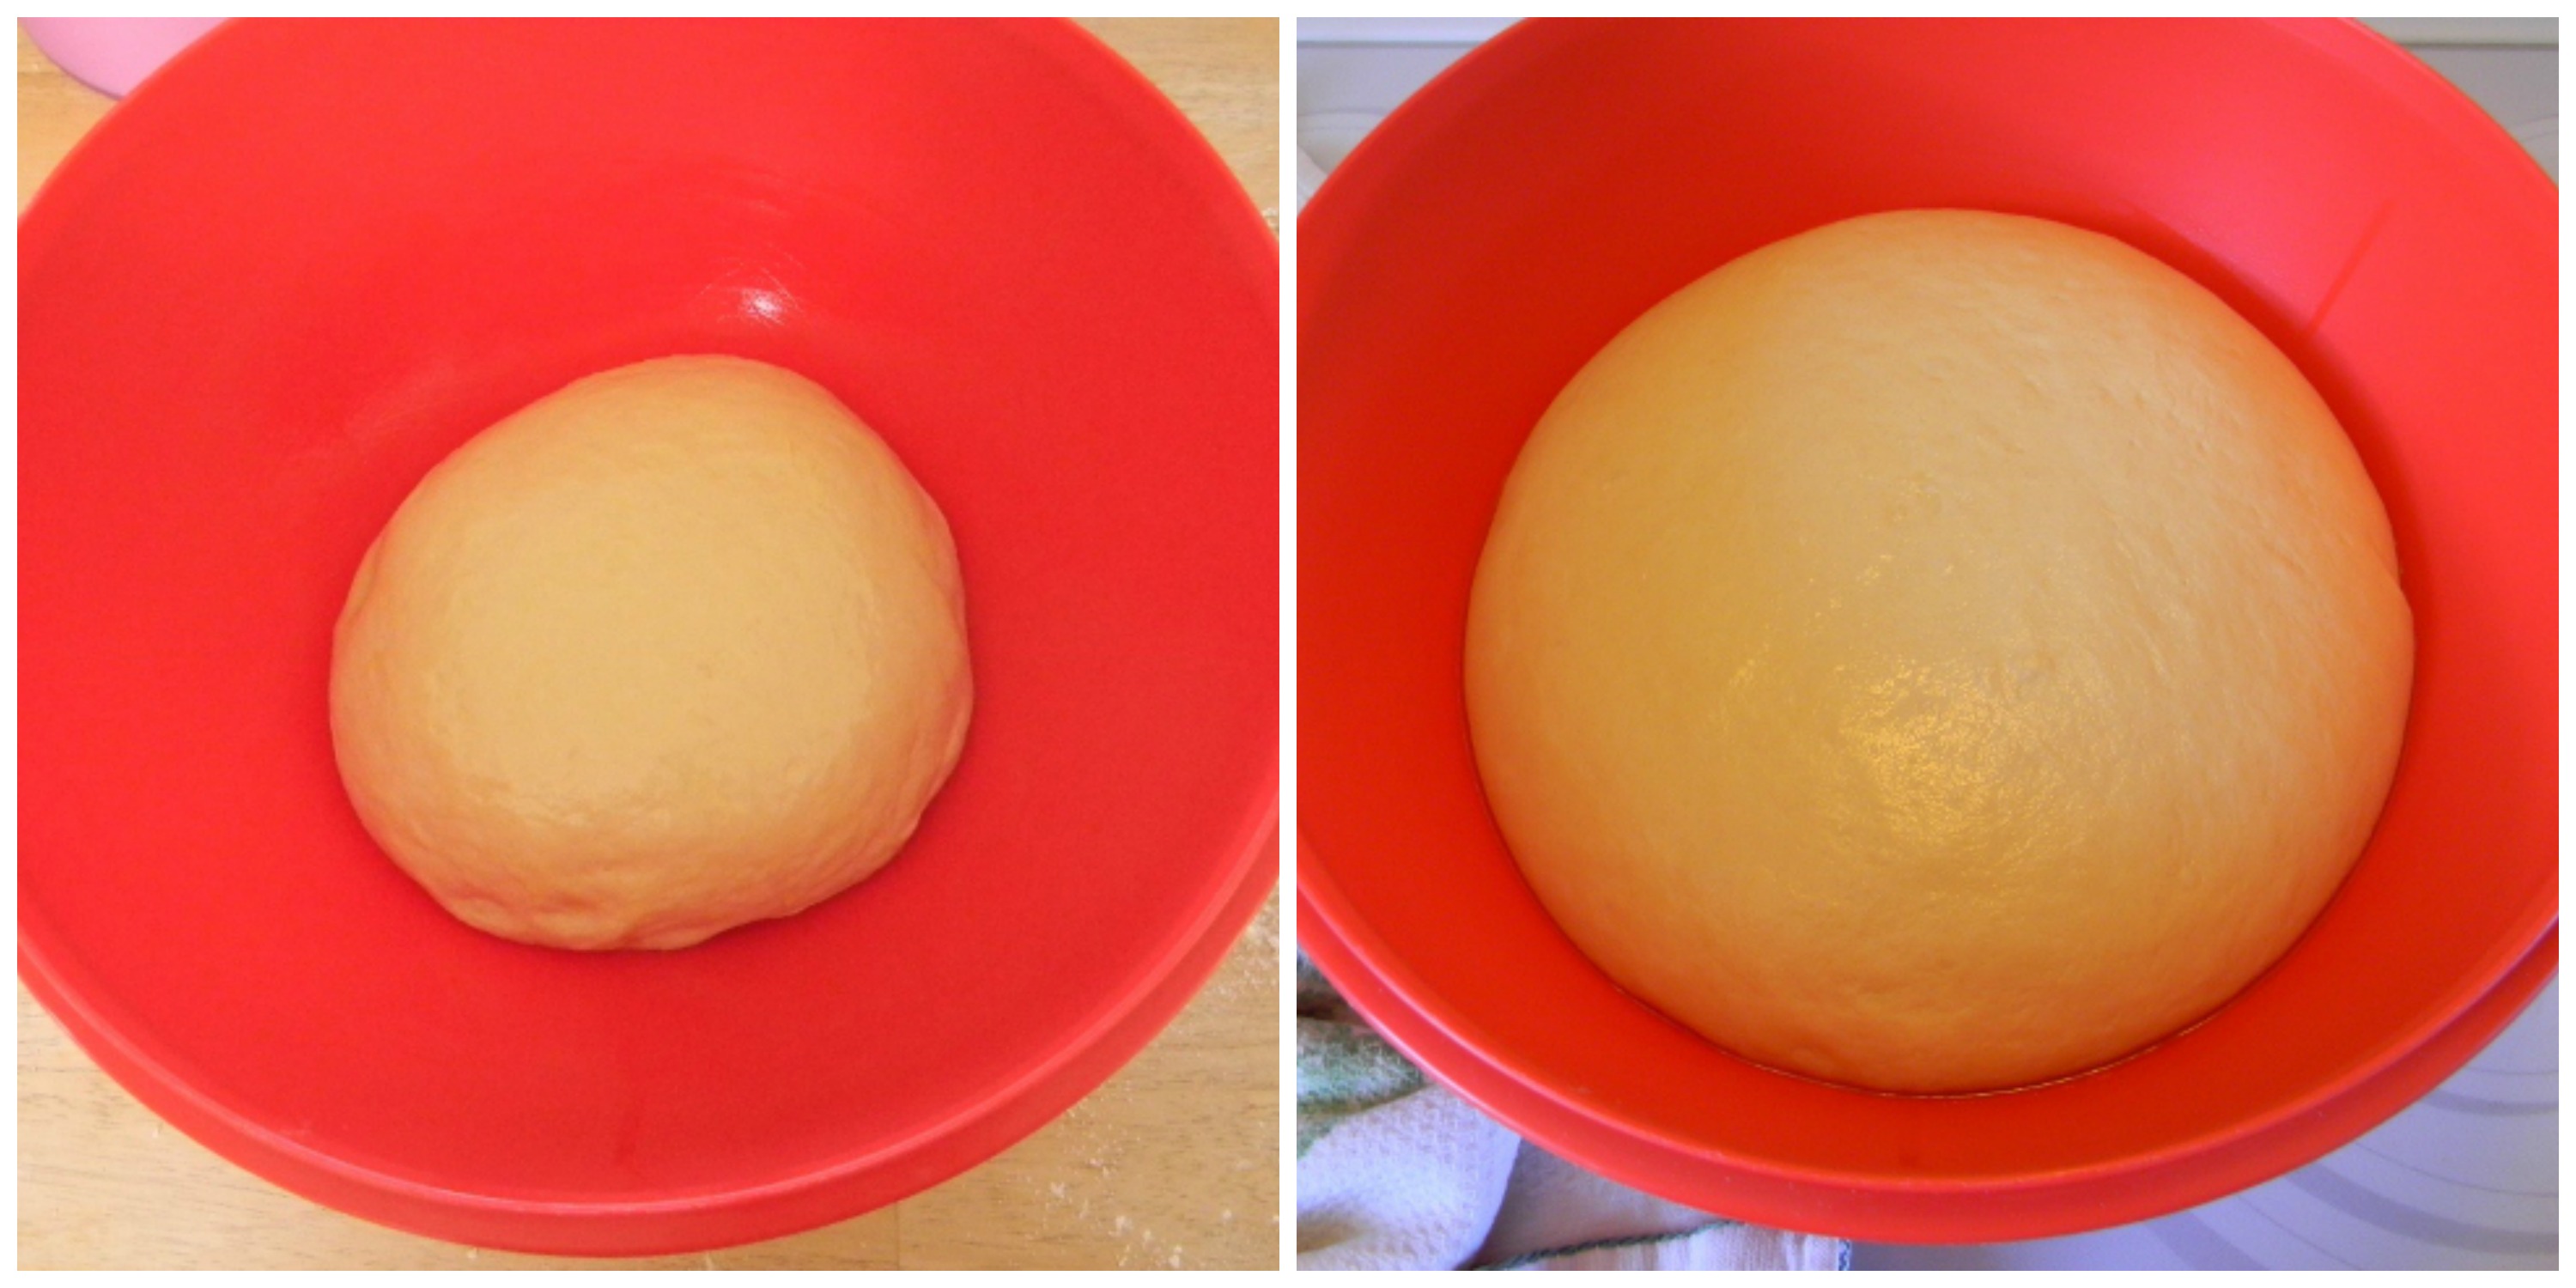
Step 4 – Place the dough into a large greased bowl (I used a little olive oil) turning it over so the dough is coated with oil. Cover the bowl loosely with plastic wrap and let it sit at room temperature until it has doubled in size. It will take about 1 to 1 1/2 hours.
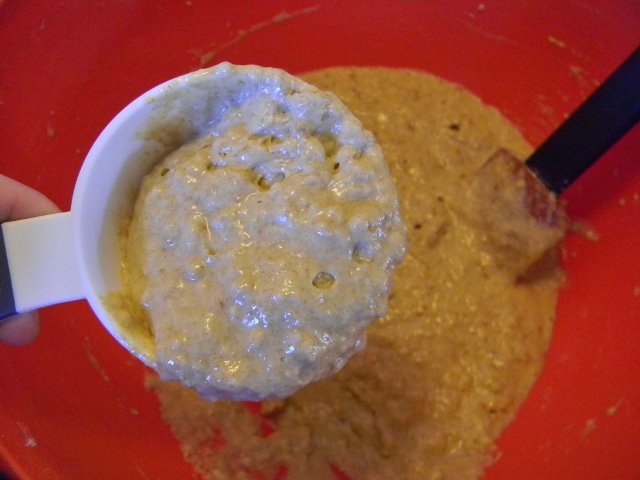
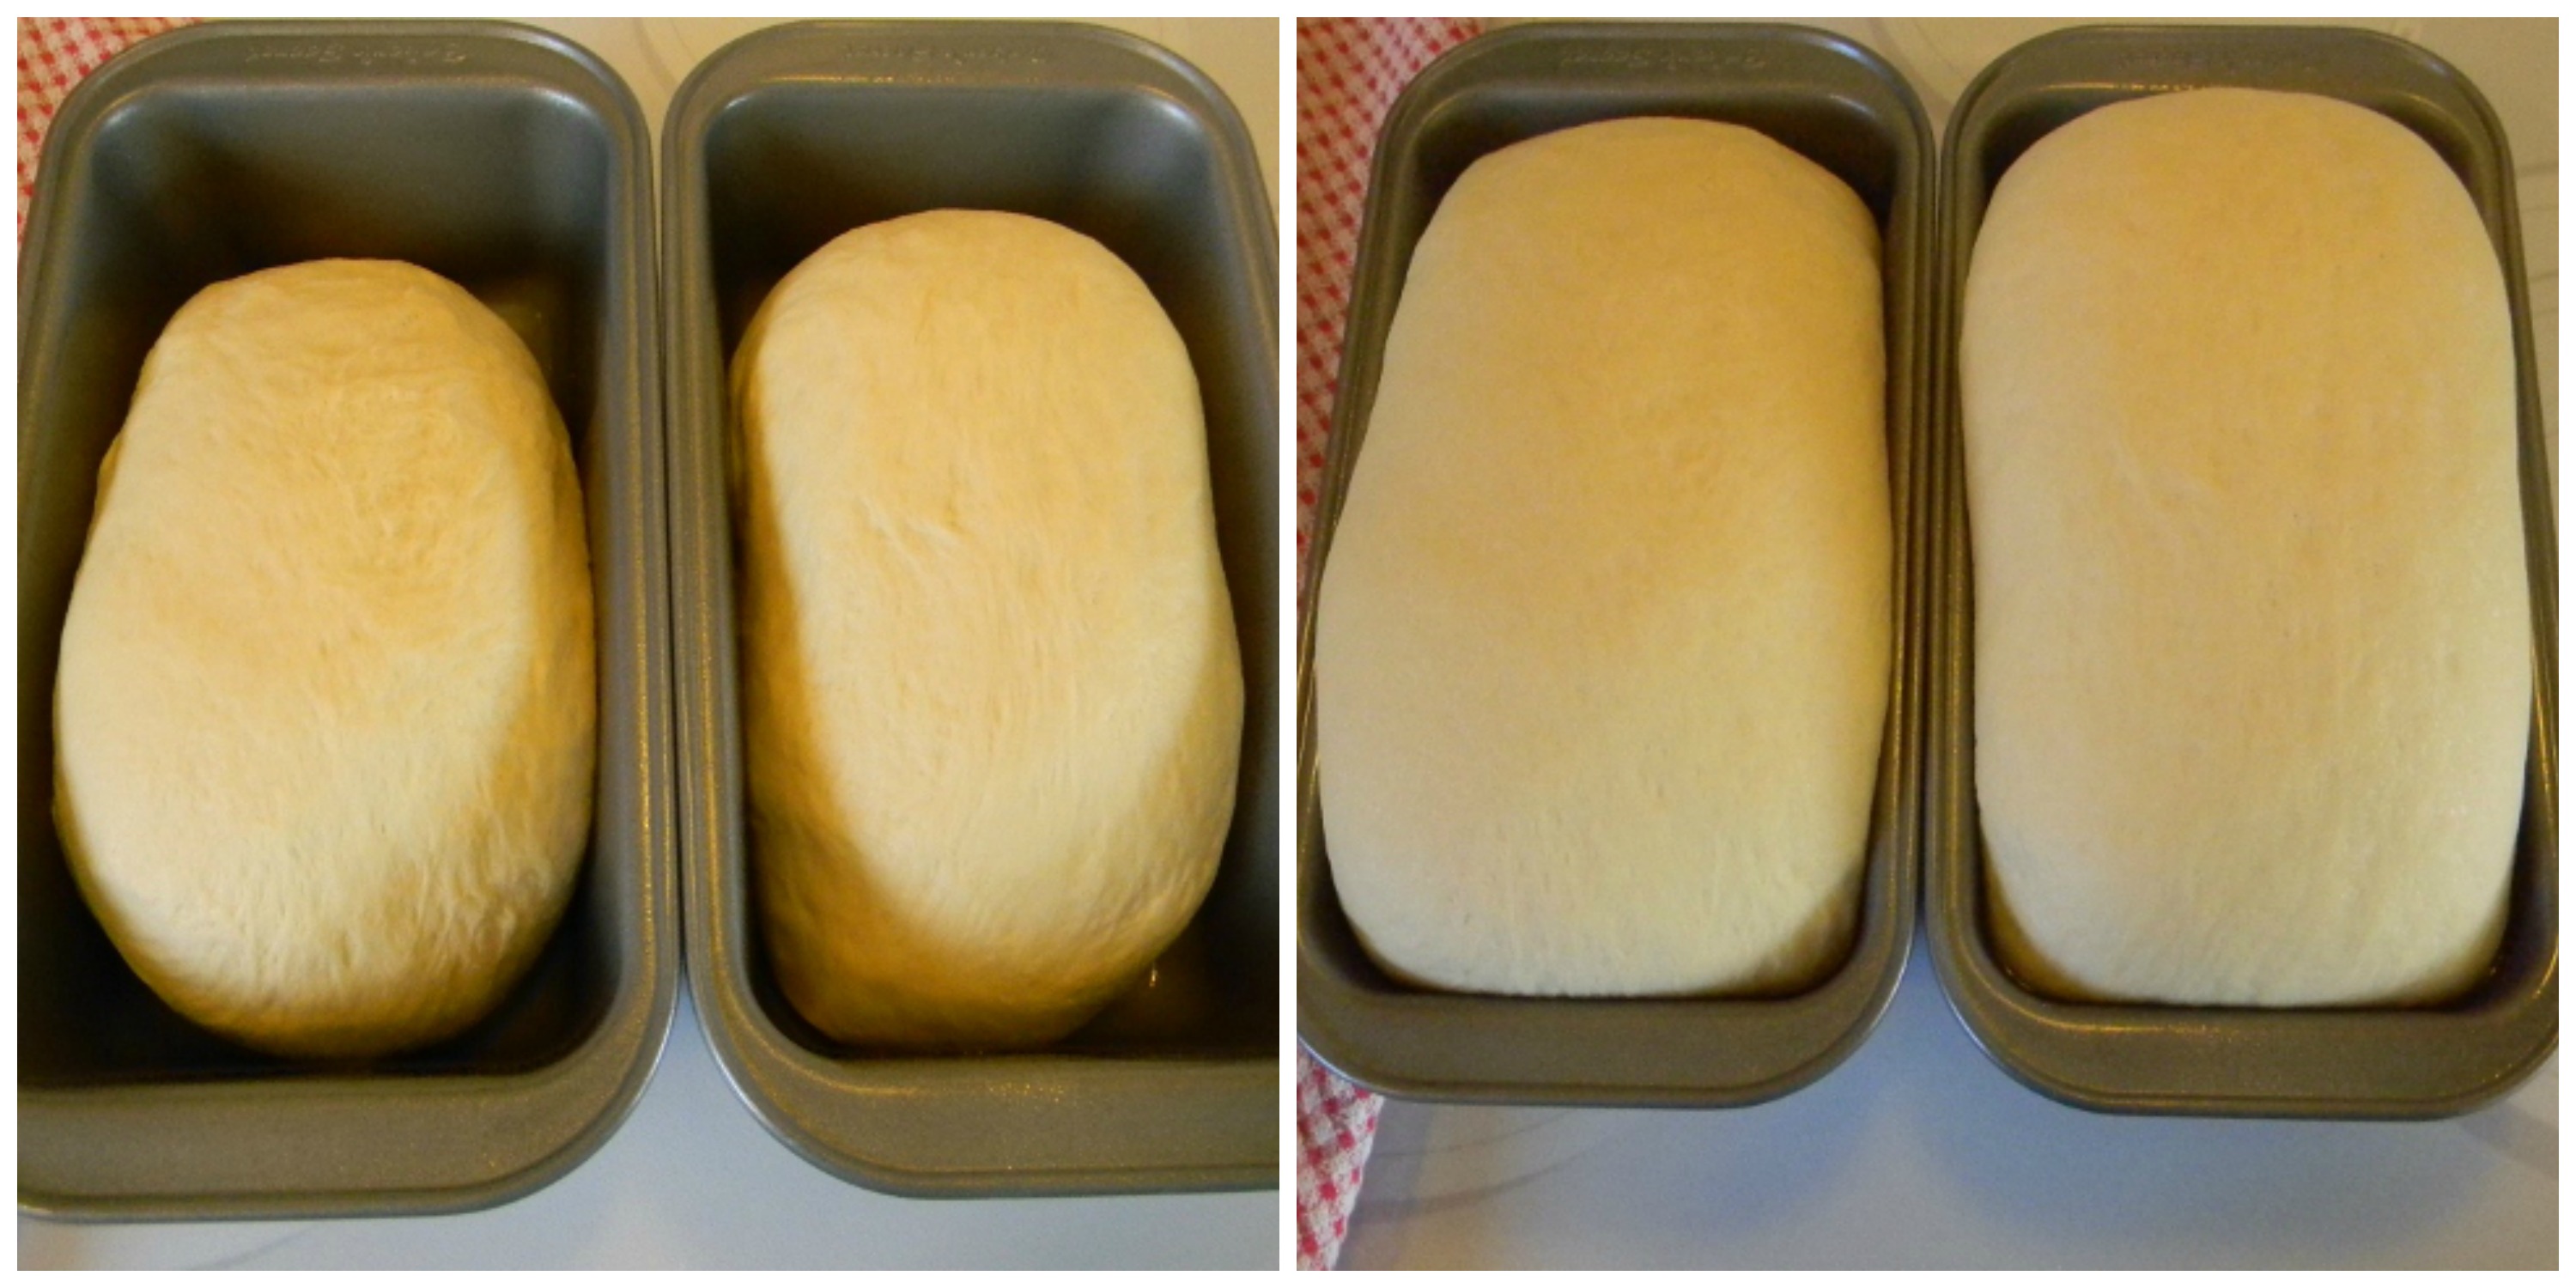
Step 5 – Grease two 9X5 inch loaf pans. Divide the dough equally and shape each piece to fit in the loaf pans, place in the greased loaf pans and cover loosely with plastic wrap. Allow the loaves to rise at room temperature until doubled again. It will take about 30 minutes this time.
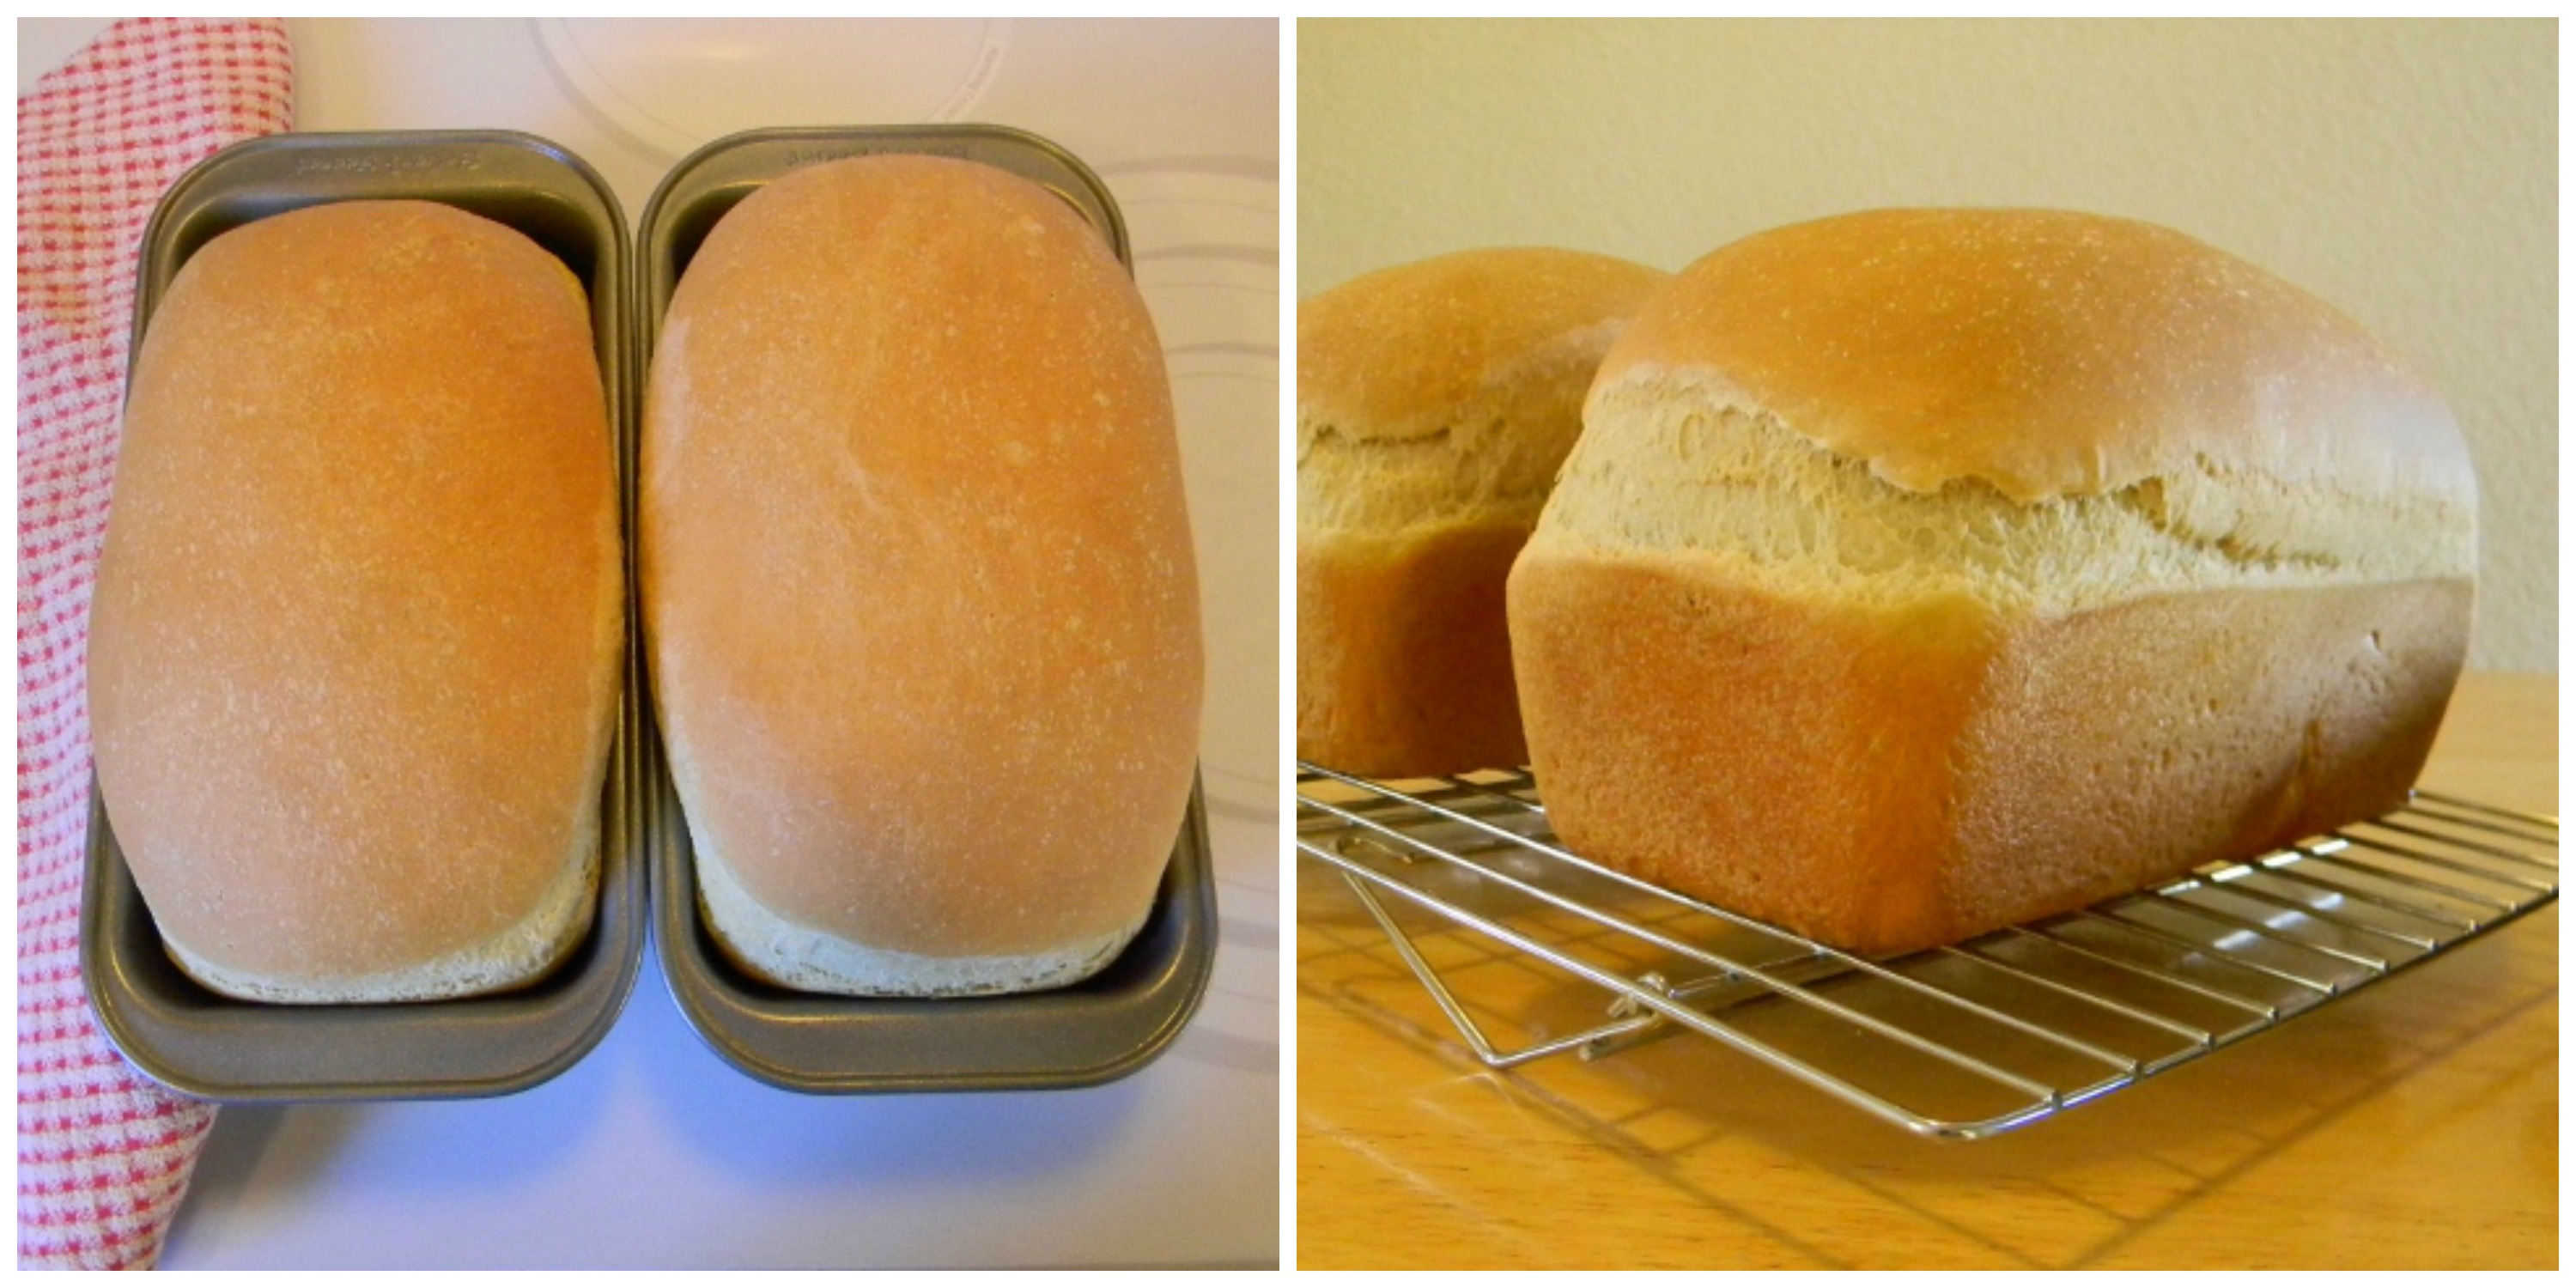
Step 6 – Preheat the oven to 350 degrees while the loaves rise. Bake for 40 to 45 minutes or until golden brown. The loaves should sound hollow when tapped. Allow loaves to cool completely before slicing.
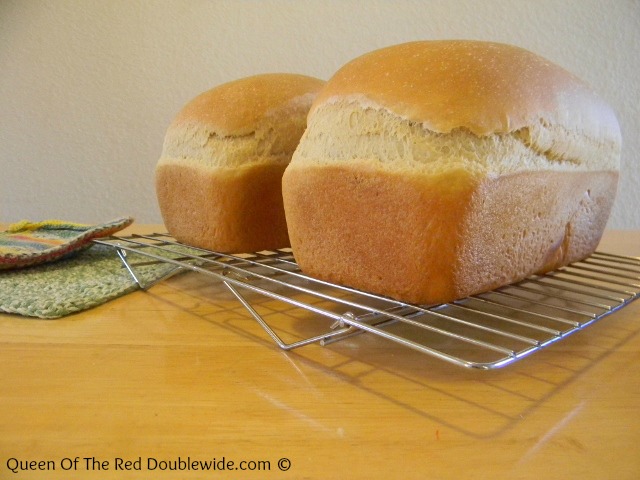
This bread works great for sandwiches, toast and french toast. It is a little crumbly and it goes bad faster than store bought bread, but it tastes better, it’s less expensive and I know exactly whats in it!
This is week six of baking our own bread and I have to admit I’m enjoying it very much! I think it’s time to start experimenting….Hamburger and hotdog buns are next on the list. 😀
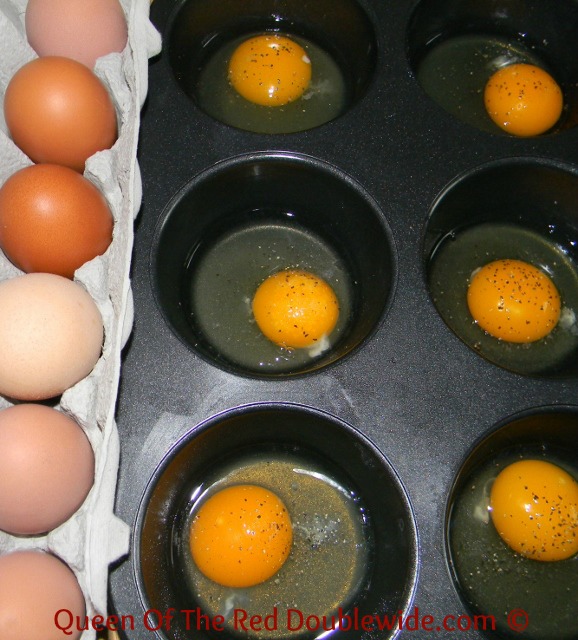
I know, I know, you’ve all seen this trick of cooking eggs in muffins tins. It’s a great idea, don’t you think? Our family has been enjoying these allot! The only thing I do differently is cook them in a JUMBO muffin tin. They are bigger around and fit PERFECTLY on English muffins and biscuits.
Crack eggs into jumbo muffin cups (grease them first) add salt and pepper and bake at 350 degrees for 10-15 minutes and you have the perfect eggs for those yummy breakfast sandwiches.
Here are some that we’ve been enjoying….the possibilities are endless!!
This is a toasted, sour dough English muffin with cheddar cheese, bacon and a perfect egg!
Click here for an easy, mess free way to cook bacon!
This is a toasted, whole wheat English muffin with egg and cheese. I had to make my 8 year old stop eating so I could get this picture. She wasn’t very patient for some reason??
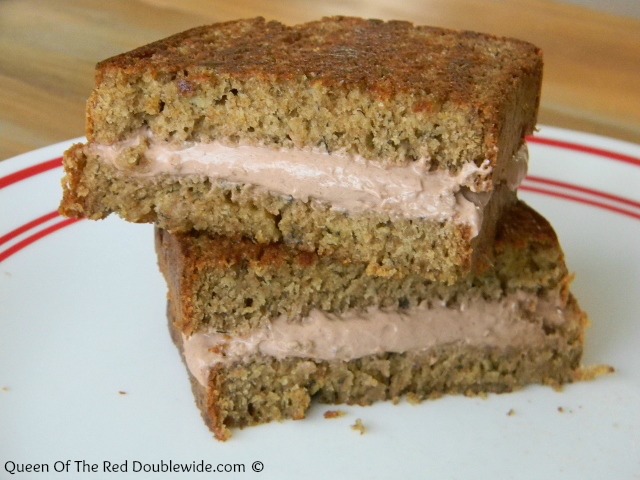
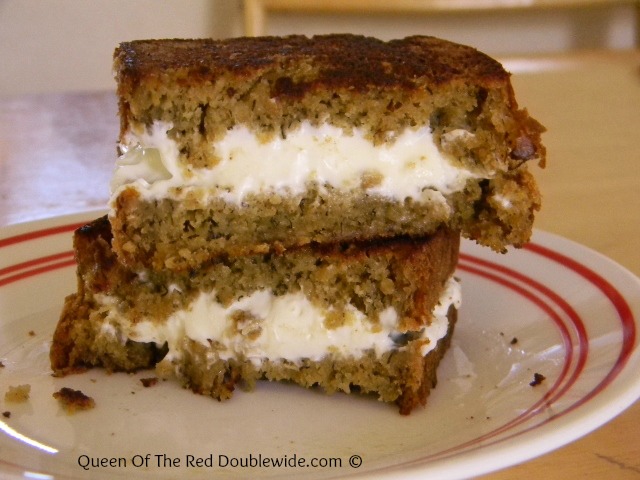
“Banana Grilled Cheese Sandwich” sounds a little weird huh? I was going to call them “Delicious Banana Bread and Cream Cheese Grilled Sandwiches” but that’s to long, and Jo likes to call them “Funky Monkey Sandwiches”. You can call them whatever you want, but the name that best describes them is “Awesome Deliciousness”!
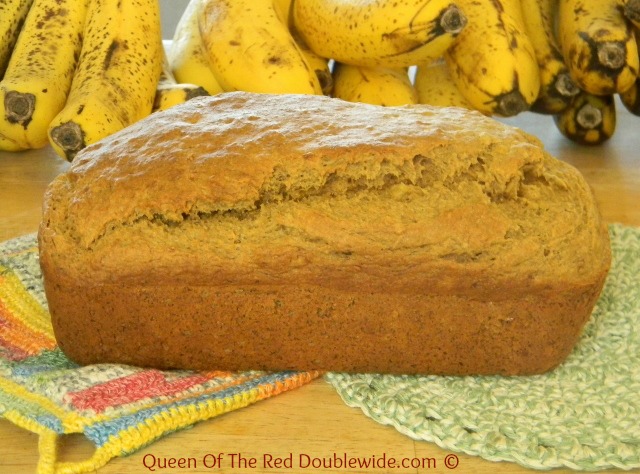
Start with your favorite banana bread. I used my recipe for Chocolate Chip Banana Muffins, omitted the chocolate chips and baked it in a loaf pan at 350 degrees for 55 minutes. It turned out great, and I like that there is no sugar in this recipe.
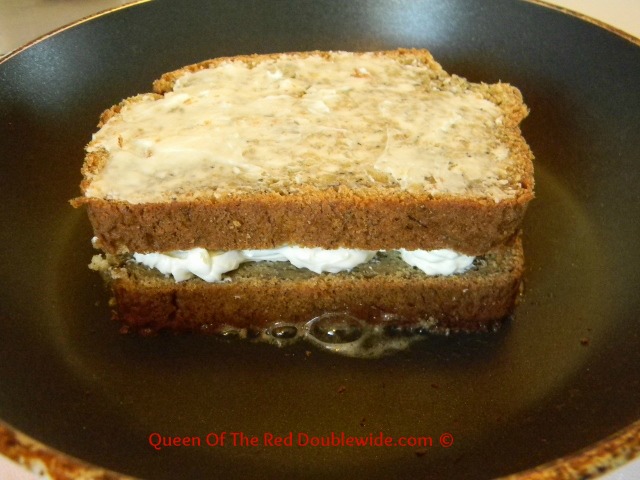
This is just like making a regular grilled cheese sandwich except you are using banana bread and cream cheese. We add a little stevia to softened cream cheese. You could use honey, maple syrup, sugar, or whatever sweetener you prefer. My recipe for Homemade Honey Whipped Cream Cheese would work great for these.
We made these this morning and added chocolate to them. They were AMAZING!
What a great way to kick off a Saturday morning. Have a great weekend everyone! 😀

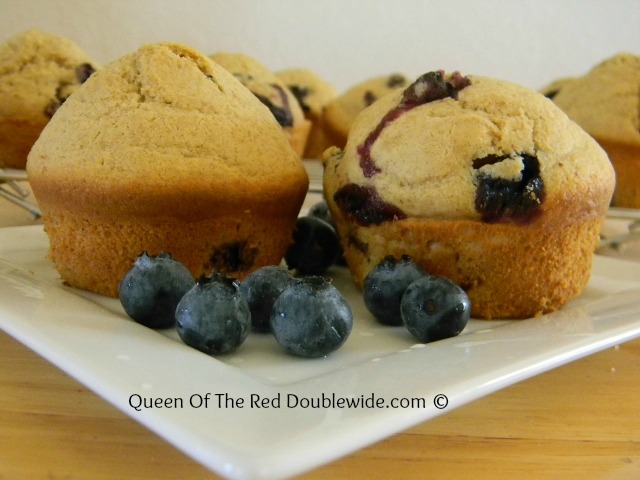 Berries seem to be everywhere right now, and muffins are a weakness of mine so we’ve been eating lots of them lately. A couple weeks ago I shared a Fresh Raspberry Muffin recipe that used our homegrown raspberries. The girls and I made several batches, but now the bushes are pretty much picked clean. Sadly we don’t have any blueberry bushes (yet), but I did find some for a very good price the other day so I bought LOTS! I found this blueberry muffin recipe about a month ago and they looked sooooo delicious I couldn’t wait to try them! I made a few minor alterations to the recipe and oh yum, yum, yum!
 In a big bowl stir together the milk (any kind will work), melted butter or coconut oil, egg, vanilla and sugar. Then mix in the flour, baking power, and salt.
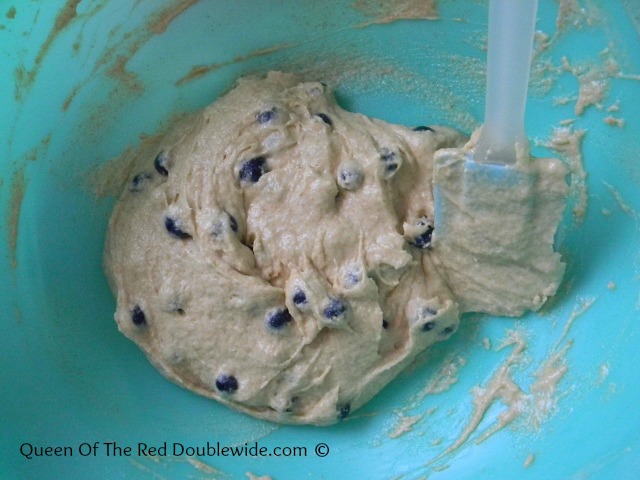 Gently fold in the blueberries. We used fresh berries but frozen would work too. Fill greased muffin tins two thirds full (this makes about 10 muffins). Bake at 375 degrees for 20 minutes.
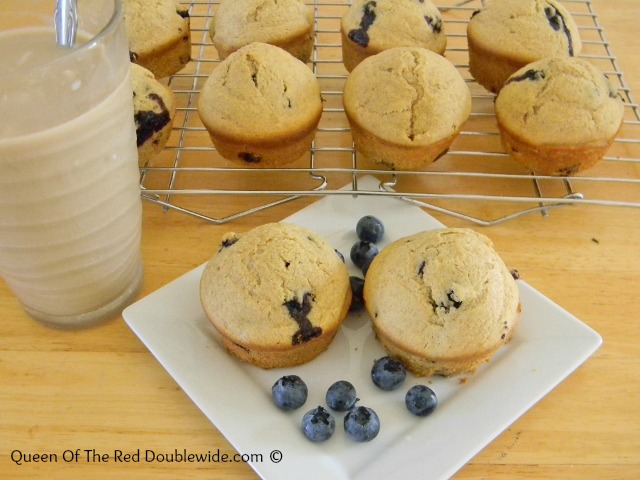 They went really well with my iced coffee. 😀